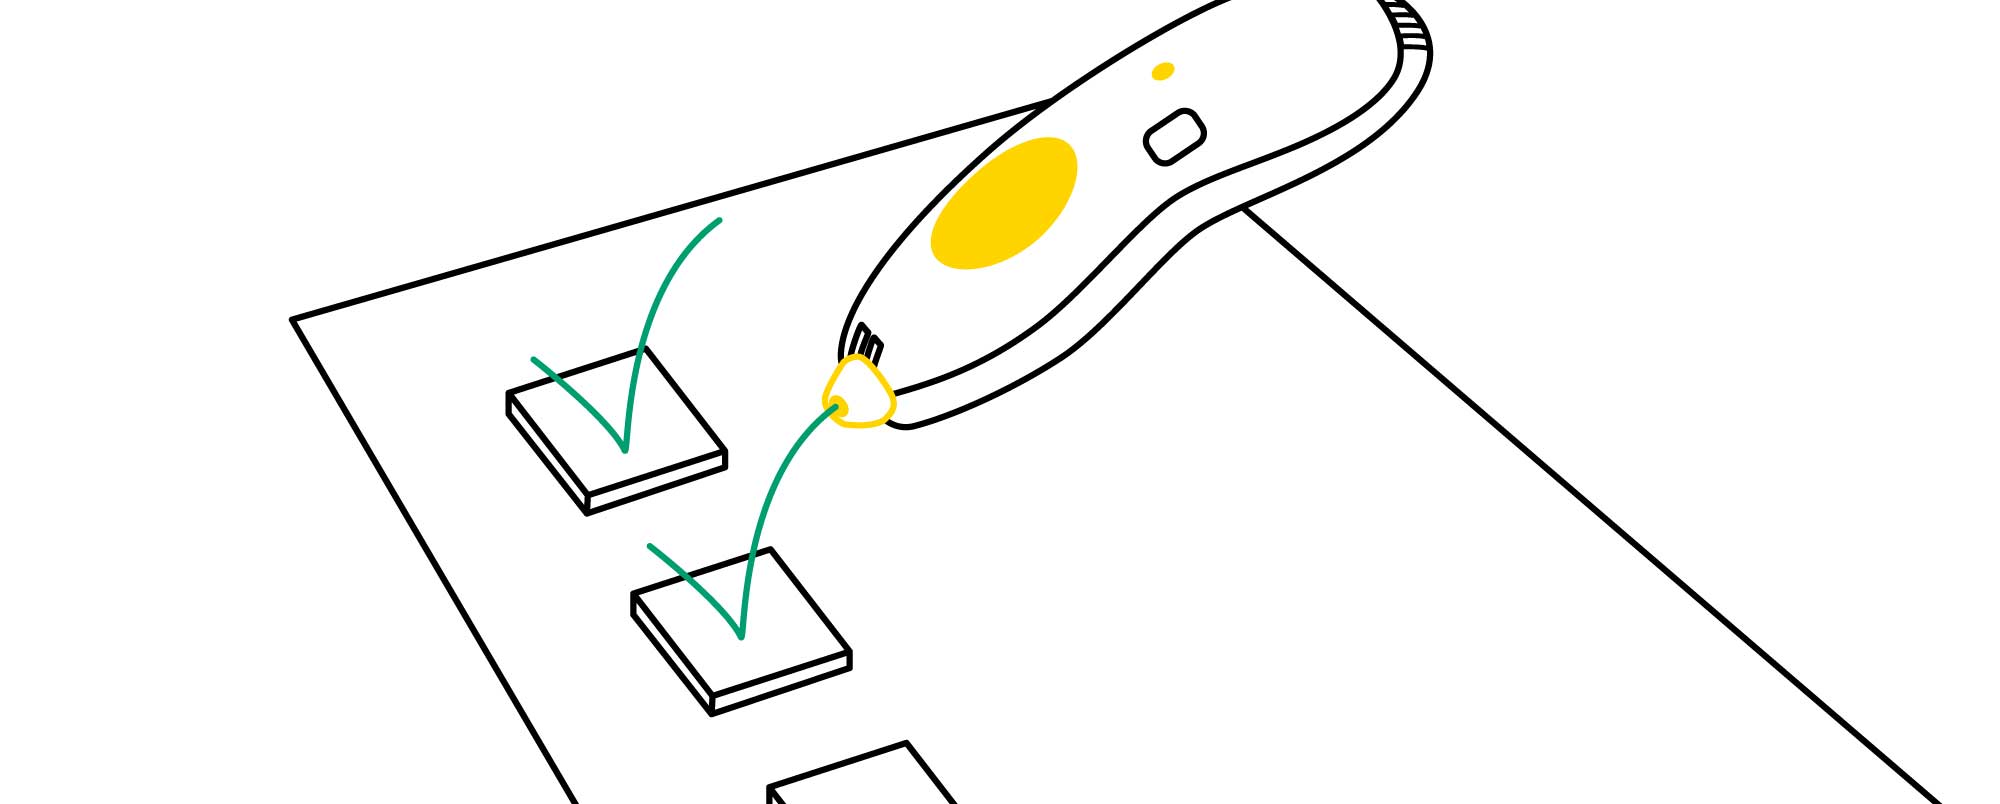
1. Do not emphasize perfection.
This is a life rule, too. As teachers, we should be modeling attention to the design process over outcome. You never want to stifle any student’s creativity, nor do you want to set goals so lofty that your students may refrain from doodling rather than fail.
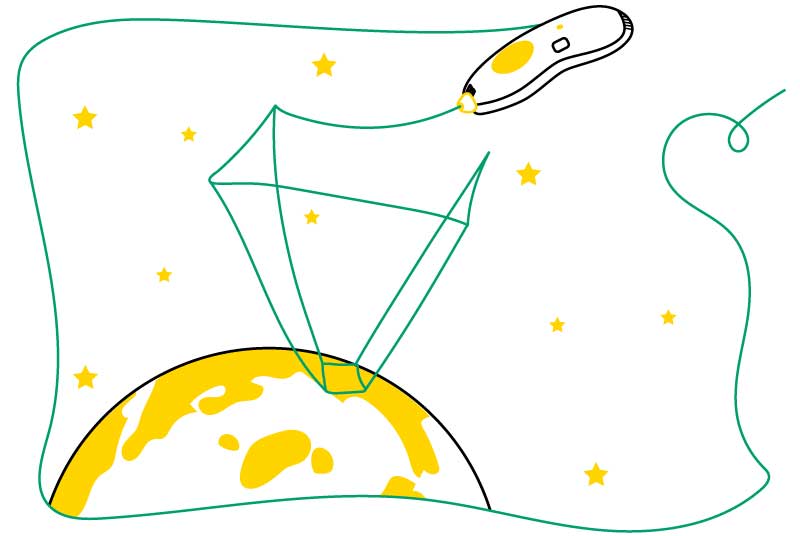
2. Dare them to explore.
Consider your build area unlimited, both horizontally and vertically.Unlike 3D printers, the 3Doodler’s “build area” is infinite and can be directed up, down, left or right. Give students time to explore space in all directions.
3. Draw thicker lines.
Slimmer 3Doodled parts and details should be doodled a bit thicker or retraced. Due to the nature of the filament, you will want to keep finer details sturdier to increase the durability of your doodle.
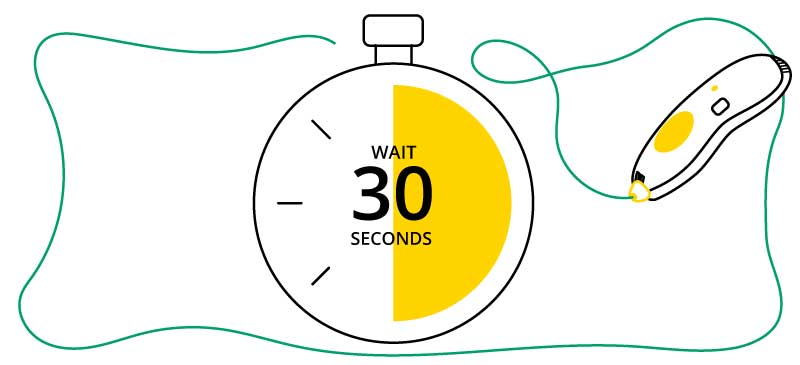
4. Teach students patience.
Slowly count to 30 before removing filament from a stencil and then peel back gently. Although not a long wait, you need to wait long enough for the filament to harden. Otherwise, your students will stretch, tear and ruin their amazing doodles.
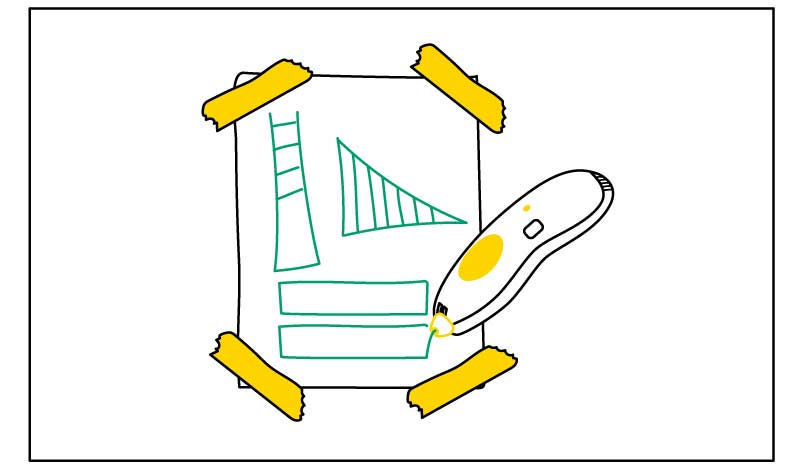
5. Hold stencils in place.
Tape stencil flat to table, so that it does not gap or curl under filament as you doodle. Rather than cutting out your stencil along its outline, leave a wider border around it, which can easily be taped down to a desk.
6. Allow access to the 3Doodler outside of instructional time.
This will give your students non-pressured, explorative time, during which they may come up with astounding new ways to use the 3Doodler! And, as in any new task, 3Doodling skills become stronger over time. *Model and praise persistence for the student who makes a mistake and figures out a way to fix it with his or her 3Doodler.
7. Different colors, different speed.
Note that different filament colors flow at different rates from the nozzle of the 3Doodler. In order to gain improved control of directional flow, allow students time to experiment with different colors, then record and discuss each color’s rate of flow.

8. Set reasonable goals.
Before beginning any new 3Doodler lesson with your students, try it yourself first. Know your students and their abilities, e.g., prior experience with 3Doodler and fine motor skills. Rather than set your students up for failure, offer students plenty of upfront practice time using the 3Doodler before diving into that very cool language arts lesson, creating figurative doodles.
9. Doodling on paper.
When Doodling on paper, choose filament and paper that contrast each other in order for students to clearly see the filament as it extrudes from the 3Doodler and down onto the paper.
10. For Teachers: Work backwards.
Create freely and then determine how what you’ve designed could be used to teach a concept within your curriculum. Give yourself time to try all sorts of ways to use the 3Doodler, rather than diving in with a specific lesson plan in mind. It’s much easier to begin wide and focus in, rather than vice versa. Furthermore, investing time in your own 3Doodling skills will make you a better doodler, too.
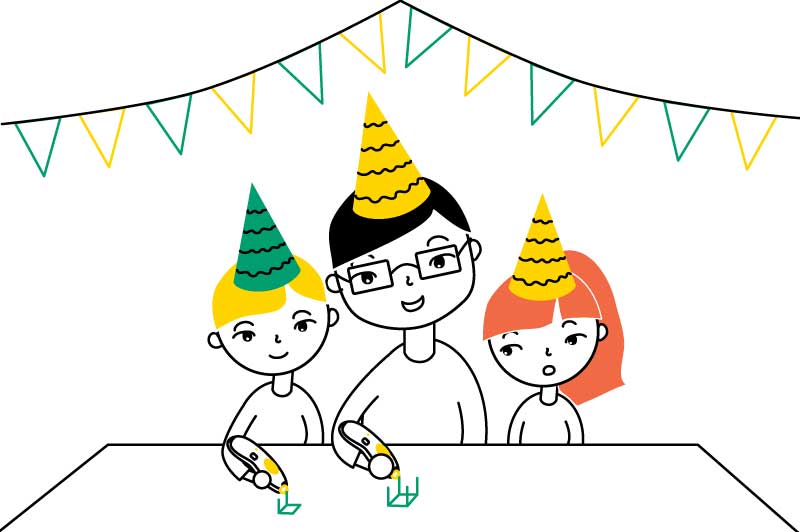
11. 3Doodle with your students.
Your enthusiasm for this tool and its endless possibilities will spread. Doodle alongside students during indoor recess. Offer 3Doodling as a class reward for good behavior. Hold a 3Doodling class birthday party. It’s a lot healthier than cake and a lot more fun, too!
