DIY 3D Printed Pirate Gear
- 35 Minutes
- Beginner
What You'll Need

1 Assemble your materials!

In addition to gathering your 3Doodler, corresponding filament, and FREE pirate-themed stencils, you'll need to get together some elastic cording. Before cutting the cord measure around your head to make sure it'll fit well and not be too big or small.
2 Trace The Patch

Trace and fill in the patch shape. Don't worry about the skull and crossbones we'll Doodle these in later in another step.
3 Doodle the bones

Using the same stencil trace the skull and crossbones.
4 Add the Bones to the Patch

Apply a little warm plastic to the back of the skull and firmly press it onto the patch. Do the same for the bones and then let it rest and cool.
5 Wear Your Patch

Flip the patch over and lay your strip of elastic over the back of the patch. Doodle over the elastic so that the patch is firmly attached to the elastic. After the filament cools, it's ready for wearing!
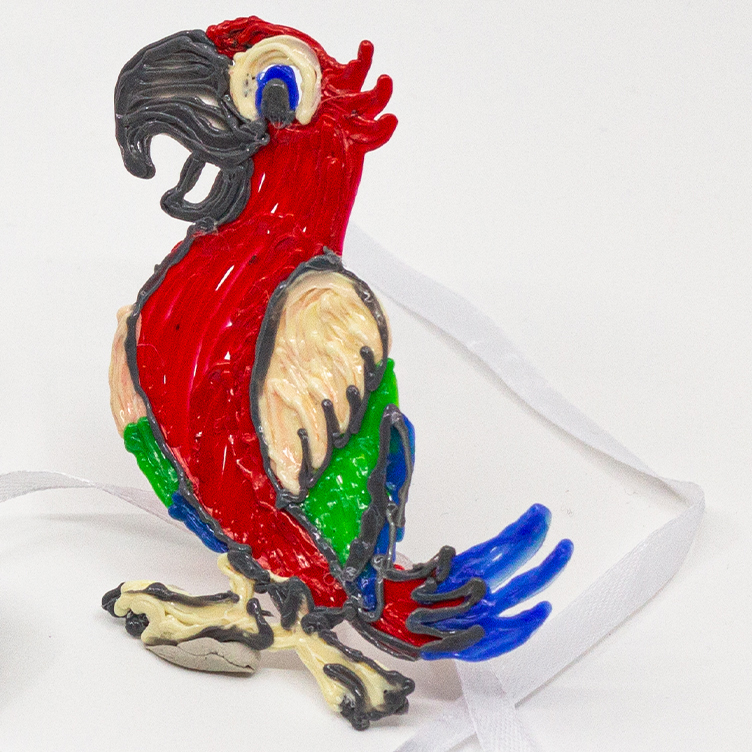
6 Doodle your Parrot

Trace and fill in the parrot stencil. Use whatever colors you want to make your parrot pop off your shoulder. Attach the elastic cord the same way you did for the eye patch.


