


Holiday Poinsettia
- 30 Minutes
- Beginner
1 Print out your stencil
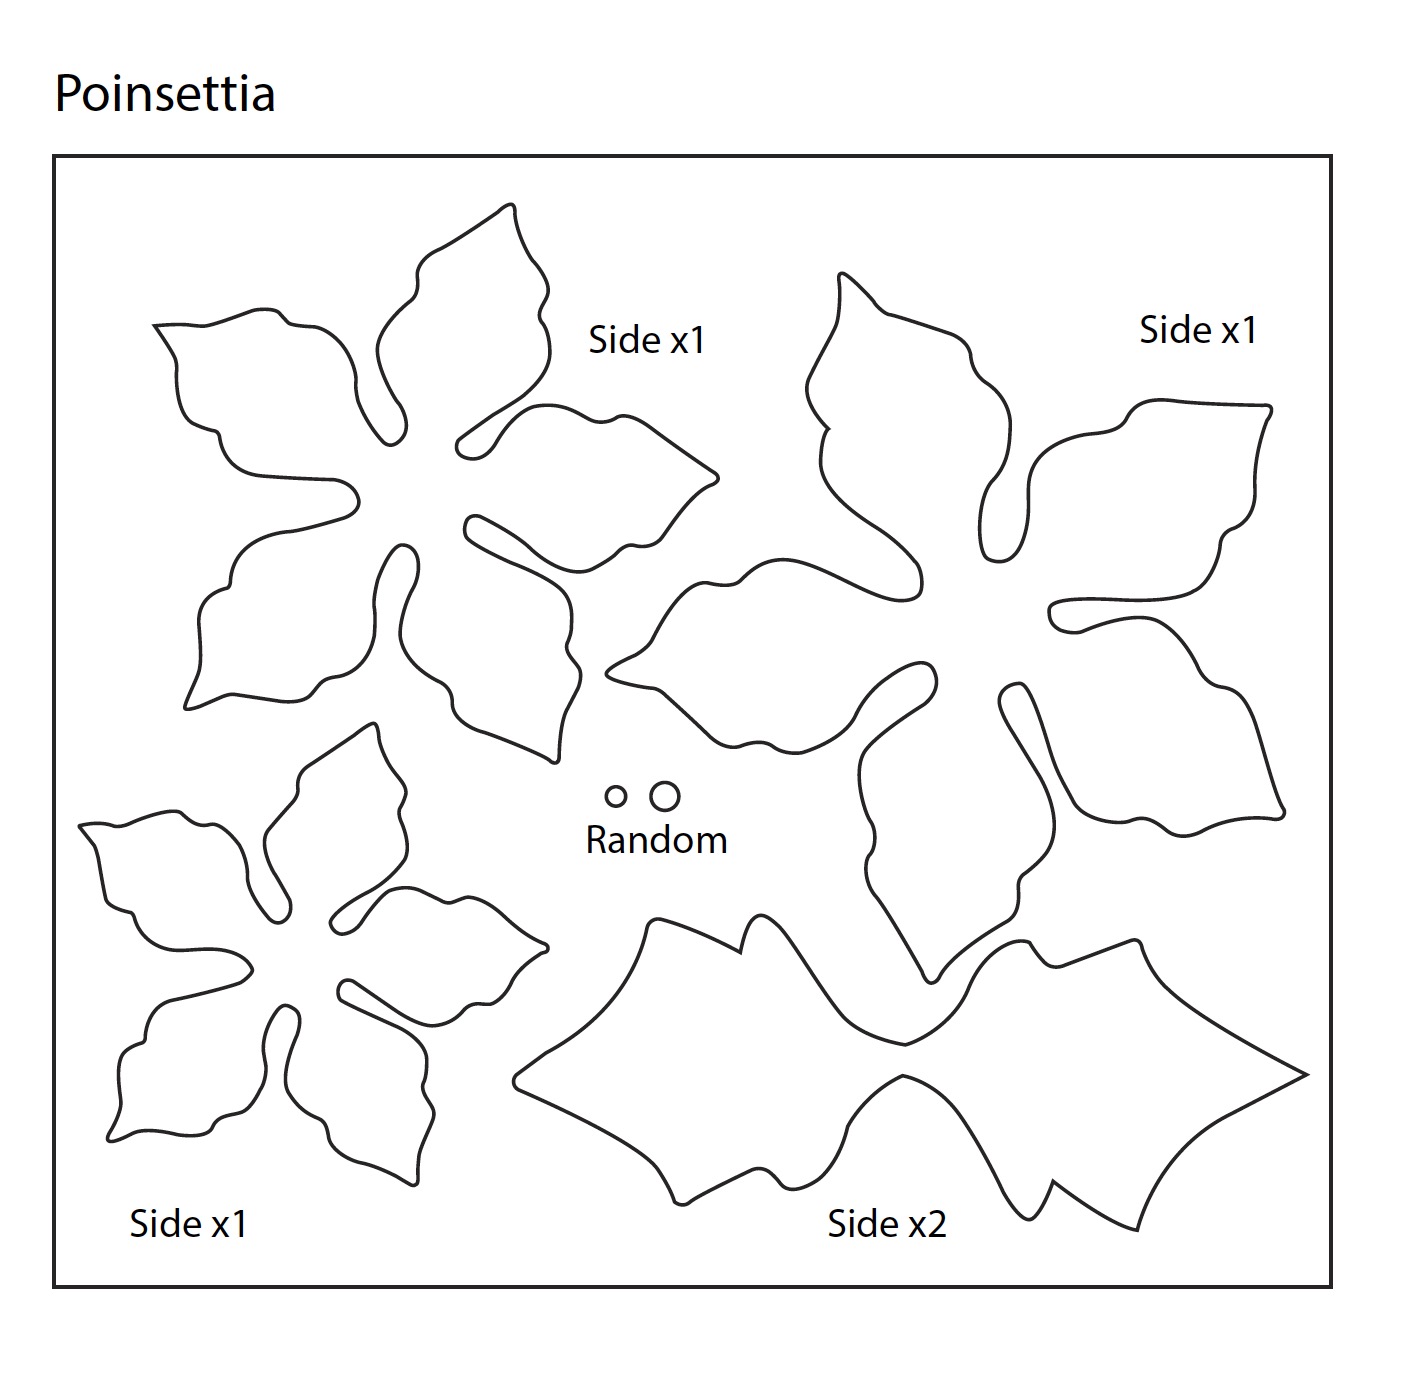
Print out your poinsettia stencil and get out your pen and filament strands. If you have a DoodlePad you can place that on top of your stencil.
2 Trace the perimeter

Start by tracing the perimeter of each of the leaves.
3 Create the midrib & fill it in

Doodle a line through the center of each of the leaves. This will serve as the midrib. Then, take your pen and Doodle up and down each leaf, starting from the midrib and making your way to the outer edge.
Once you reach the tip of the leaf, repeat on the other side until all of the leaves are filled in.
4 Stack and join the leaves

Gently peel the layers off of the DoodlePad or stencil. Determine the order you want them to be in and then join them together by adding a few beads of melted filament in the center of each leaf.
The last step is to add on the finishing 4 yellow dots to the center of the top leaf.
Similar Tutorials
-

With the 3Doodler Start and our environmentally-friendly Eco-Filament you can "knit" your phone a holiday sweater of its very own!
-

What better way to commemorate all the amazing places than by decorating with adorable Doodled mementos?
-

Have you ever wondered how cartoon animations are created? Create your own 3D animation by building a flipbook using your 3Doodler pen!


