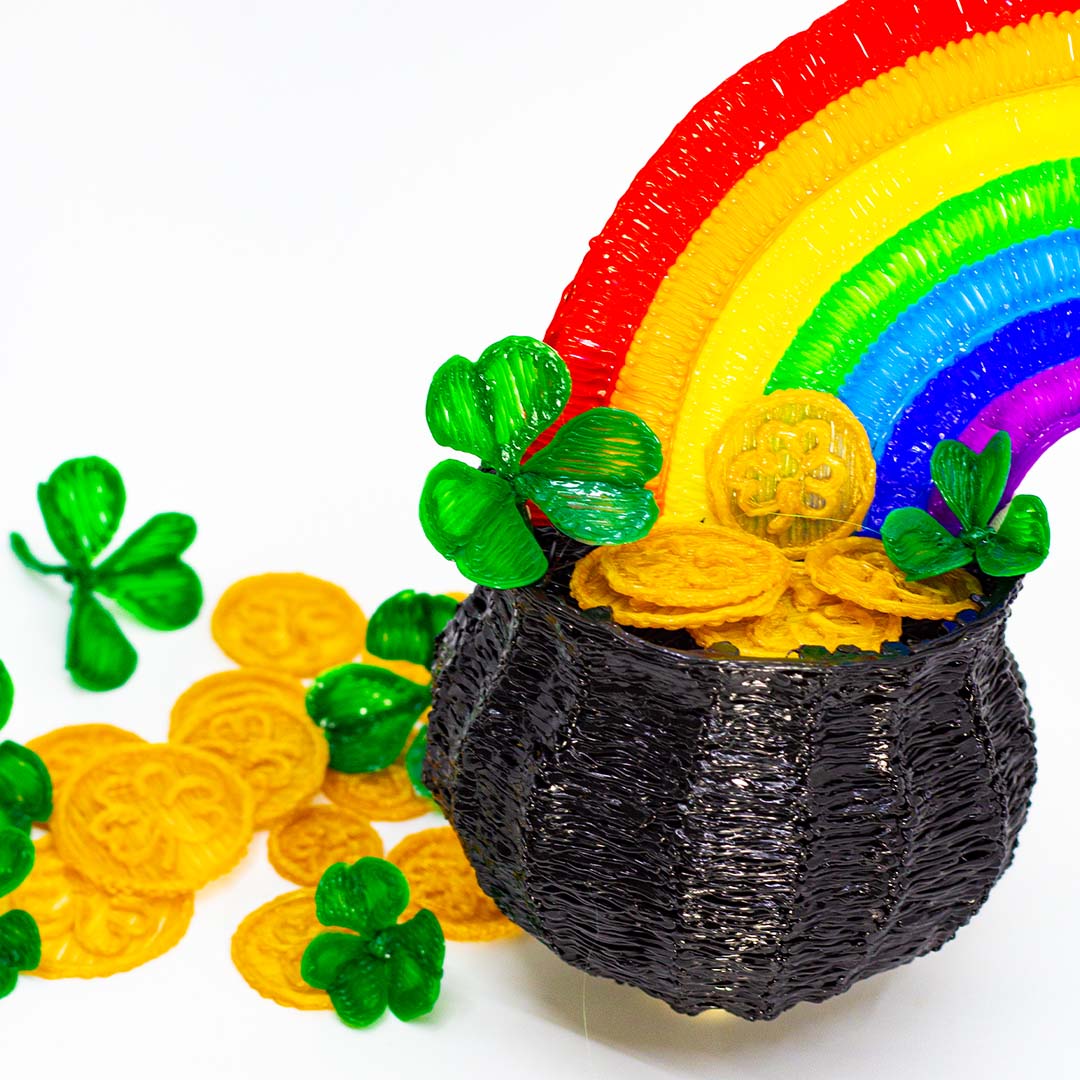
St. Patrick’s Day Hat
- 45 Minutes
- Intermediate

1 Create a template!
Start by drawing two circles on a piece of paper. One should be larger than the other to create the top and bottom rim of the hat.
2 Trace the circles.

Get your DoodlePad and place it over the template you drew. Now, trace the inner and outer circles for the top of the hat and the brim of the hat.
3 Fill in the circle.

Begin to fill in the smaller circle by drawing vertical lines from top to bottom and then horizontal lines from side to side. The shape should have a woven appearance.
4 Connect the circles.

Hold the smaller circle over the larger one. Draw vertical lines from top to bottom to connect the smaller circle with the inside of the larger one. This will create the top hat shape that you are trying to achieve.
5 Fill in the brim of the hat.

With the top and bottom of the hat connected, fill in the brim of the hat with a slow and steady up and down motion.
6 Fill in the sides of the hat.

Now, go back and fill the sides of the hat completely using an up and down motion.
7 Add details.

Using black filament, add a black rim belt around the hat. Next, using yellow filament, add a bright buckle by drawing a rectangle around the black rim. The hat is complete!


