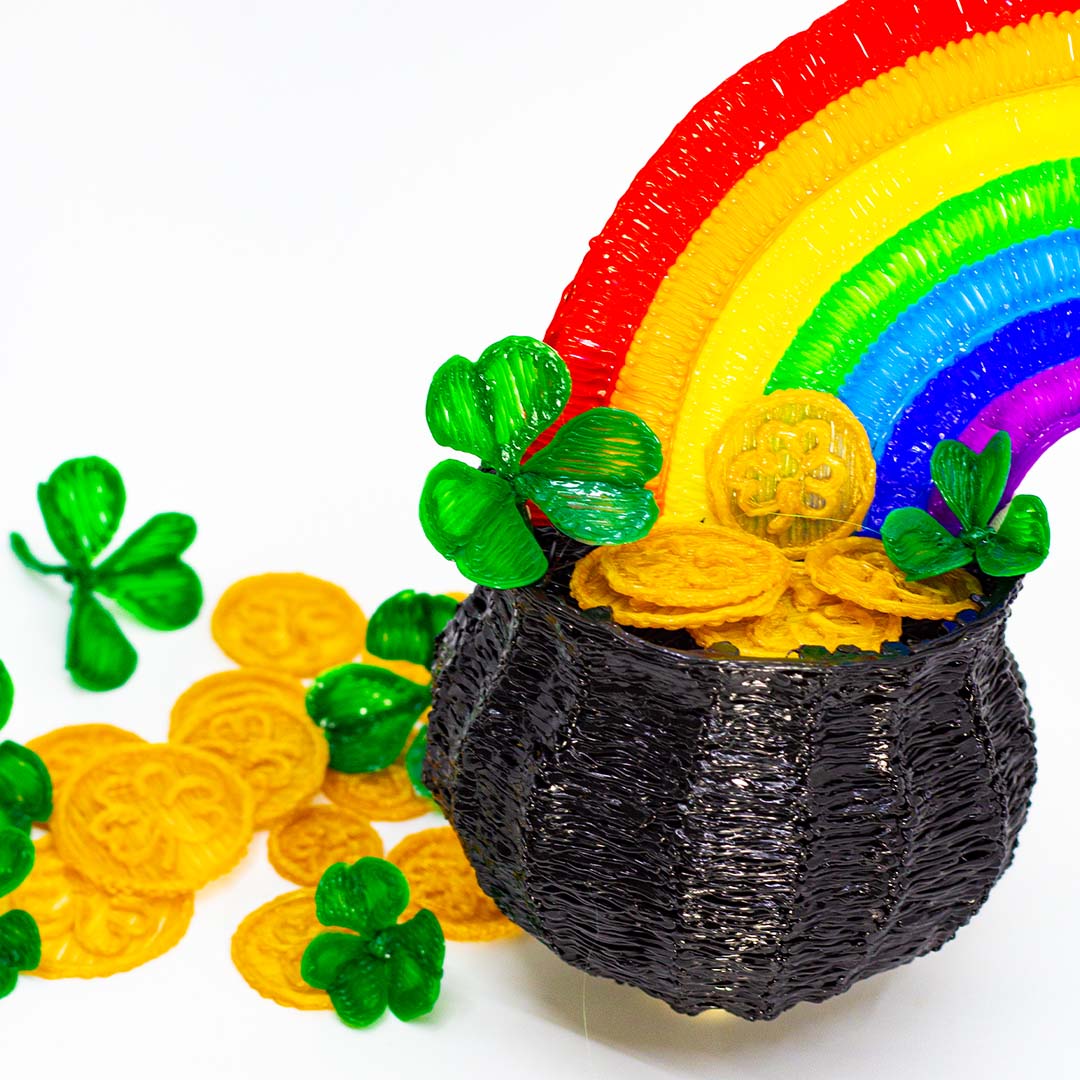
Build a Lucky Pot of Gold
- 45 Minutes
- Intermediate
- Watch Video

What You'll Need

1 Assemble your materials!

Gather together your 3Doodler 3D pen, plastic, the FREE stencil, and a DoodlePad.
2 Make the Gold Coins

Trace the stencil of the coin. Fill it in, and if you want you can trace the clover on top of the coin to really make it festive St. Patrick's Day.
3 Make the pot of gold pt. 1

In this step, we are going to create the exterior skeleton of the pot. Start by doodling the rim (part A) and then doodle 8 horseshoe-shaped pieces (part B) detailed on page 2 of the stencil. Then start attaching the horseshoe-shaped pieces perpendicularly to the circular rim using little dots of fresh plastic as your "glue". By the time you're done, you should have a see-through three dimensional basket ready to be filled in.
4 Make the pot of gold pt. 2

Now that you have your basket outline, it's time to make it look like a true black pot! First, start filling in the pot by wrapping plastic around the outside of it as we show here. Start at the base and move towards the mouth of the pot. After the pot is pretty well covered, you can go in and fill specific areas where the pot is still see-through. The final step is to lightly fill in the top of the pot as seen in the gif. This will allow the gold coins to sit on of the pot creating the illusion that you're sitting on a real stash of gold!
5 Doodle a Rainbow

Doodle the rainbow using the stencil as well. Start with red on the outside and slowly work towards purple on the very inside of the rainbow. Need a quick color guide cheat sheet? Here you go! Red, Orange, Yellow, Green, Blue, Purple.
6 Finish with some Shamrocks!

To make the clovers, start by tracing the leaves and stem from the stencil. Once you have all the pieces it's time to assemble. While the plastic is still warm and malleable you can shape each leaf to look more like the real deal, you can even add a crease in the middle! Then, take 3 of the leaves and attach them to the base stem so that you have a three-leaf clover. Or for extra luck, make a few 4 leaf clovers!
This will make a great decoration around the house, in your kid's room, or in your classroom!


