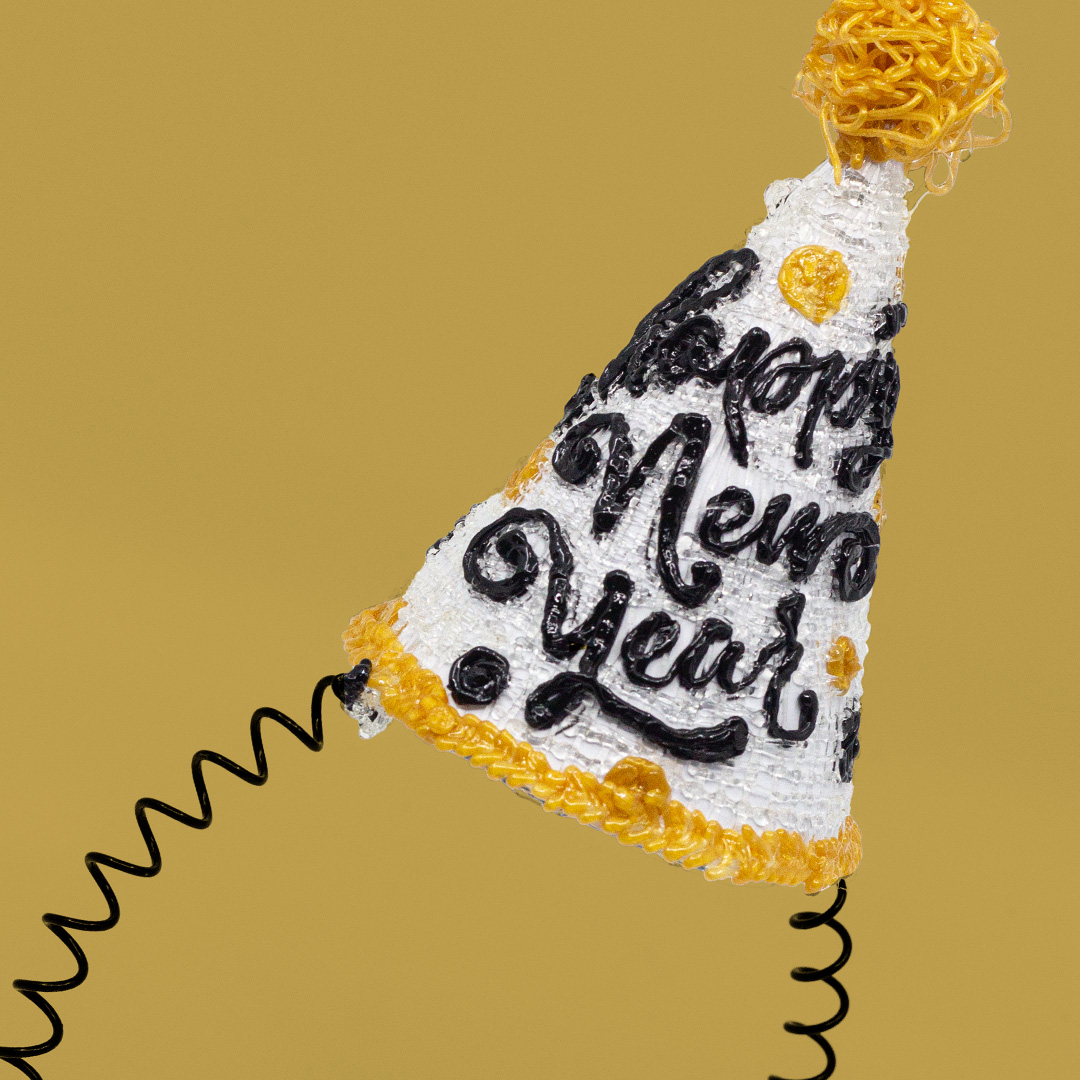
3D pen art cake with New Year's message | 3D Pen Tutorial

Party Hat

  • 60 Minutes
  • Intermediate
Make a New Year's Eve party hat with a 3D printing pen. Attach it to a headband or use as is for a custom look. Change the design with each celebration!
Specifically designed for 3Doodler Create+ Logo PNG

1 Gather materials!

Prep a clean flat surface and gather the materials.

2 Cut the stencil.

Print and cut the stencil shape. Attach the sides together with filament to form a hat.

3 Doodle the hat.

Gently trace along the outer edge of the hat and begin to fill it in with filament.

4 Trace the phrase.

Slowly trace the phrase on the hat stencil.

5 Add detail.

Add fun dots and details to your hat using the filament.

6 Draw a topper on the hat.

Using more filament, begin to draw in 3D to form the top pompom on the hat. Continue to fill in and gently shape it to create a ball.

7 Add a rim.

Create a rim on the hat by tracing filament up and down on the edge of the hat.

8 Fill in the hat.

Using the background color, fill in the rest of the hat with filament. Take care to avoid the details you've already added.

9 Add a headband.

Using more filament, attach a headband to the hat. The party hat is done!

Close-up: 3D pen art cake with sticks design

Get Inspiration in Your Inbox

Sign up to be the first to have our latest 3D pen lessons, stencils, deals, and discounts (yay!) deposited directly in your inbox.

You have Successfully Subscribed!