


Let’s Doodle a 3D Starfish
- 20 Minutes
- Beginner
- Watch Video

What You'll Need

1 Assemble your materials!
Print out the FREE stencil and gather your filament prior to beginning. This will allow you to streamline the entire Doodling process.
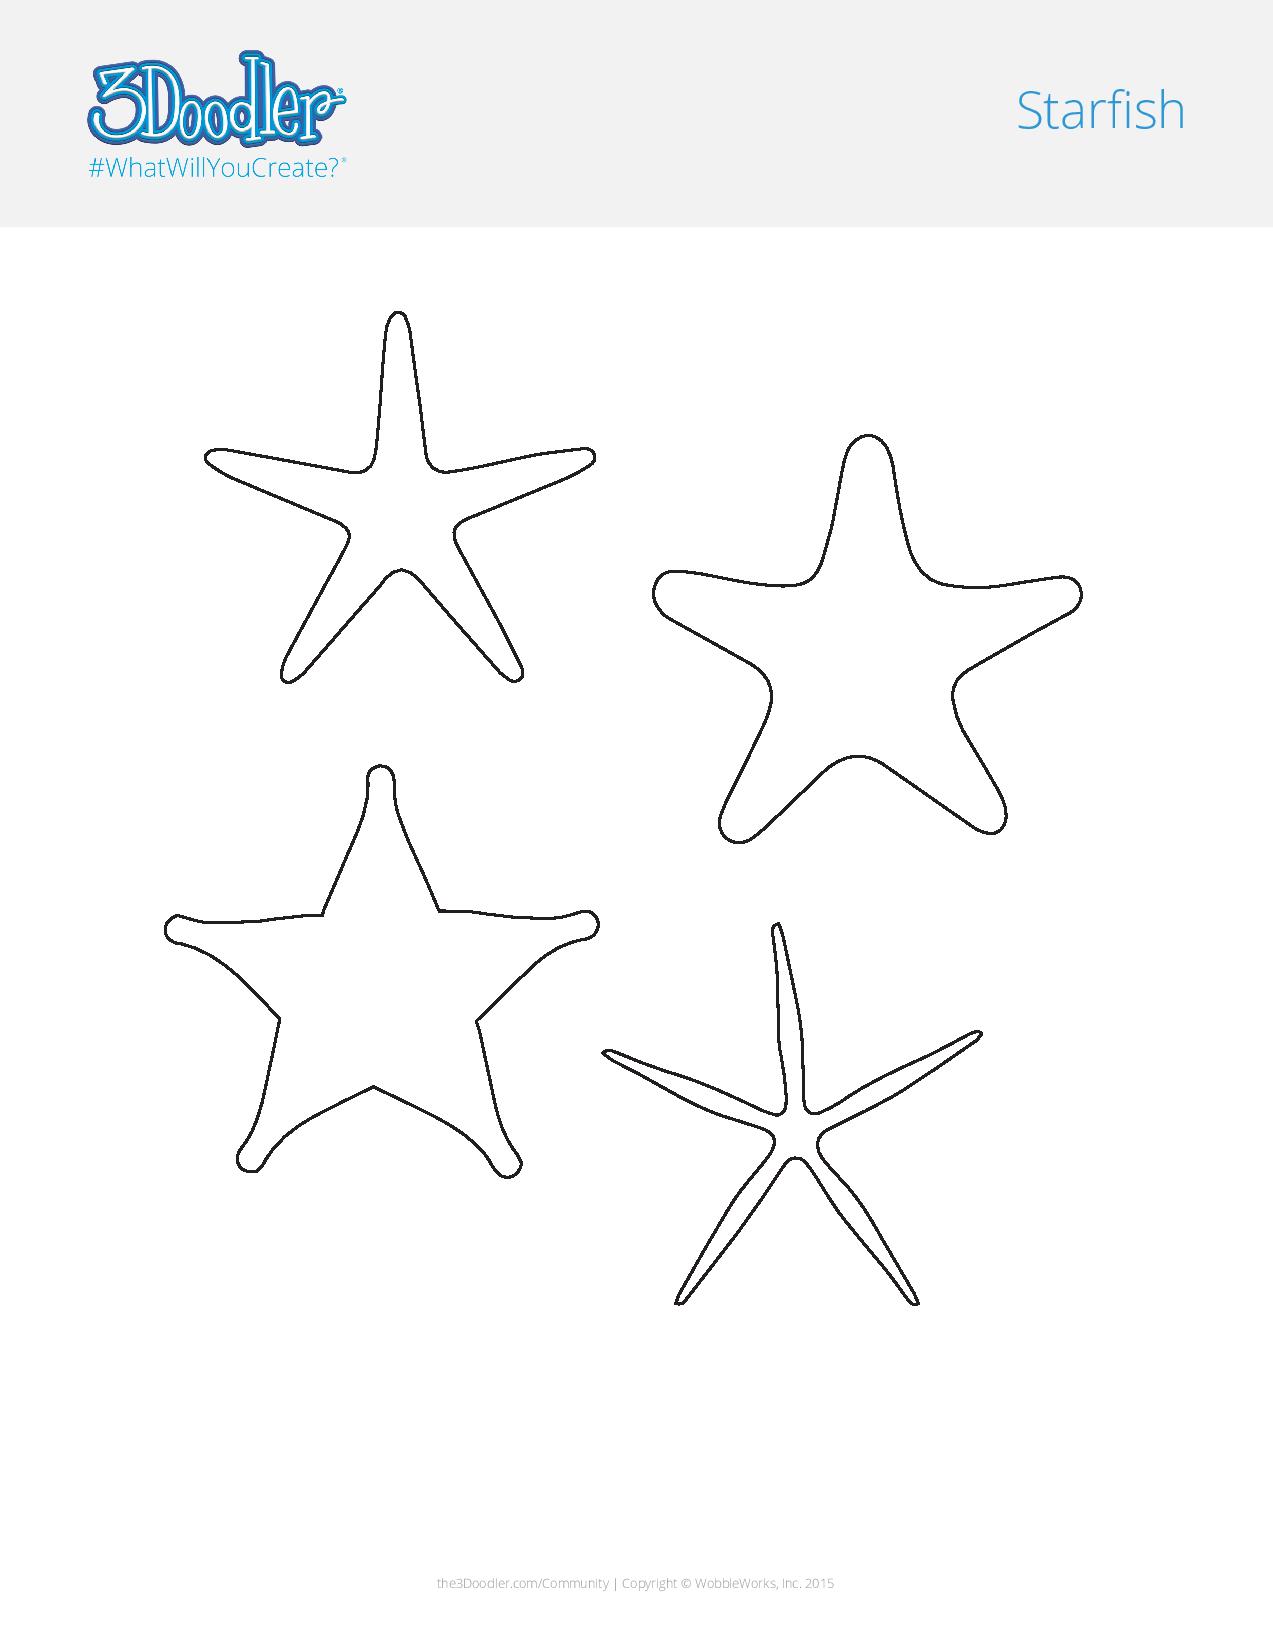
2 Trace your Startfish

Start by picking a starfish design from our stencil and trace it out along the perimeter as shown here.
3 Doodle supports for the legs

Next, using your DoodlePad, make 5 small triangles, one for each leg of your Starfish.
4 Make it 3D!


Using the welding technique attach the triangles so they stretch from the end of the leg back to the middle of the Starfish. Start Doodling around the exterior creating a hollow space inside the leg.
If the triangle is too long as seen in the second GIF, then just fold it back using your finger so that it fits.
5 Let's make it actually look like a Starfish

After you have the base Starfish made go over the exterior in the opposite direction and use your finger to smooth the extruded filament. This will help create a realistic shell-like finish for your Starfish.
6 Add detail!

The final step is to add some unique details to the outside of your Starfish. Using a different color filament add shapes, designs, and accents to the outside of your Starfish.
Similar Tutorials
-

In this week's tutorial, we check out one of the new stencils included in the new 3Doodler Start+ Activity Guide a dreamcatcher.
-

Learn what you can do with only a piece of paper and your 3Doodler pen and filaments. Have a nice flight!
-

Let's make a creative self-portrait that pops off the page using your 3D pen and filament.


