Edmund Pettus Bridge
- 45 Minutes
- Intermediate

1 Gather materials!
Get your 3Doodler Create+ pen, plastic, DoodlePad and stencil.
2 Create the sides of the bridge.

Trace the stencil to form the side of the bridge. Repeat this step.
3 Create the arch.

Using the stencil, create the arch for the bridge.
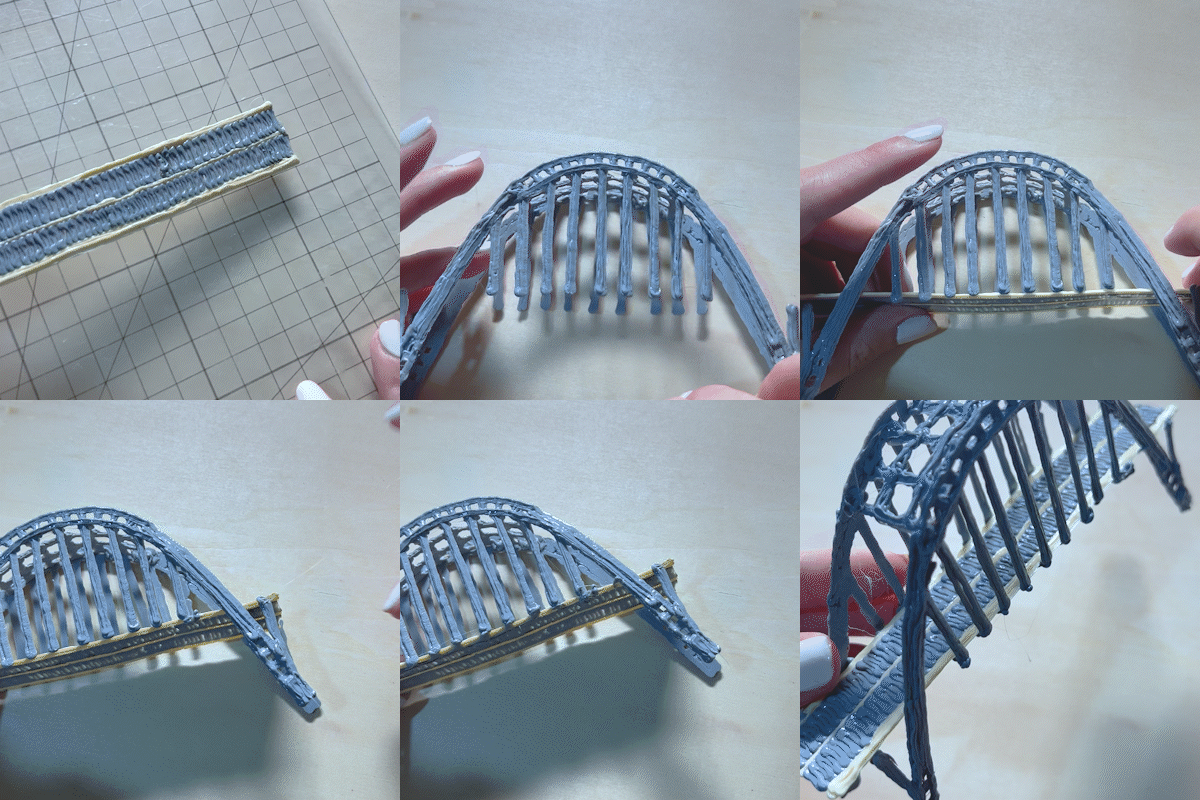
4 Bend the shape.

Remove it from the DoodlePad and gently bend the shape to form an arch.
5 Attach the arch.

Using more material, attach the arch to one side of the bridge and then the other.
6 Create the decorative side of the bridge.

Using a new color, create the decorative side of the bridge.
7 Create the middle.

Create the middle of the bridge following the shape on the stencil.
8 Attach the middle.

Take the middle of the bridge and attach it to the archway shape.
9 Create the supports.

Create 2 large rectangle shapes and 4 small rectangle shapes as seen on the stencil.
10 Attach the supports.

Attach the rectangular support pieces to each end of the bridge as shown.
11 Add the decorative side.

Finally, add the decorative side details you doodled in step 6. The Edmund Pettus Bridge is complete!


