


Heart-Shaped Cookie Cutter Stamps
- 30 Minutes
- Intermediate
- Watch Video

What You'll Need
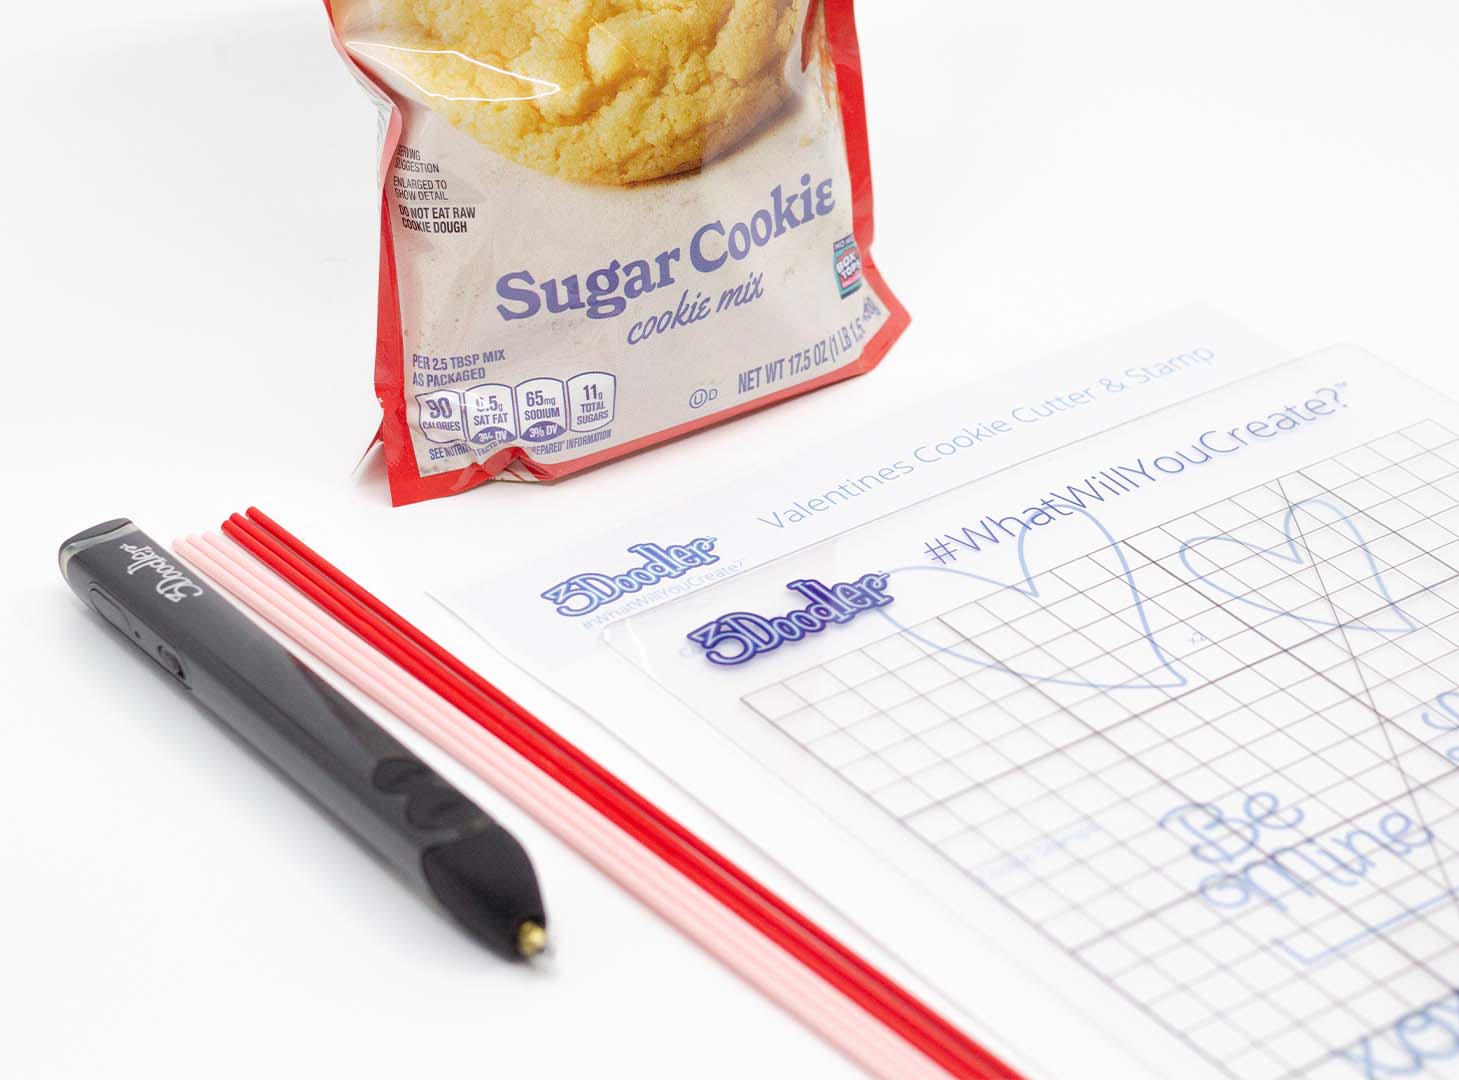
1 Assemble your materials!
Gather together your supplies: your 3D pen, some filament, and a DoodlePad. Then either make your own cookie dough from scratch or purchase your favorite ready-to-go dough!
2 Doodle the Cookie Cutter


Trace the hearts on the stencil. Make sure that depending on which size you choose, you have two hearts that match. Once they are both Doodled, hold one on top of the other, with about a 1/2 inch gap in between. Take your pen and slowly Doodle to fill in the gap between the two hearts. When you are done, it should start to look like a three-dimensional cookie cutter.
3 Reinforce your creation

Because we are going to be using this shape to mold our cookies we need to make sure that it is strong and durable. This will require another layer of filament to be applied all around the inside and the outside of your heart-shaped cookie cutter. This filament needs to be applied tight and thick so that when you are done, your cutter is sturdy and can support being pressed onto cookie dough to form your cookie shape.
4 Doodle the Cookie Stamps


Now, let's Doodle the Cookies Stamps. Doodle one of the messages from the stencil, or create your own! Similar to how you made the cookie-cutter, go back over your words several times to make sure your creation is bold and strong enough to be pressed evenly into a cookie. Next, Doodle the bar that is associated with each phrase and attach it to the back of the stamp so you have something to hold onto.
5 Let's cut the dough!

Now that our cutters are ready to go - it's time to shape and bake our cookies. Preheat the oven to whatever your recipe calls for, and roll the dough out flat. Using your cookie cutter, firmly press the heart into the dough, and then arrange your heart-shaped cookies on the cookie tray.
internal_server_error