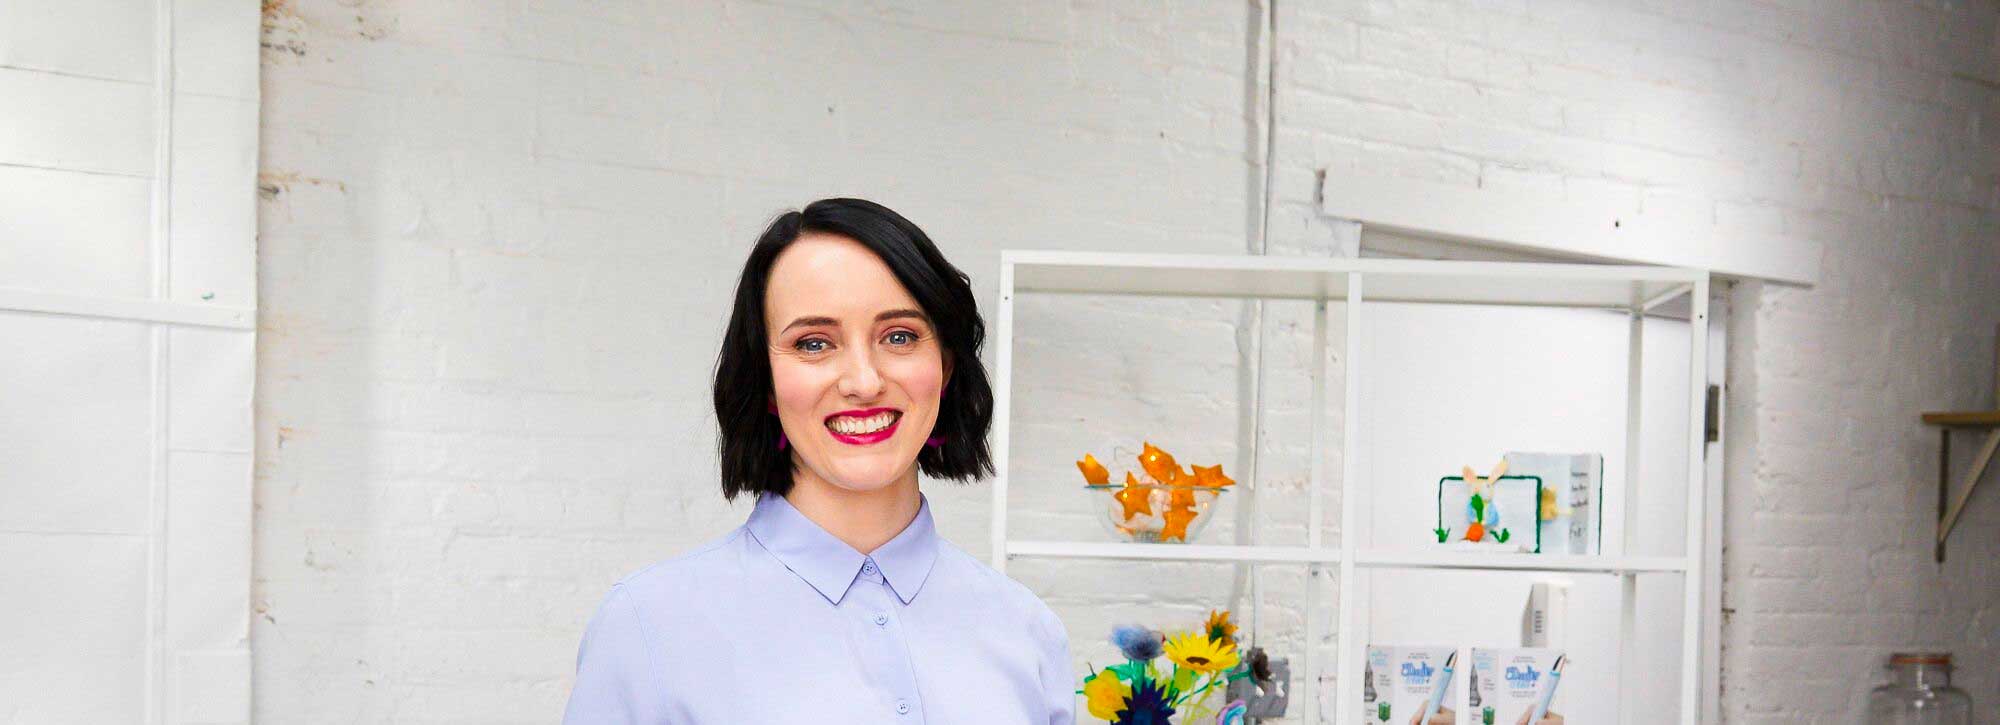
Prolific 3Doodler Printing Pen Artist, Grace Du Prez, has been Doodling since 2014 and has worked on record breaking projects, such as a life sized car for Nissan. She is also the host of our Bluprint 3D Pen Art series.
Grace has been running 3D Pen Creation workshops for two years, so she knows all the best tips and tricks for beginners. She has gathered the top 10 most common questions she’s received since the beginning of her Doodling career, and answered them here.
1. How do I use a 3D Pen? What can I make with a 3Doodler?
There are three main ways to use a 3D pen like 3Doodler.
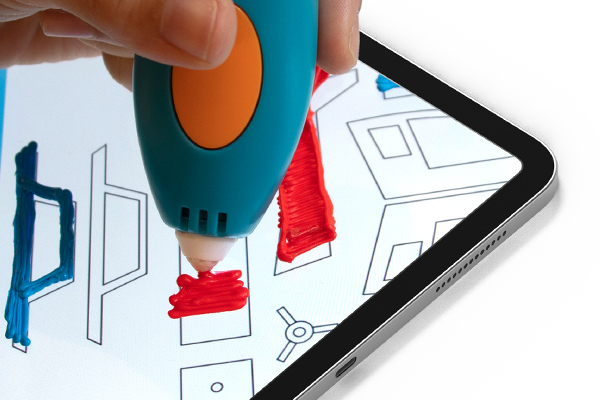
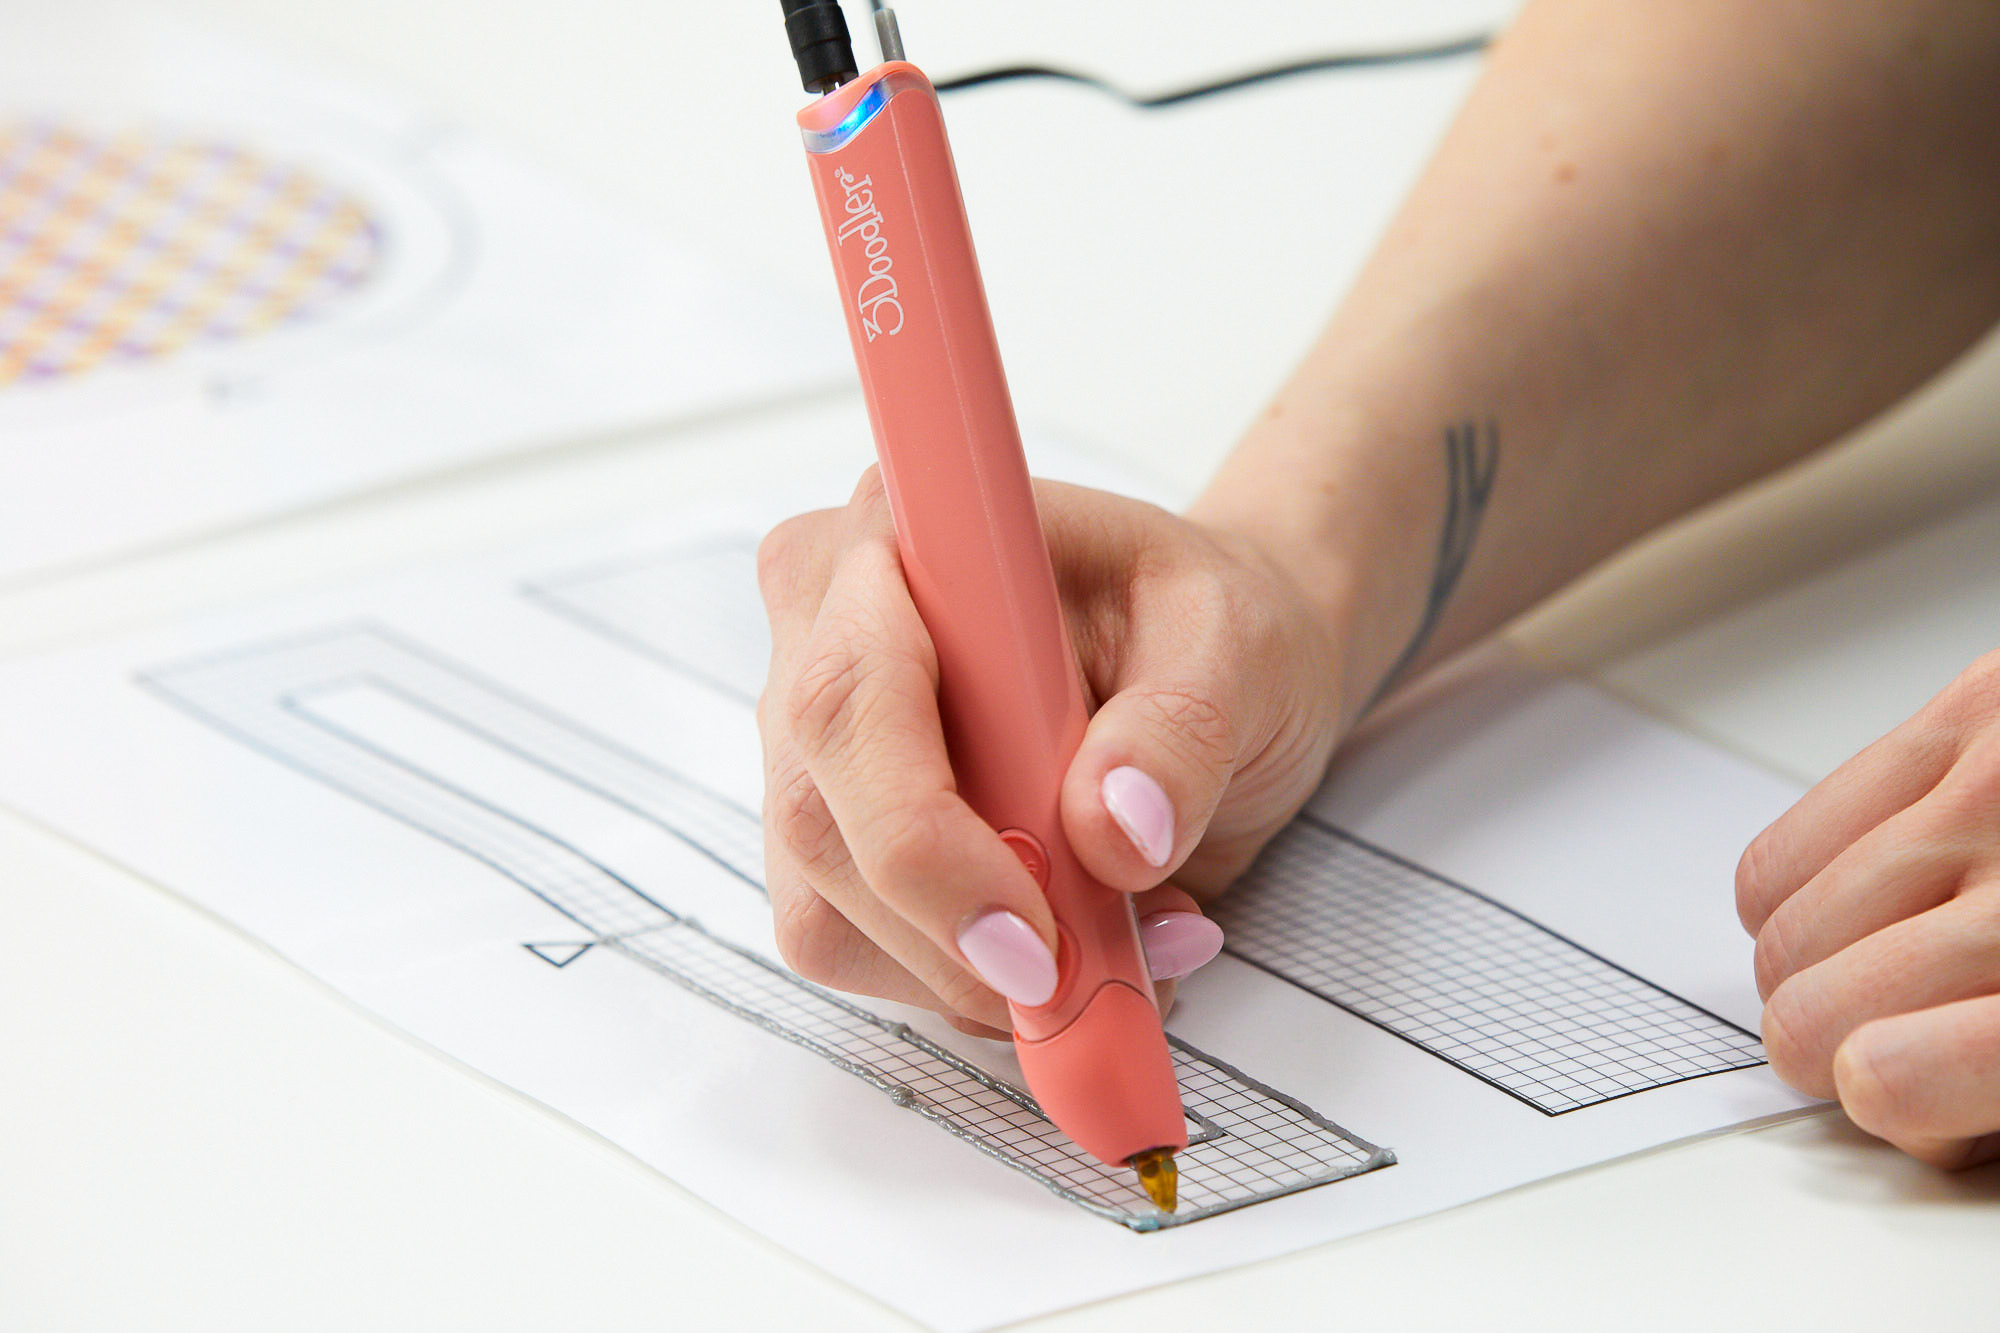
Use a 3D pen design Template or Stencil
This technique is great for beginners to draw flat designs. You can also use this technique to construct simple 3D shapes like a cube. Make 6 flat squares then join together to create the 3D shape. There are lots of 3Doodler stencils available for free online.
Freestyle Doodling
This involves drawing up into the air or building an object up by layering. This is one of the most common ways we’ve seen 3Doodler art being made. This technique can require a bit of practice as you’re using your eye to judge if it looks right.
Using Molds
This involves drawing over a pre-existing object, such as a salad bowl. The plastic will set in that shape and can be removed when you’re done, or remain on the object. If it’s something like a bowl it can be done in one piece. If the shape is something like a ball, you can make the two halves and then join together afterwards. Something like a balloon can be drawn over and then deflated. This technique is used in my Lantern Lights video. There are some great canvas mold 3Doodler projects available, or you can use any household object as long as it’s covered in masking tape – even a smartphone!
For more 3Doodler tips and tricks, take a look at my Getting Started video.
2. Why is there a red light on my 3Doodler pen? What do the different light colors mean?

Don’t worry, the red light is totally normal and just means that the pen is heating up to the right temperature. When it’s ready to extrude plastic, the red light will change to either blue or green. It’s important to have it on the right heat setting as each plastic melts at a specific temperature. Blue for ABS and Flexy, and Green for PLA.
Many people are concerned about 3D pen safety. The 3Doodler pen has a great safety feature – if you’ve taken a short break, the pen will start to cool itself down. This means that the red light will come on again. Simply turn the pen off, and then on again, and it will automatically start warming up to the temperature you set it to.
3. Why is the plastic not coming out of my 3Doodler 3D pen?
If your 3Doodler is not feeding, try giving the plastic a gentle push into the pen (but make sure you have clicked either FAST or SLOW first). When your filament has run out, just insert the next strand to keep the plastic flowing.
It’s better to push the plastic from a point on the strand that is close to the pen, otherwise you risk bending and damaging your plastic filament.
If the 3Doodler plastic is jammed, there are a few questions you can ask yourself: Are you on the right heat setting? Each plastic melts at a specific temperature so if it’s not on the right one it won’t melt. Is there a flashing blue or green light? You may have gone into reverse by mistake, a function that is engaged by double clicking on either FAST or SLOW button. To be on the safe side if you’ve done this, fully reverse the plastic out, snip the frayed end of the filament off with a pair of scissors or pliers, and try reinserting it.
4. Should I use FAST or SLOW mode when using the 3Doodler 3D pen?
There is no right or wrong option here, it’s about finding what feels right for you and adapting to the situation.
It gets the project done in less time, and is ideal for those large-scale projects.
It’s good for welding two pieces of plastic together. As the plastic is extruding more quickly it stays hotter for longer, which helps to re-melt the plastic you’re welding and give you a more stable connection.
It’s better for beginners as you have more time to think ahead and control your 3D pen.
It’s great for drawing up into the air. When in SLOW mode, the plastic is making more contact with the cool air around it and setting in that position. This will really help you perfect those spirals and staircases!
When using 3Doodler Flexy plastic, it’s better to be on SLOW mode.
5. How do I start my 3Doodler 3D pen?
Simply click either FAST or SLOW once to start. To stop, click either button once again. A common mistake is to press and hold the button, which you don’t need to do, as the plastic will continually extrude with one click.
Something else to watch out for is that there is a slight delay between pressing a button and the plastic extruding. Avoid clicking multiple times as you’ll just be starting and stopping your pen repeatedly.
6. How should I hold the 3Doodler 3D pen?
Hold it like you would a marker pen. You can hover your index finger over the buttons so that you can easily start and stop. Some find it easier to turn it upside down so that the clear plastic window is facing up and your thumb is hovering over the buttons. What’s important is that you find a way that suits you.
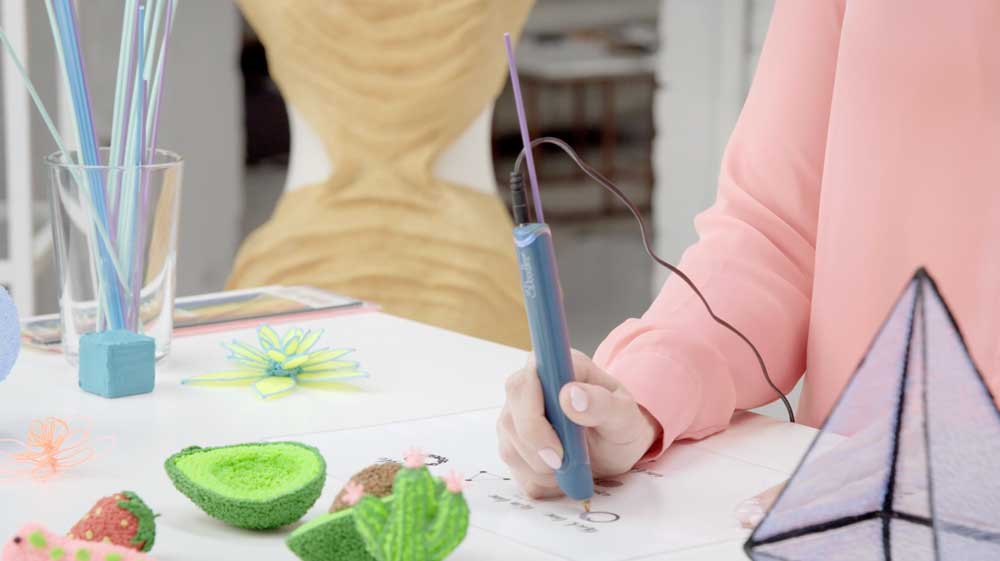
You might naturally want to hold the pen at a 45-degree angle and move it at the speed you would with a regular pen or pencil. This can result in an inconsistent texture in the plastic. Instead, try holding your 3Doodler at a 90-degree angle so that it’s vertical to the page. This will make sure that the plastic extrudes evenly – imagine that you are mimicking a 3D printing machine!
Try experimenting with the speed that you move your hand. The slower you move, the thicker the Doodled line, and therefore the stronger your creation will be.
Test to see the difference between pressing down onto the page, versus hovering slightly above the page. Making contact with the page will give you a more precise line that will stick to the template, whereas having the pen tip hovering will result in a random squiggly effect. Have a look at my Getting Started video for the 7 top techniques on using a 3Doodler 3D pen.
7. How do I change the plastic color in my 3Doodler 3D Pen?
There are two ways to change the plastic color in your pen. If the filament is sticking out of the feed port, you can reverse the strand and gently pull it out, then load your desired color. If the strand is too short to pull out of the feed port, you can carefully remove the hot nozzle with the mini spanner (be sure to do this with the pen turned on and heated up), engage the reverse function, and insert the unblocking tool through the nozzle end of the pen. This will push the short strand out of the rear of the pen. Then you can replace the nozzle with the mini spanner, being careful not to overtighten it, and load the new strand of filament.

The plastic doesn’t need to go to waste! There are a lot of fun things you can make with half a strand of filament. You could even try out these projects to transform leftover plastic into beautiful jewelry and decor items!
Don’t try to apply too much force to pull the filament out, as you could end up doing some damage to the pen. Simply double click either the FAST or SLOW button, and the pen will do the hard work for you. Once it’s finished reversing, gently pull out the plastic. Watch this video to see how it works.
Reversed filaments may have a wispy ends, which can get tangled up in the mechanism of the pen. It’s important for you to snip it off before re-inserting it into the pen.
8. How do I get rid of mistakes in my 3Doodler art?
Mistakes are bound to happen, even for the most professional Doodlers. The nozzle tip can help you melt away pieces you don’t want on your design. You could also use scissors to create a super accurate edge. They need to be sharp, but don’t use your best sewing scissors as it may blunt them.
9. Why are there wispy strands on my 3Doodler creation, and how do I get rid of them?
You might notice that there are some ‘hairy’ bits on your creation. They can easily be melted away using the nozzle tip, but it’s better if you don’t make them in the first place (unless it’s intended)!
These might be caused by lifting the pen away from your work too quickly. A bit like mozzarella on a pizza! Once you’ve pressed stop, count to three and then pull away. You’ll get a much cleaner finish.
10. Is 3Doodler plastic environmentally friendly?

PLA (Poly Lactic Acid) is a eco-friendly type of plastic that is made from the starch of plants such as corn, sugar cane or sugar beet. This means that it is environmentally friendly and sustainable. With the right conditions it can take approximately 6-12 months to break down compared to other plastics, which can take hundreds of years.
ABS (Acrylonitrile Butadiene Styrene) can be recycled, but it is not widely accepted by local authorities. Don’t let that stop you, as you can do it yourself at home with a few easy steps!
Read more about 3Doodler’s Plastics Promise here.
