Getting Started
Just getting started with your 3Doodler Chef? Designed for effortless handling and precise control, this pen puts the power of confectionery creation right in your hands. Let’s walk through the basics so you can start crafting delicious designs immediately.
Basics
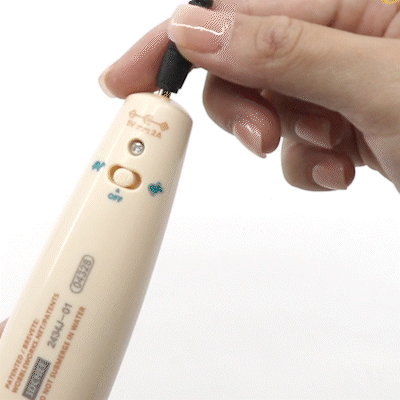
The Pen
The Buttons
- Forward Button: Initiates and pauses candy extrusion (tap or hold).
- Reverse Button: Ejects an empty capsule and prepares for the next one.
Indicator Lights
- Red: Pen is warming up.
- Green: Slow (detailed) mode is active.
- Blue: Fast (fill) mode is active.
- Flashing Green/Blue: Reverse mode (ready to swap capsules).
Operation
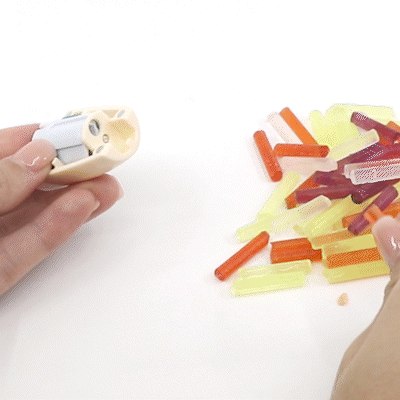
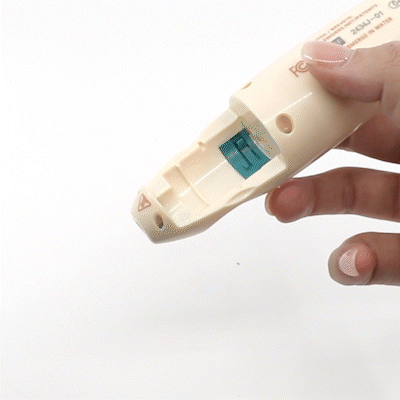
Feeding Capsules
- Gently insert the capsule cartridge and push until the pushrod snaps it into position.
- When a capsule runs out, the pushrod will automatically pop forward to accept the next one (you’ll hear a click).
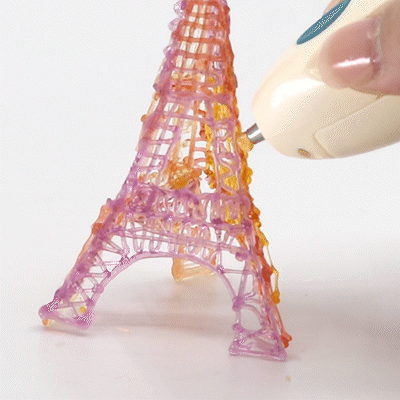
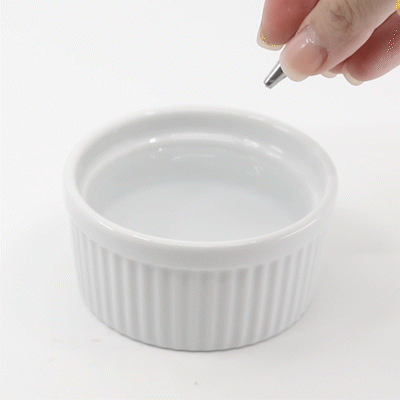
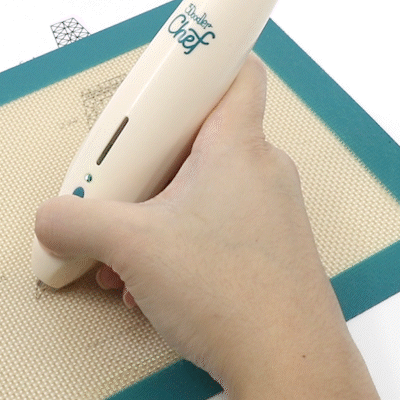
Anchoring Your Candy
- To ensure adhesion, press the nozzle firmly against your silicone mat or baked goods for a couple of seconds.
- Let enough candy extrude so it “sticks” before lifting the tip to continue your design.
Joining Candy Pieces
- To fuse two pieces, extrude a small amount of candy at the joint and press the nozzle to both surfaces until they bond.
Finishing and Tips
Reverse and Swap Capsules
- Once a capsule empties, you’ll hear the pushrod click and the pen will enter reverse mode (indicator flashes).
- Press Reverse to fully eject the used cartridge.
- Remove the empty capsule and insert a new one, pushing until you hear a click again.
Troubleshooting
Clogged Nozzle
- Power on and wait for Green or Blue.
- Carefully remove the nozzle.
- Rinse it under warm water and scrub with the Cleaning Brush to clear blockages.
- Reattach once completely dry, then heat up again.
Pushrod Won’t Feed
- If a capsule doesn’t advance, remove the cartridge and reseat it, pushing firmly until the pushrod locks in place.
- Always store capsules in a cool, dry spot to keep them feeding smoothly.
Accessories