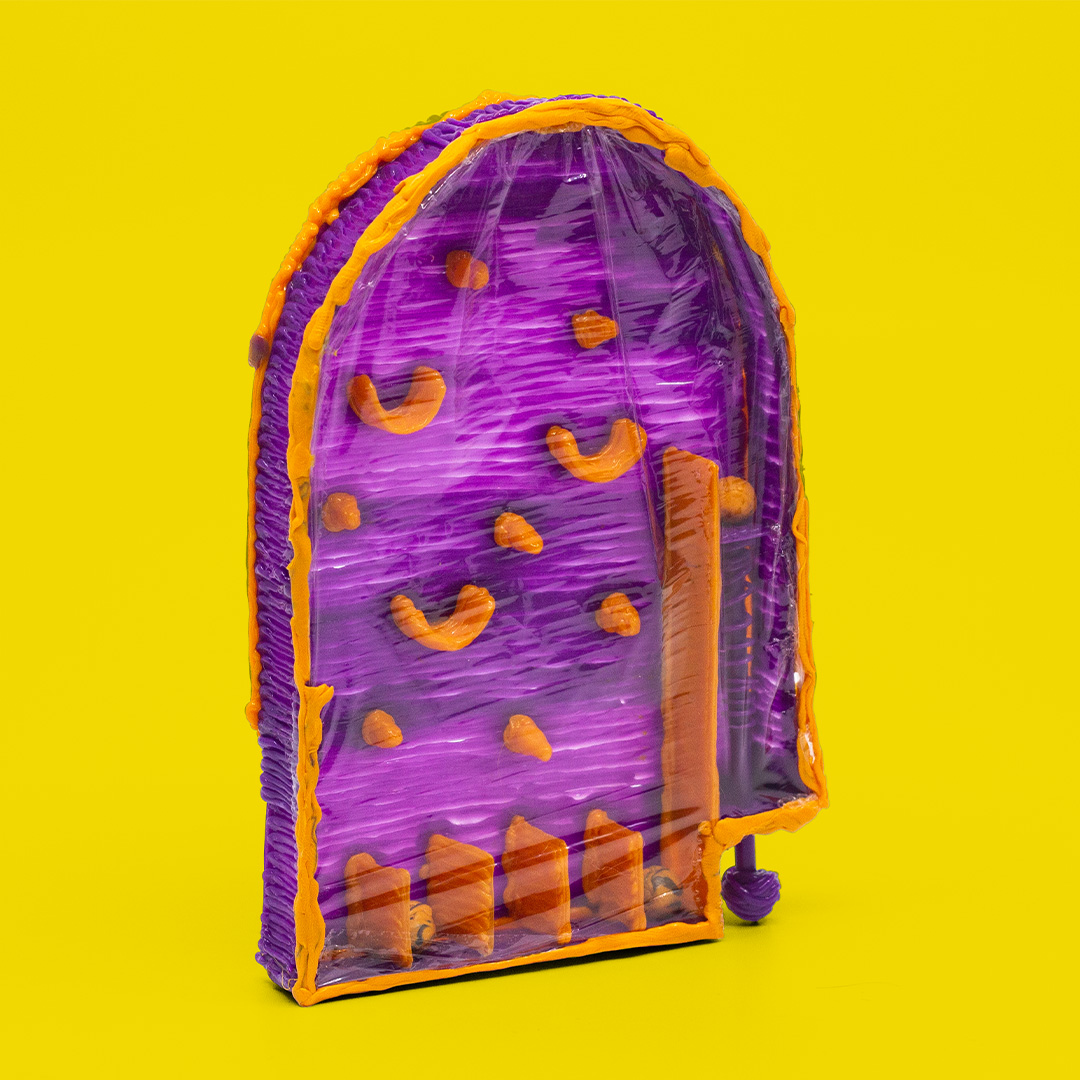
DIY Phone Speaker
- 45 Minutes
- Intermediate

What You'll Need

1 Get your supplies!

Gather your supplies and find a clear space to work.
2 Trace and fill the pieces on the stencil.

Print the stencil and place the DoodlePad on top. Trace and fill in each of the items on the stencil.
3 Shape the cardboard.

Find a thin piece of cardboard. Cut it to match the shape on the stencil and fold it along the small dotted line.
4 Attach the small triangles.

Take the front of the speaker. Attach small triangles to the right and left sides of the speaker with plastic.
5 Attach the insert.

Take the rectangle shape and doodle along the bottom. Attach it to the triangles. This will create the inside of the speaker to direct the sound.
6 Attach the sides.

Take the larger triangle shapes. Attach one to either side near the smaller triangles.
7 Attach the cardboard.
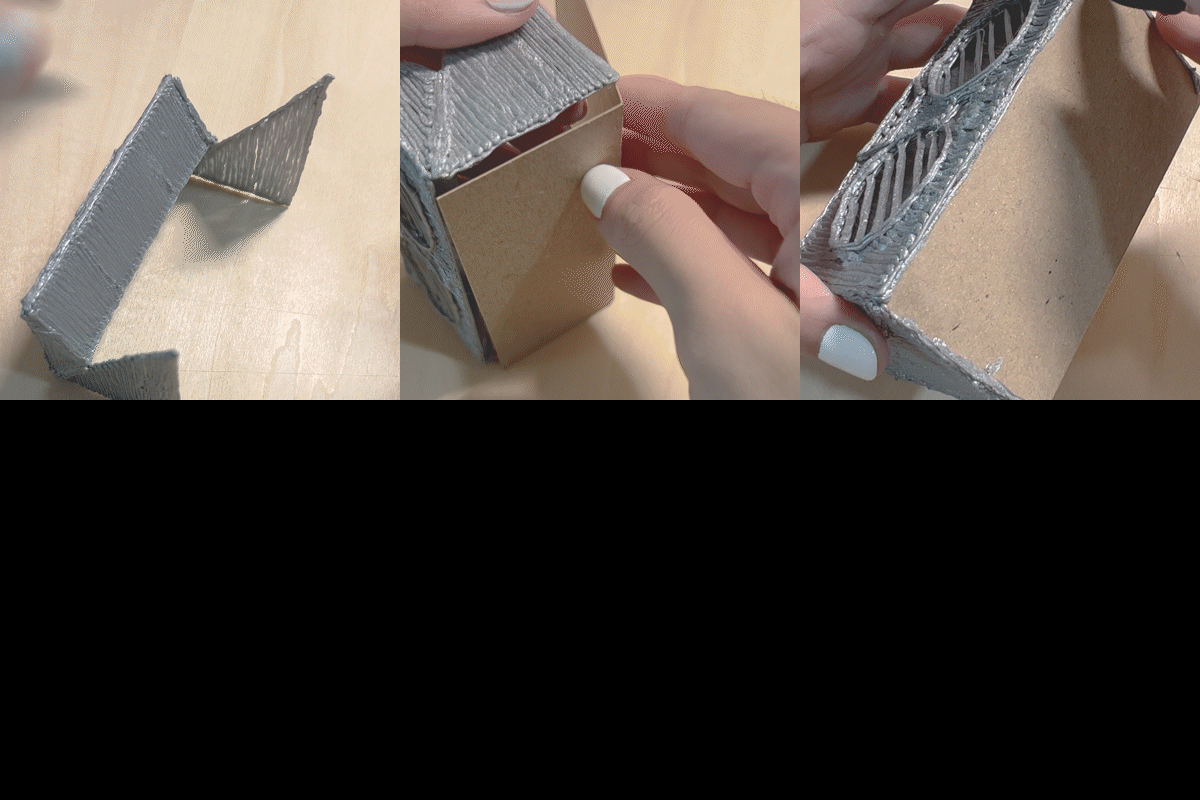
Take the cardboard shape to create the bottom and back of the speaker stand. Attach it to the sides of the phone stand with plastic. Insert your phone and turn up the volume!
