


Blast off with this Rocketship Doodle
- 20 Minutes
- Beginner
- Watch Video

What You'll Need

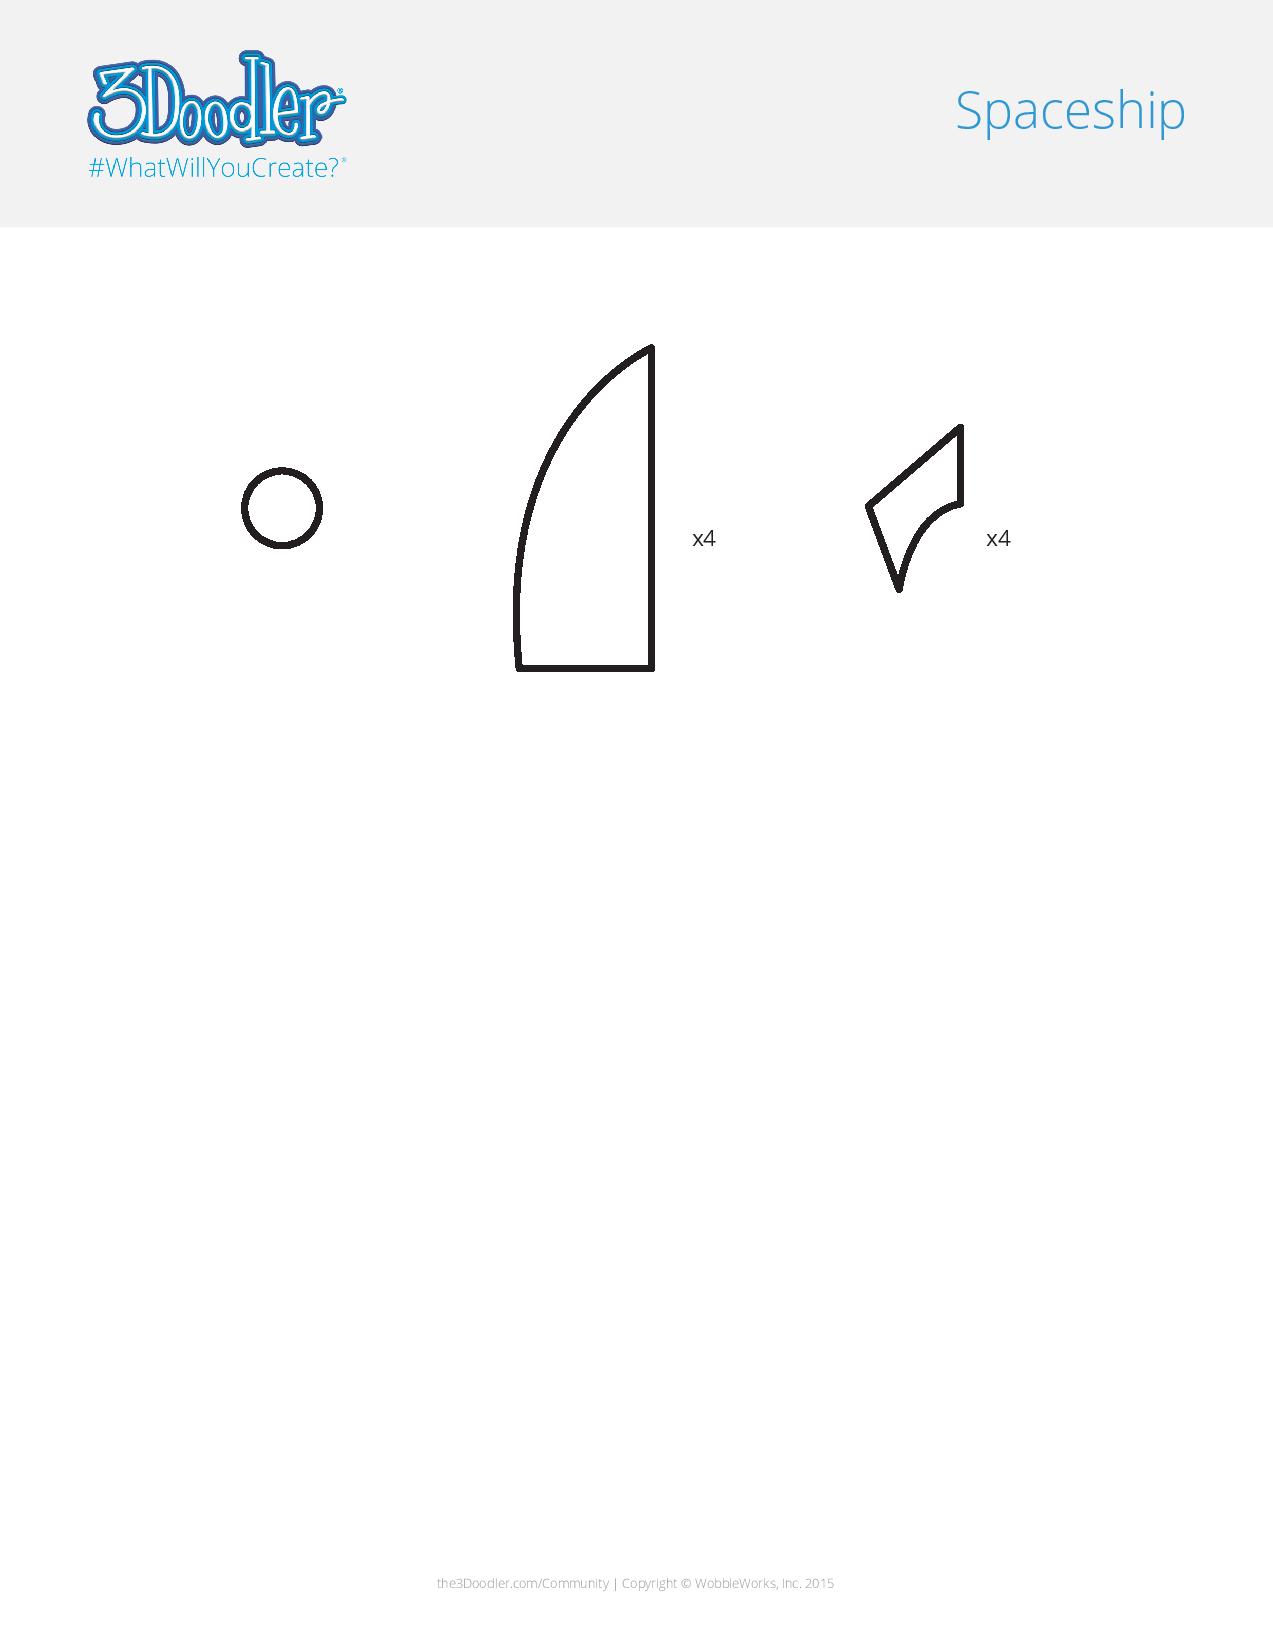
1 Assemble your materials!
Print out the FREE stencil and gather your filament and other materials prior to Doodling. This will allow you to streamline the entire Doodling process.
2 Build the body of the rocket

Start by Doodling the 4 pieces necessary to construct the body of the rocket ship. Then connect those pieces as shown.
3 Doodle the exterior

Fill in the walls of the rocket ship by Doodling around the exterior. Feel free to go over each wall several times. The more layers you add, the stronger it will be!
Pro tip: what a few seconds after Doodling so that the filament can harden completely before applying another layer. This will allow you to cover more of the exterior as the filament can now support itself because it has cooled.
4 Doodle the wing fins

Back to the stencil, Doodle the four wing fins.
5 Attach the wings to the rocket

Using the welding technique attach the wing fins to the outside of the rocket. Make sure to position them symmetrically around the base because these fins are what your rocket will balance on when complete.
6 Time to customize your rocket


Back on the stencil, Doodle the window circle. Using the welding technique attach the window to your rocket. You can also pick a new pop of color to use to Doodle the tip of your rocket. We picked blue for ours!
Then add some color where you please to help make your Doodled rocket ship your own.