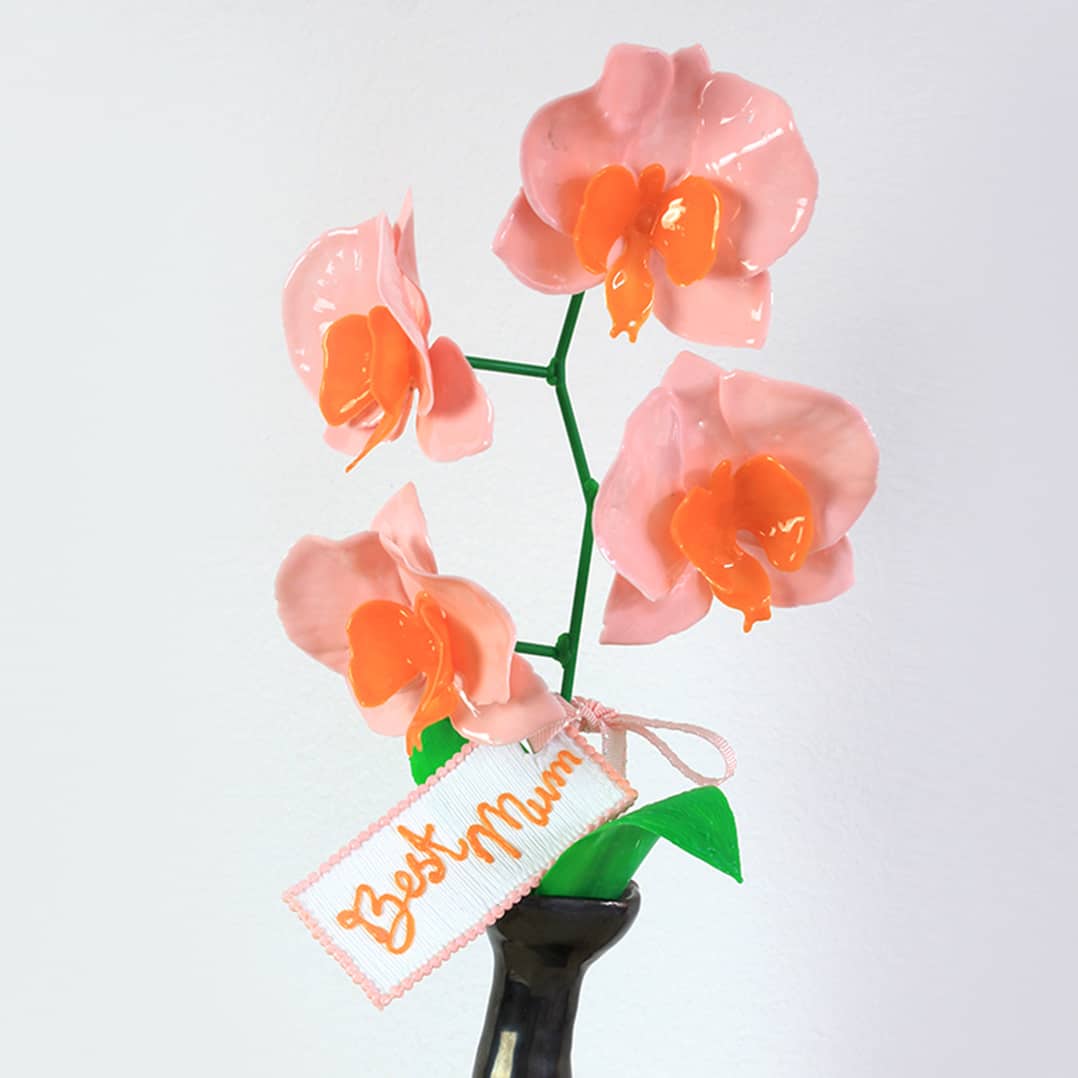
Beautiful Orchids
- 120 Minutes
- Advanced
- Watch Video

What You'll Need

- 3Doodler Create Pen
- 3Doodler Create PLA Plastic
- Orchids Stencil
- Aluminium Foil / Baking Paper
- DoodlePad™ or Clear Tape
- Hair Dryer
1 Draw The Petals

Print out the stencil. Place a DoodlePad on top of it or cover with clear tape before filling in the lines with your 3Doodler Create Pen.
2 Peel Them Off

Once the plastic hardens, carefully peel the shapes off.
3 Bake It To Make It

Place the Doodled shapes on aluminium foil or baking paper. Bake in the oven at 180°c or until Doodled surface smoothens. Leave to cool, then carefully remove the pieces.
4 Bend & Mend

One by one, heat each piece up with a hair dryer, then bend the petals inward to create natural orchid shapes. Doodle to attach the orchid centers to the petals.
5 Add The Stems

Snip off a third of a green plastic strand, then Doodle to attach it onto the flower. Repeat for all the flowers. Take a new strand of green plastic, and Doodle to attach the flowers with the stems onto it, to create one complete orchid.
6 Leaf The Best To Last

Use the stencil to make the leaves, peel off once hardened. Use the hairdryer to heat the leaves and bend them, then attach the leaves to the stem.
7 Made With Love

If you're giving this as a gift, Doodle a personalized message tag to go with the orchid and wrap it up with a ribbon.
8 It's finished!

Enjoy vibrant orchids that never fade!


