Make a Monster
- 45 Minutes
- Intermediate

1 Choose the shape!

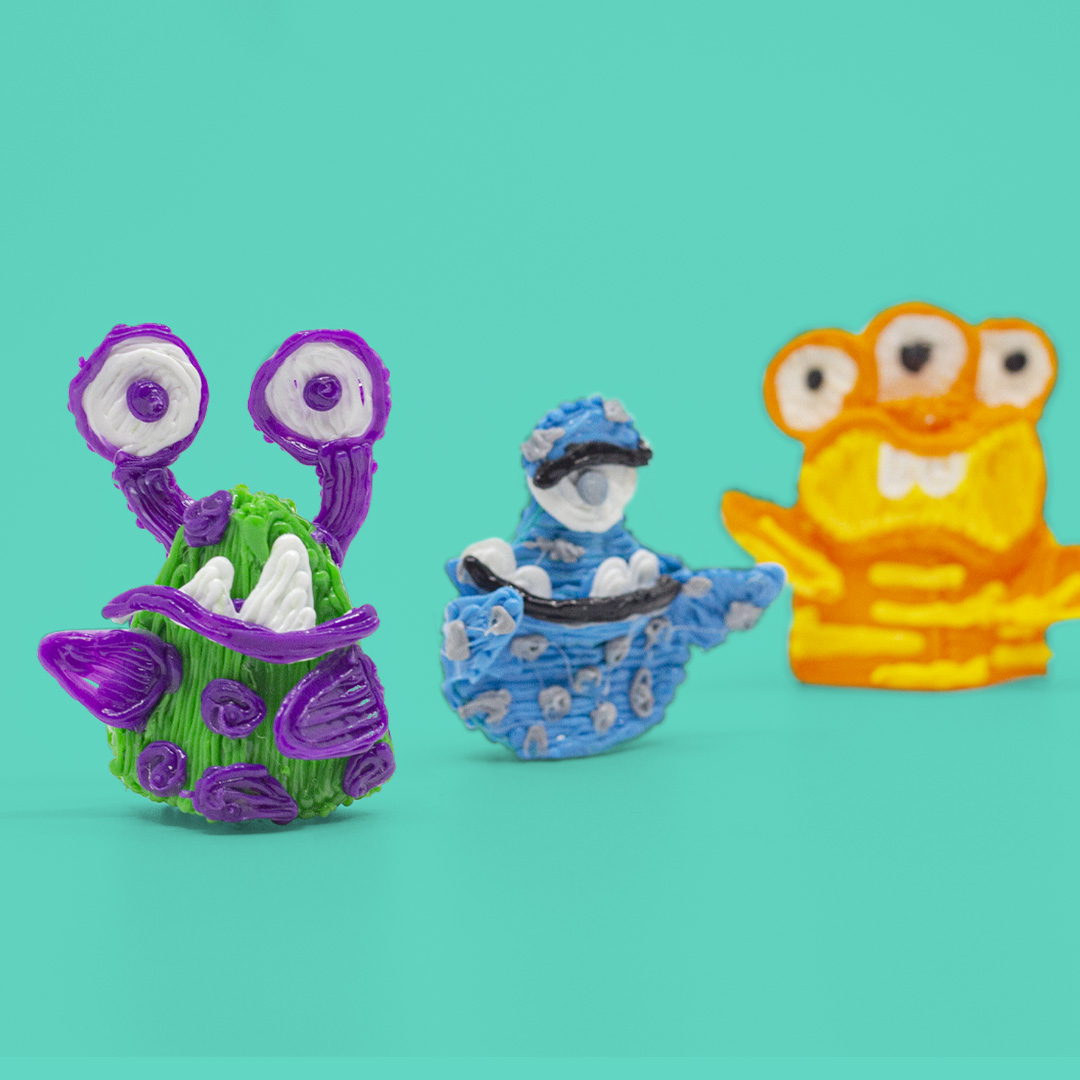
Looking at the stencil, choose the shape you want your monster to take. Begin doodling each shape. Be sure to create the as many as you need to form the body.
2 Attach the pieces together.

Next attach the pieces together to form the shape of the body.
3 Trace the mouth.

Choose a mouth for your monster. Trace the mouth with your 3D pen. Be careful to outline each area.
4 Choose the eyes.

Then choose a pair of eyes for your monster. Trace them out on the stencil. Add detail for the pupil in the center of the eye.
5 Trace the arms.

Now choose the arms, legs, or ears. In this example, we are using the arms. Trace two of each shape.
6 Attach the body parts.

Using additional plastic carefully attach the eyes to your monster's head. Then attach the mouth and the arms. Add details to the mouth or body like spots or stripes.
7 Monster complete!

The monster is done. Continue using elements from this stencil to create more crazy creatures and bring your imagination to life in 3D!


