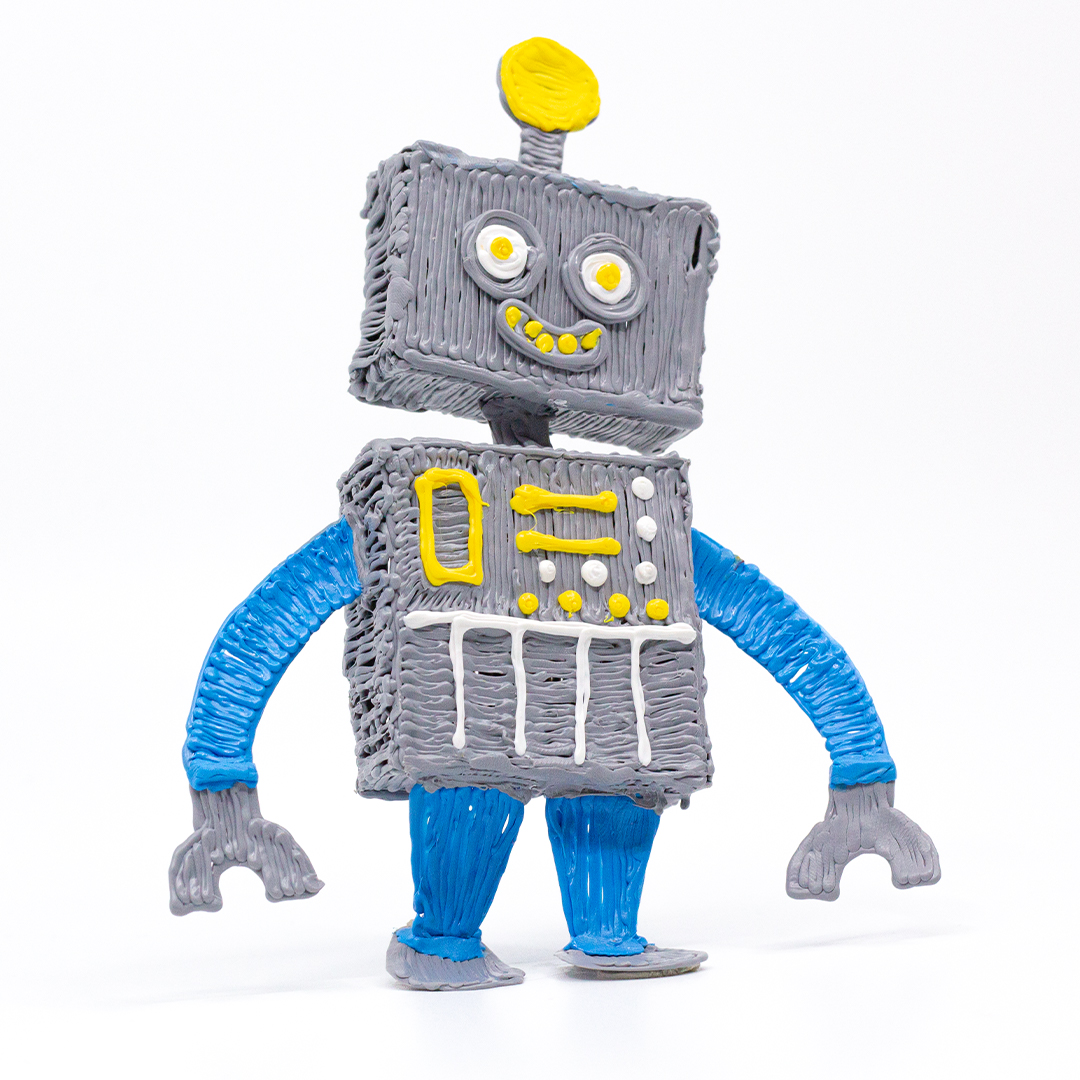
STEAM Robot
- 30-45 Minutes
- Intermediate
- Watch Video

1 Assemble your materials!

Print out the FREE stencil and gather your plastic prior to starting your Doodling. This will allow you to streamline the entire Doodling process.
2 Doodle the Head and Body

Start by using the DoodlPad to trace over the head and body pieces using the free stencil. Once you have all the parts Doodled, it’s time for assembly!
To construct the head: We’re going to use both A pieces (for the front and back of the head) plus both B pieces (sides of the head) and 2 C pieces (top and bottom of the head) to create the robot head. Doodle them together using a thin line of filament and hold them in place until the plastic has dried.
To construct the body: Doodle parts C (the sides, top, and bottom of the body), D (the back of the body), and E (the front of the body). Doodle them together using a thin line of filament and hold them in place until the plastic has dried.
3 Doodle the Face

Now Doodle the face and the other features that'll be attached to the head. Attach the face and add color details so that the face fits the rest of the body.
4 Attach the arms and legs & assemble the robot

Next up is Doodling the arms and legs.
Once Doodled, attach them to the body of the robot.
Next Doodle a neck and securely attach the head of the robot to the body.
5 FInish by Adding some Detail

The final step is to add any pops of color or additional details that are unique to your robot. Get creative with color, texture, and location when you get to this step.


