Baseball Hat
- 30 Minutes
- Beginner

1 Gather materials!

Find a clean space to work on and gather your 3D pen, plastic strands, DoodlePad, and printed stencil.
2 Trace and fill the triangles.

Begin by slowing tracing the outline of the triangle shapes at the top of the stencil. Once you have traced it, fill in triangle by drawing left to right across the shape from top to bottom.
3 Remove and connect the shape.

Remove the shape from the DoodlePad. Add plastic to one end and connect the ends together creating a circle. The shape will resemble a crown. Now, push the top of two triangles toward the center of the circle and connect them with some plastic. Continue to pull in the tops of the rest of the triangles and connect those to the center as well. You should have the top of the hat when done.
4 Fill in the hat.

First, fill each triangle in using a vertical motion by drawing from top to bottom. Next, fill the shape in using a horizontal motion by drawing from left to right across each triangle. Continue this step until each triangle shape is filled.
5 Create the brim.

Trace the brim shape on the stencil. Fill it in by drawing vertically, or up and down, and then by drawing horizontally, or side to side. Remove the shape from the DoodlePad. Place it in between two triangle shapes and attach it to the hat using more plastic. Gently mold it to shape. Finally fill in the brim by drawing diagonally across it. The baseball hat should be taking shape.
6 Add a button.
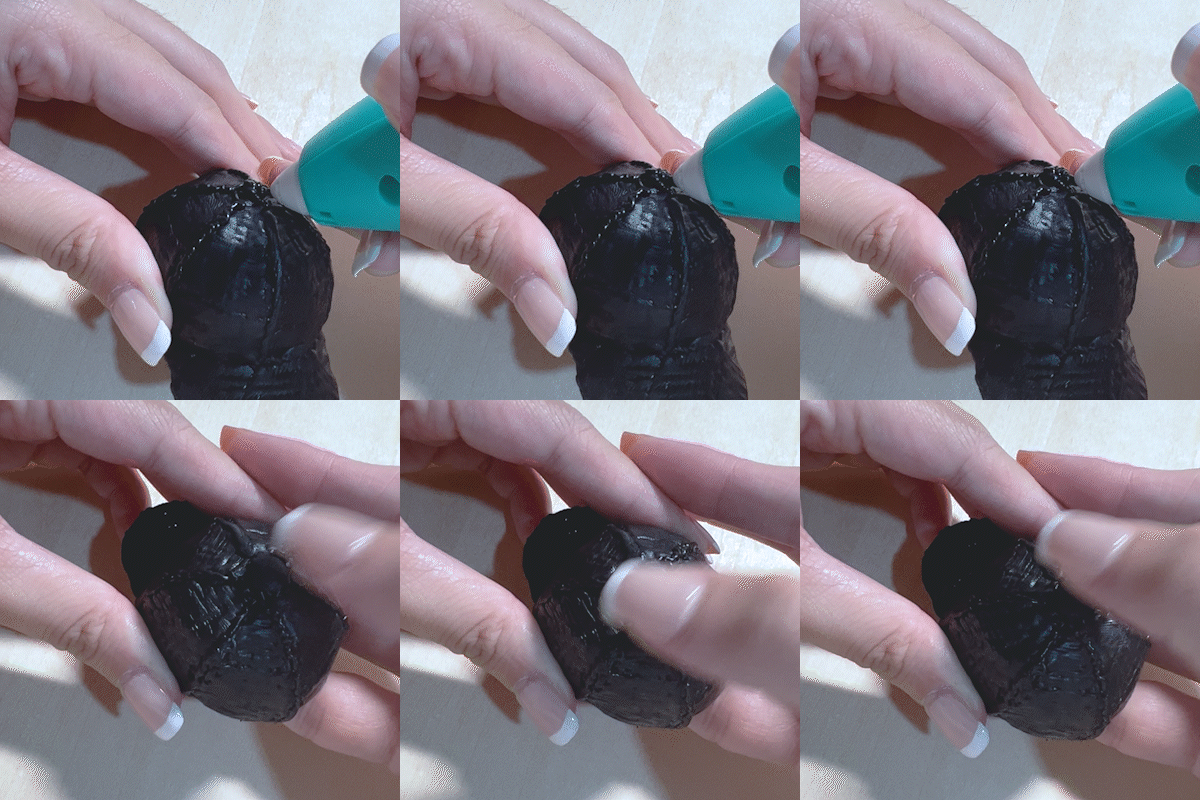
Add a button to the top of the hat by extruding a small amount of plastic and gently pressing it down.
7 Add a team logo!

Add your favorite baseball team's logo to the front of the hat. You can search one up online to be sure you have the right shape. The baseball hat is done!
