Ice Castle
- 45 Minutes
- Intermediate

1 Create shape E.

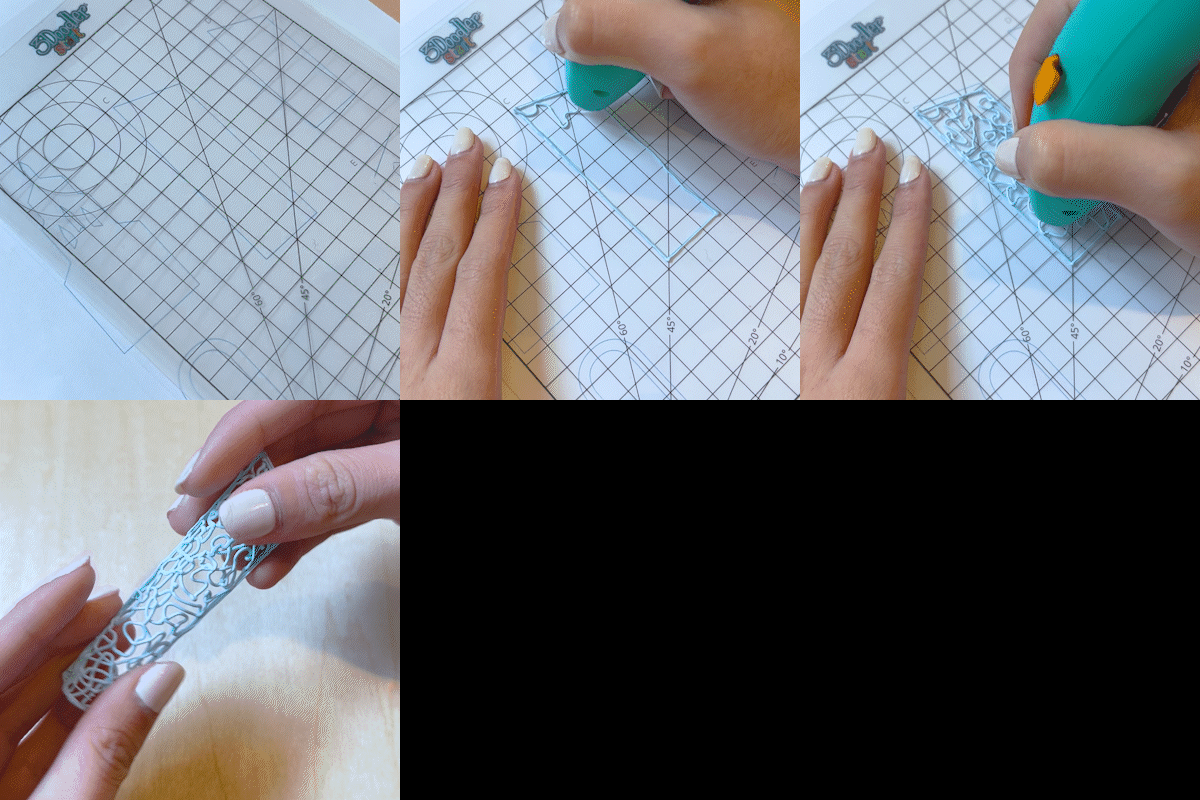
Prepare a clean work surface and place the DoodlePad over the stencil. Carefully, trace shape E. Then, doodle the inside using a looping motion. Remove the design from the DoodlePad and gently bend it to curve the shape. Repeat this step to create two sides.
2 Trace shape B.

Trace the arch, or the shape labeled B, on the stencil. Fill it in using a back and forth motion. Remove it from the DoodlePad.
3 Attach pieces.

Attach the sides (shape E) that you created to the arch (shape B). Doodle along the side and gently push the side to the arch. Let it cool before attaching the second piece.
4 Trace shape A.

Trace the front of the ice castle or shape A on your stencil. Once you have traced the outline, fill in the open spaces using an up and down motion.
5 Attach shape A.

Take the sides and the arch that you already created. Add plastic to the side without the arch and gently attach shape A. Let it cool and then add plastic to the other side to attach it too. When done, your design should begin to resemble an ice castle.
6 Create shape C.

Create the longest side of the castle by tracing shape C. Slowly fill in the shape with a looping motion. Remove the shape from the DoodlePad. Bend it around your finger and continue to fill in the shape with more material. Bend once more and let it set. Create 4 of these pieces.
7 Attach pieces.

Take the ice castle piece from step 5 and add on the shape you just created in step 6. Add material to one side and attach shape C. Repeat on the other side.
8 Create and attach shape D.

Trace shape D and fill it in using the looping motion. Remove it from the DoodlePad and bend it gently. Attach it to the tallest outer piece of the ice castle or shape C.
9 Close the ice castle.

Take the two remaining sides or shape C that you created in step 6. Attach these sides to back of the ice castle for added stability. Finally, add some material to doodle the pieces closed on the back.
To make a larger castle, you can create additional sides using shape C and D in the stencil. You could make a larger ice castle by adding additional sides and expanding the length or width of your design.


