Create a Holiday Gnome
- 45 Minutes
- Beginner

1 Gather materials!
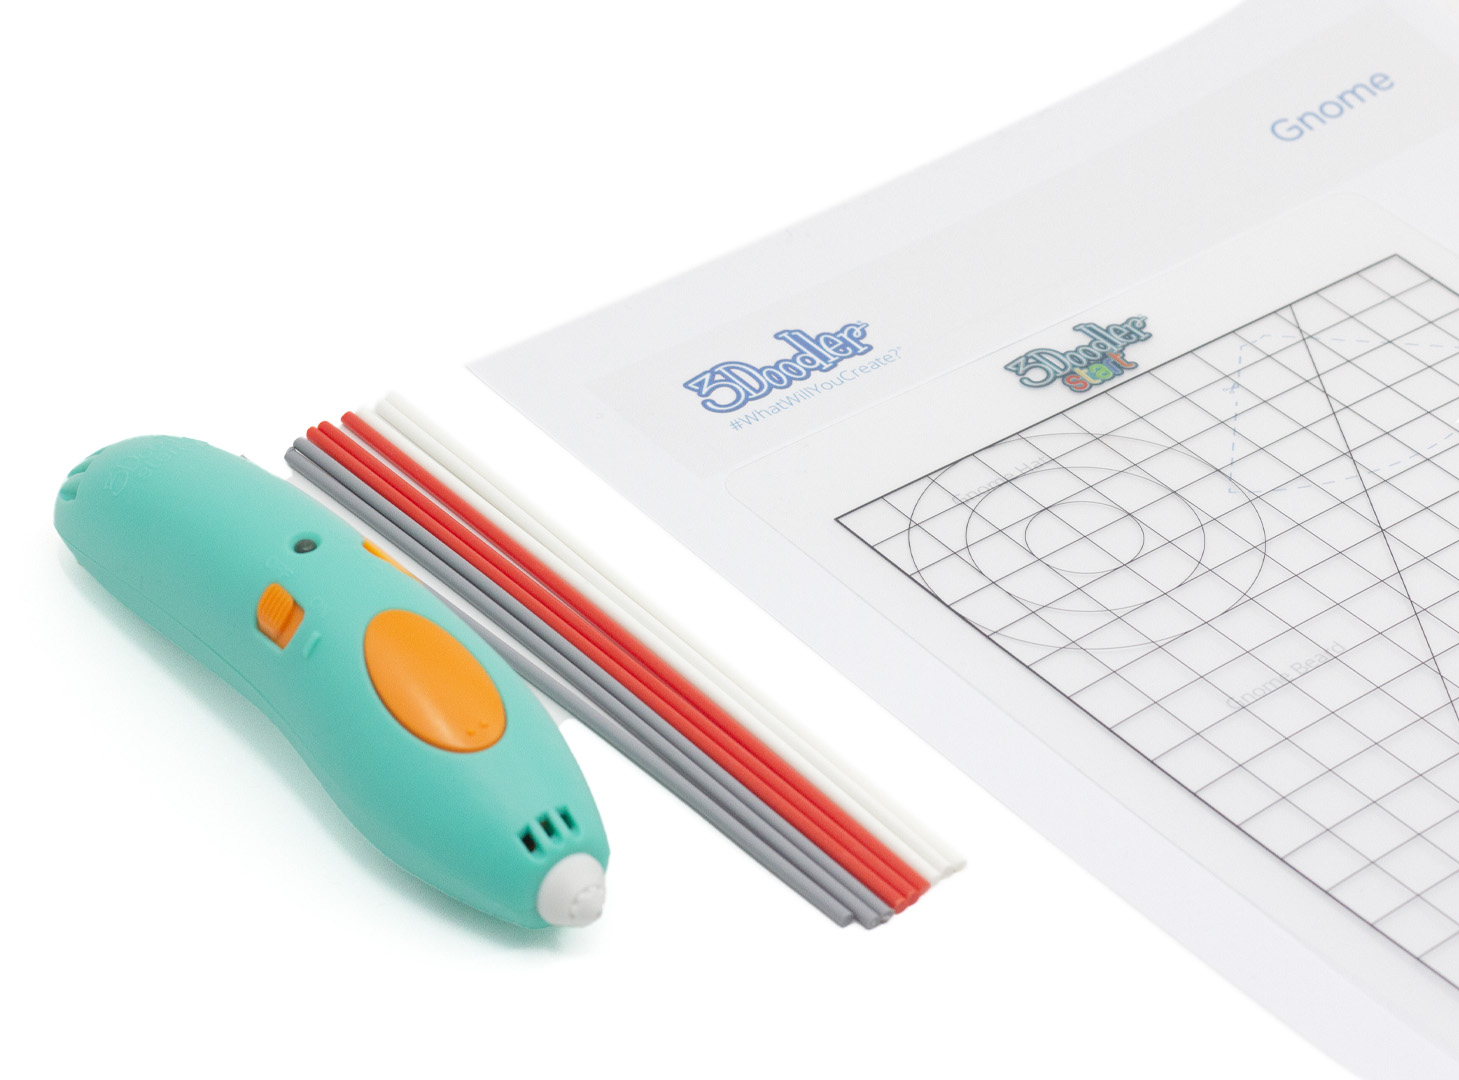
Get a Start+ 3D Printing Pen, Start+ eco-friendly plastics, DoodlePad and free stencil.
2 Cut the stencil.

Print the stencil and cut out the cone shape. Gently bend the paper so the sides meet.
3 Doodle the hat.

Gently doodle the seam of the hat so that the paper stays closed. Now, trace around the bottom edge of the hat and then fill the middle using an up and down motion. Add detail to the rim of the hat.
4 Add detail to the hat.

Using white filament, add a snowflake to the hat.
5 Create the beard.

Now, using the stencil and a DoodlePad, trace the outline of the beard and fill it in.
6 Connect the beard.

Remove the beard shape from the DoodlePad. Add plastic to the beard and gently connect it to the hat with the snowflake facing forward.
7 Create the nose.

Extrude plastic onto the tip of your finger and roll it into a ball. Once formed, attach the ball to the beard and hat.
8 Create the legs.

Trace around your pinky finger to form a small cylinder. Trace up and down as well to fill it in. Repeat this step.
9 Attach the pieces.

Attach the two leg shapes together. Then, using additional plastic, connect them to the back of the beard.
10 Create the loop.

Finally, using the DoodlePad, create a small loop. Attach it to the top of the hat. The holiday gnome is done!


