


Handmade Beads
- 10 Minutes
- Beginner
- Watch Video
- Modern & utterly wearable
- Tailored to your style
- Handmade look and feel
- Myriad of applications
- Gorgeous gifts
- Super cool family project
- Really easy for anyone to make
- The larger beads are hollow so you use less filament, which means more pretty beads!

What You'll Need
1 Cylindrical Bead

Wrap masking tape around your bead reamer. Start Doodling, twist the bead reamer to wrap the filament around to form a cylinder shape. Before the filament dries, use your fingers to gently apply some pressure and smooth out the filament. Then roll the bead on a flat surface to give it an even finish.
2 Round Bead with Dots

Make half a circle by doodling in circles around the tip of your pinky finger. Smooth out the filament. Once it’s fully hardened, remove from your finger, then repeat to make the other half of the circle. Place one half against the bead reamer, and doodle on the edge to create a surface for sticking the other half. Join the two halves. Finally, create dots on the bead with a different colored filament.
3 Small Round Bead

As you doodle, twist the bead reamer to wrap the filament around it. Doodle a second layer on top and make the center the thickest to form a sphere shape. Once the filament hardens, remove the bead from the reamer.
4 Big Oval Bead

Make half an oval by doodling in circles around the tip of your index finger. Once it’s fully hardened, remove from your finger, then repeat to make the other half of the oval. Place one half against the bead reamer, and doodle on the edge to create a surface for sticking the other half. Join the two halves. Finally, create texture by doodling spirals on the bead and flattening them out with your finger.
5 Beadiful!


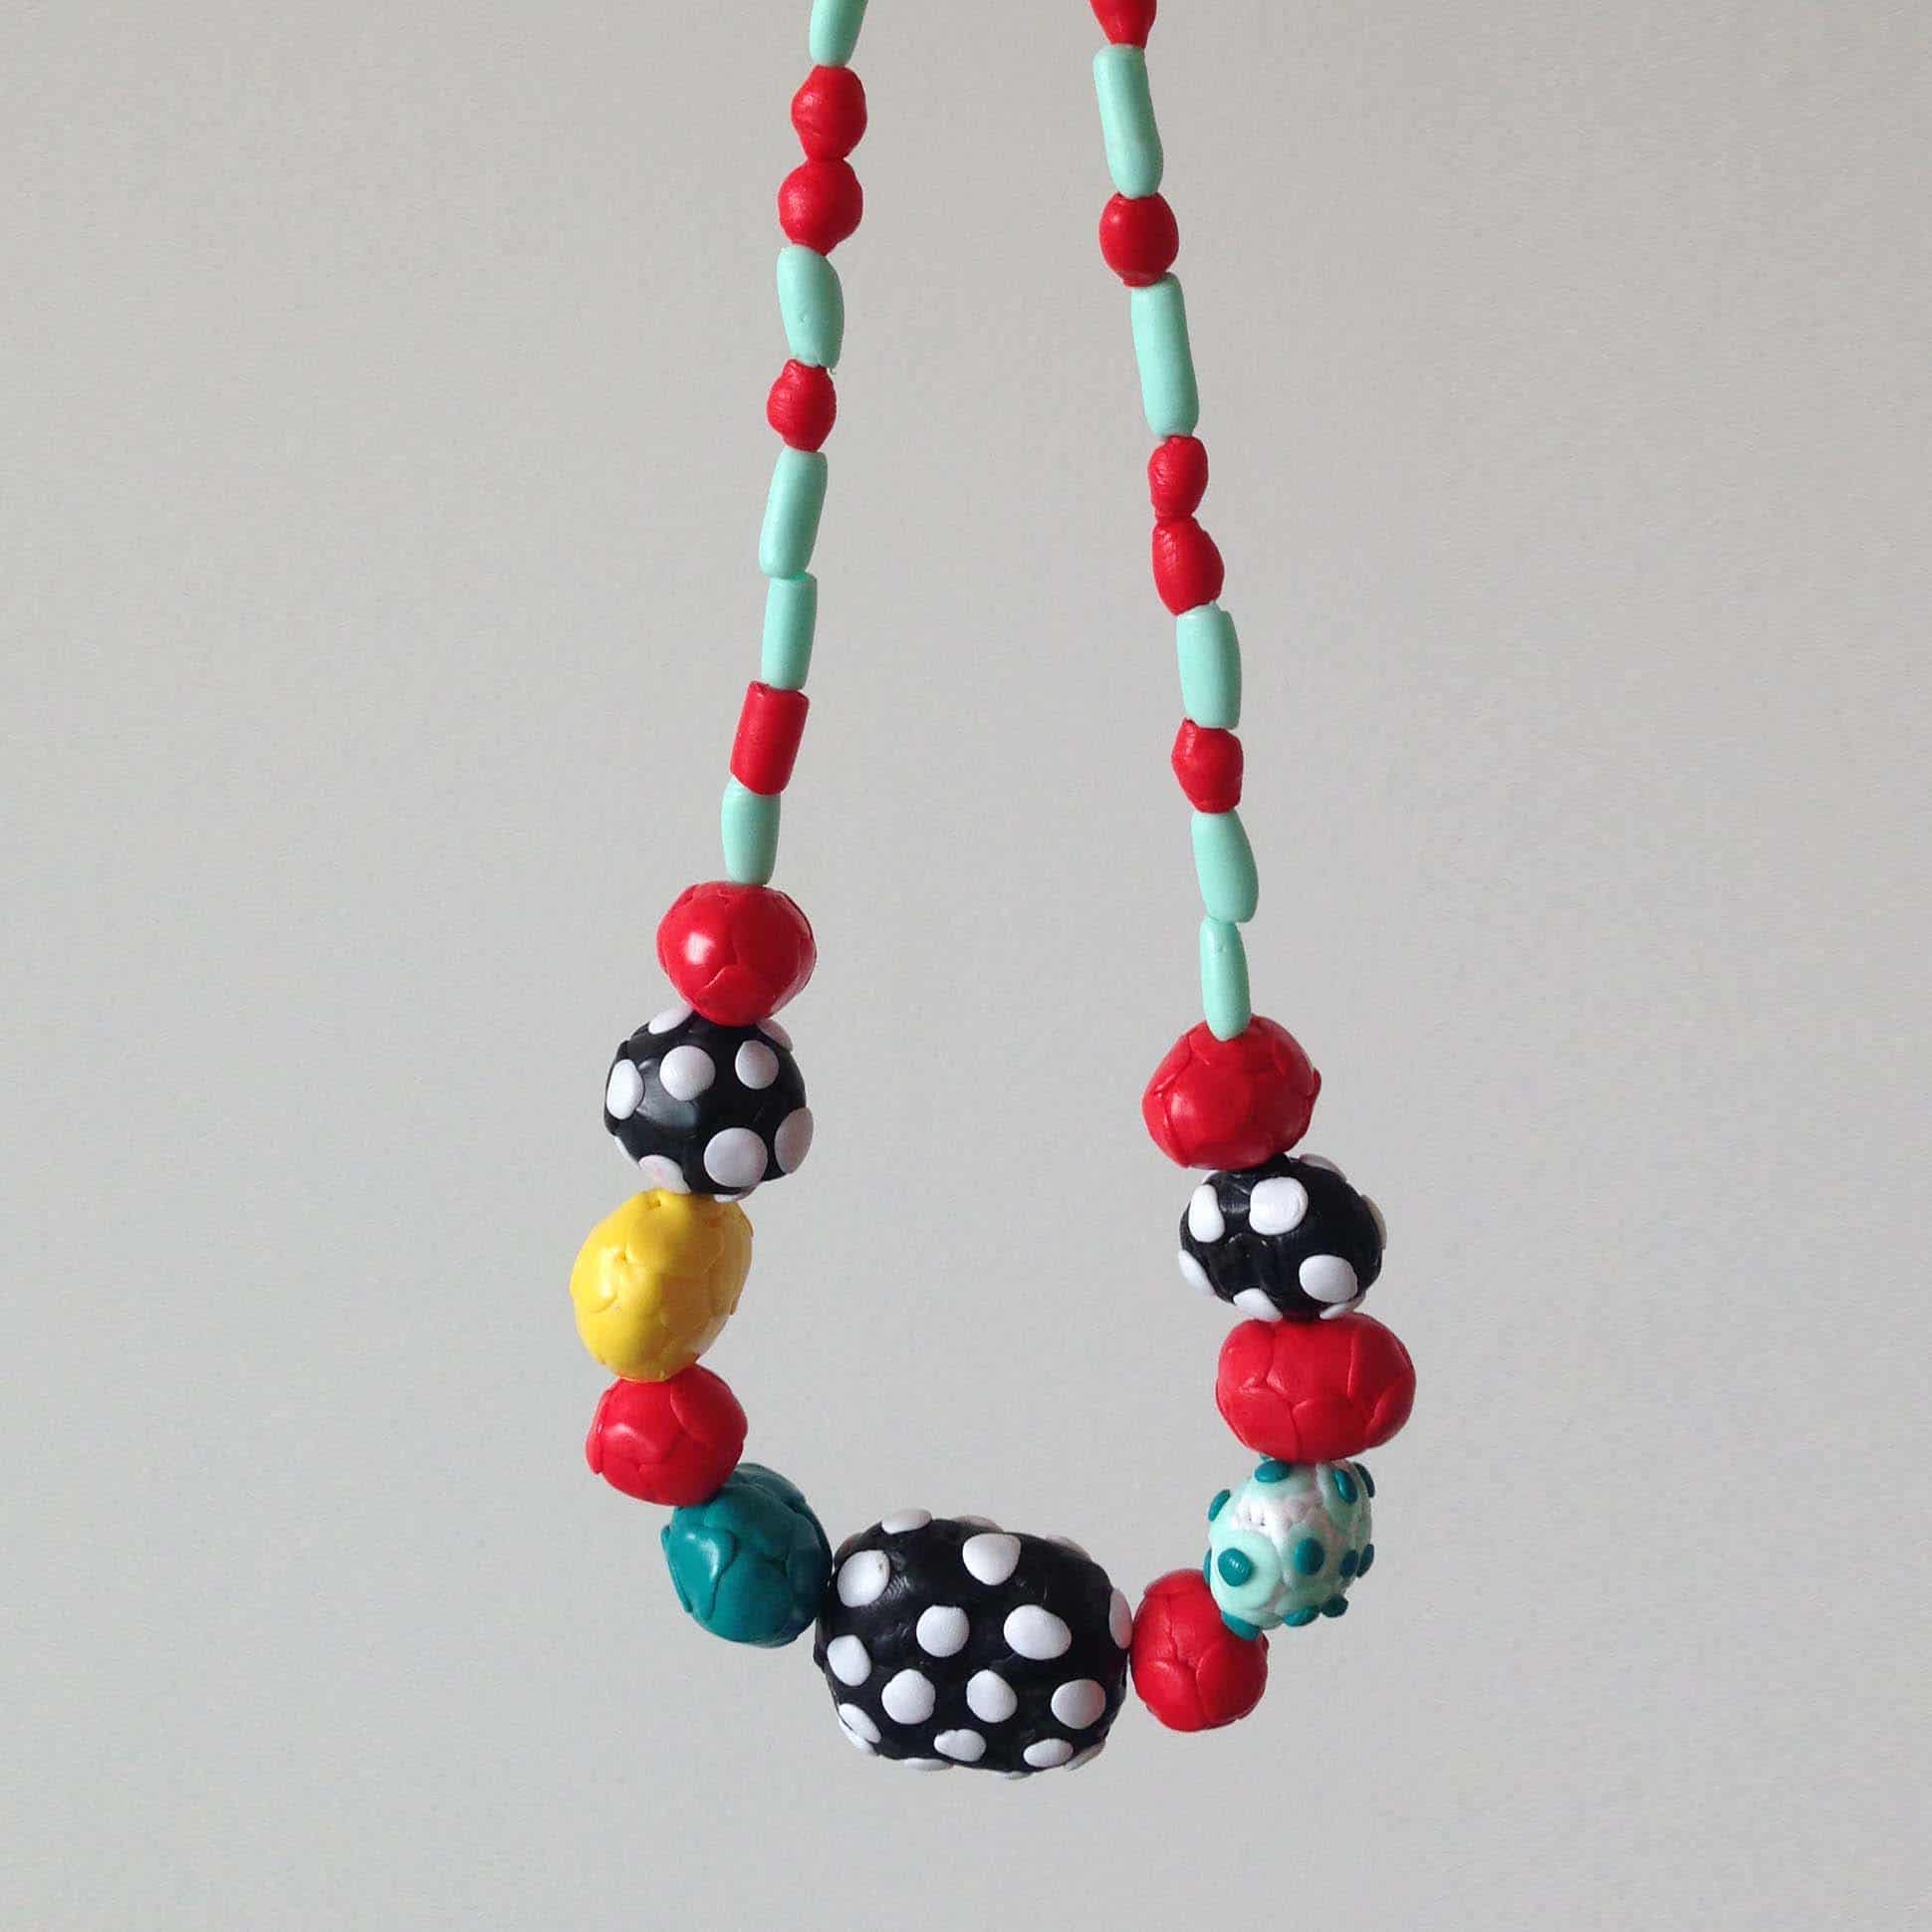

Loop the beads together to make gorgeous looking necklaces, bracelets, or even keychains. Remember, you can always experiment with different colors and shapes to create totally unique beads that are truly YOU.
Similar Tutorials
-

Organize your stationary and office supplies and keep your desk clean with these helpful Doodled gremlins.
-

Combining creativity with STEM learning, the new motor and battery pack included with the 3Doodler Start Robotics Pen Set or Activity Kit means you can create your own moving robot froggy friends.
-

This project is super easy and practical, one of our top-picks for beginners!


