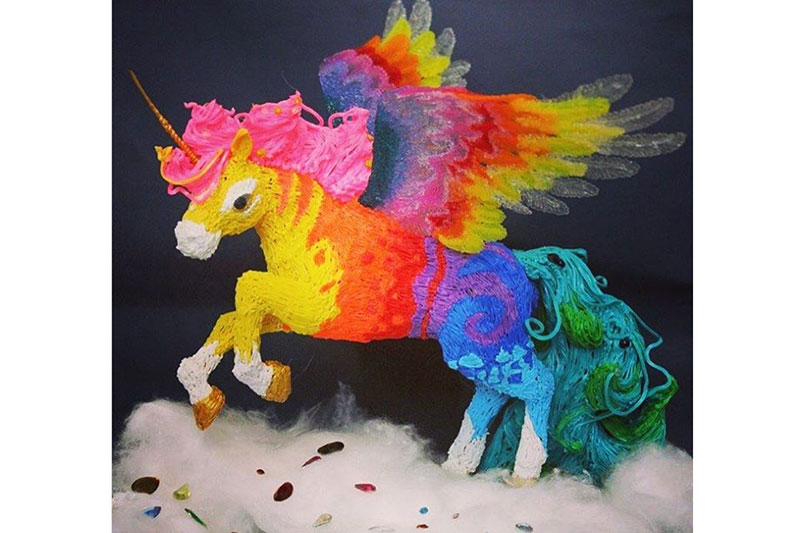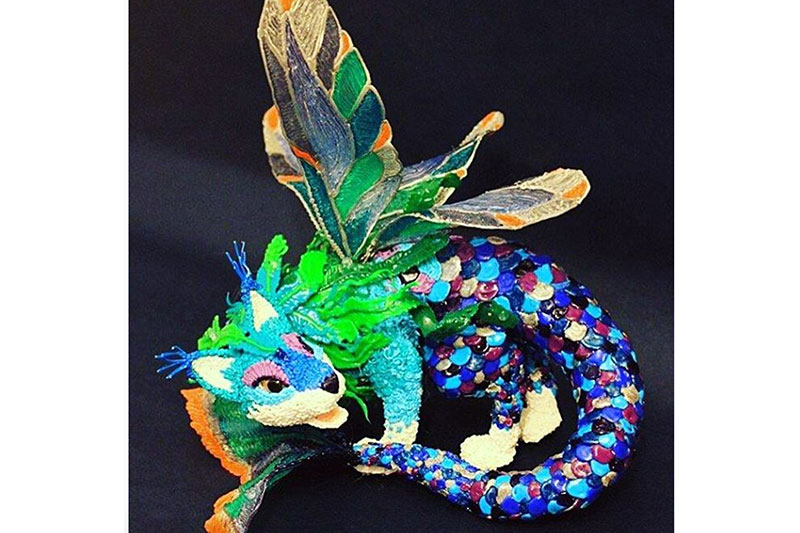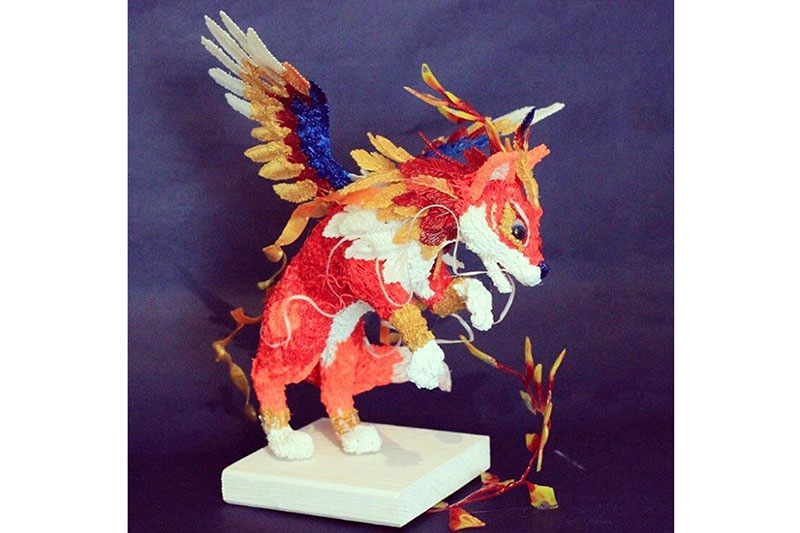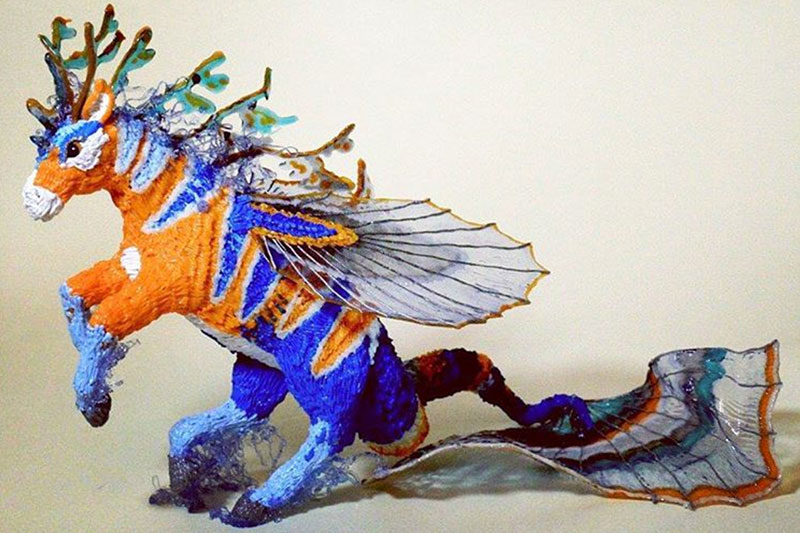
Introducing the 3Doodler Start, the world’s first truly kid-safe 3D printing pen! We love the newest addition to the 3Doodler family. Simple to use, the 3Doodler Start makes creating easy, engaging, and fun! Here’s 10 reasons why we think you’ll love the Start too…
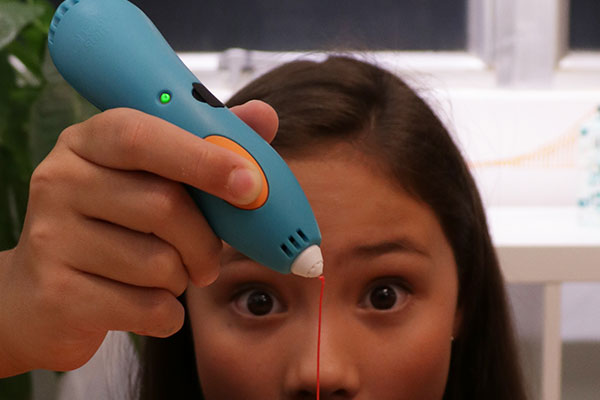
1. Totally Touchable
The 3Doodler Start has no exposed hot parts, which means no risks of burnt fingers! Not only that, our amazing Eco-Filament melts at super low temperatures, so it comes out of the pen at a totally touchable temperature.
2. Wonderfully Wireless
With the 3Doodler Start, you can Doodle anywhere, anytime! Charge it up and get 45-60 minutes of Doodle-tastic wireless use.
3. Ready to Reboot

Make your old toys last longer with Doodled repairs made with the 3Doodler Start. Doodle a new head or costume for an action figure, a ramp for toy cars to jump, or create entire scenes and accessories for imaginative fun!
4. Helpfully Hands-on
The 3Doodler Start’s incredible Eco-Filament is easy to mold and shape before it hardens into a permanent form. Get your Doodles looking exactly how you want them by fine tuning with your fingertips!
5. Without Waste
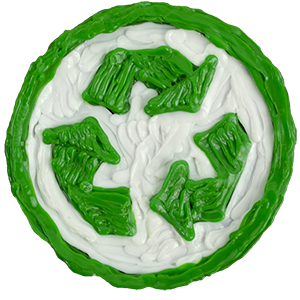
Our Eco-Filament is entirely environmentally friendly (hence the name!) and will decompose in your back yard or in any household compost! Mother Earth, you’re welcome!
6. So, So Simple
The 3Doodler Start has one temperature, one speed setting, and one button. Simply turn it on, insert a strand, and start Doodling!
7. Engaging Education
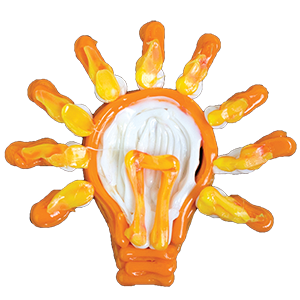
With the hands-on help of the 3Doodler Start, kids can develop the skills needed for design, planning, building, and spatial understanding!
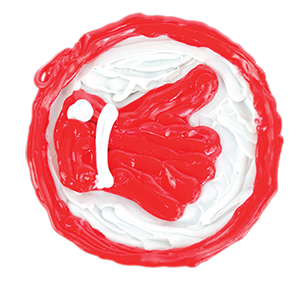
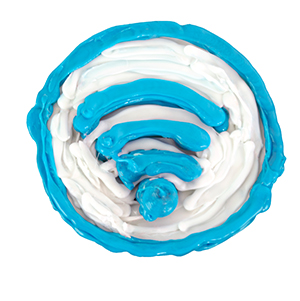
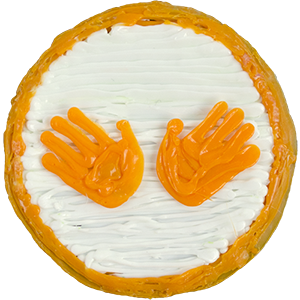
8. DoodleBlocks for Building
Kids will love using the new 3Doodler Start DoodleBlocks to create beautiful, accurate Doodles across a range of themes.
9. Extending Exploration

One filament strand of our Eco-Filament can make Doodles up to 10 times its original length. How many Doodles can you make?
10. Undeniably Unique
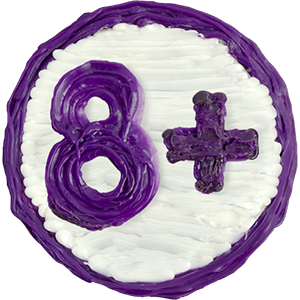
In case you missed it, the 3Doodler Start is the first 3D printing pen that’s truly safe for kids aged 8+.
The 3Doodler Start is available now from our online store along with a full range of DoodleBlock kits, accessories and Eco-Filaments.