


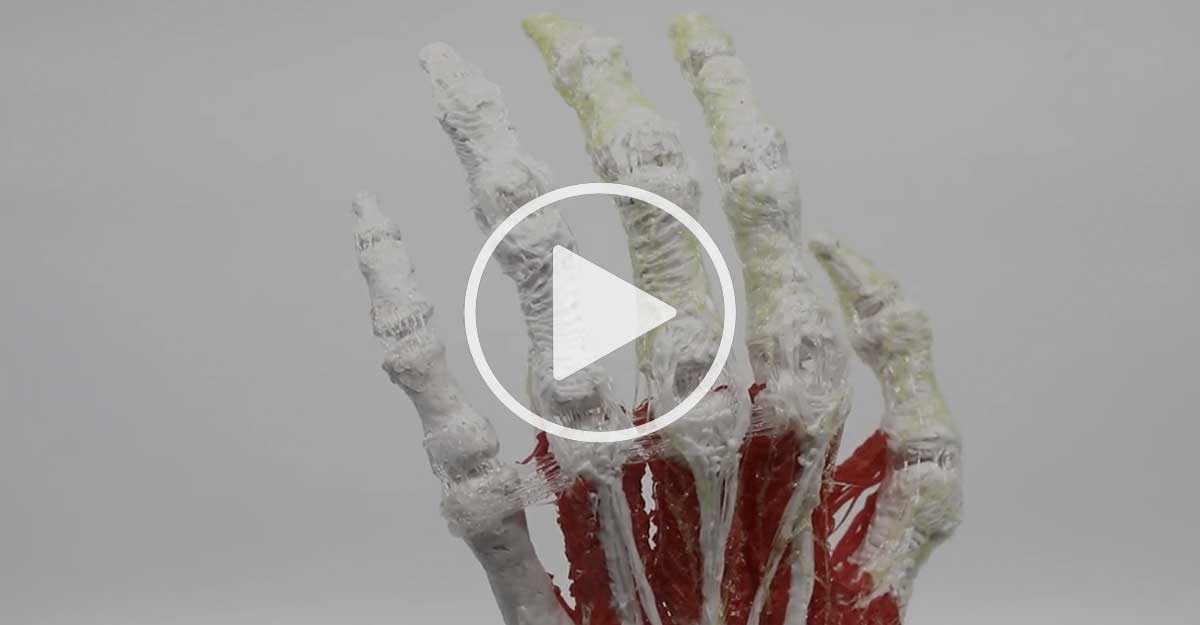
Internationally renowned Mexican artist, Ricardo Martinez, has a background in medical anatomy drawings, painting, and sculpture. He’s made a moving anatomical hand with the 3Doodler Create+ pen and the 3Doodler STEM kit.
Moving 3D anatomical models benefit those who may not learn as well through 2D visual resources.
You don’t have to be a sculptor or an anatomy expert to create this model.
Scroll to the bottom of the page to see the step-by-step tutorial and filaments used for this project.
Mexican sculptor, painter and textbook anatomy artist, Ricardo Martinez, has been diligently creating a realistic anatomical hand, made entirely with the 3Doodler Create+ pen, 3Doodler filaments.
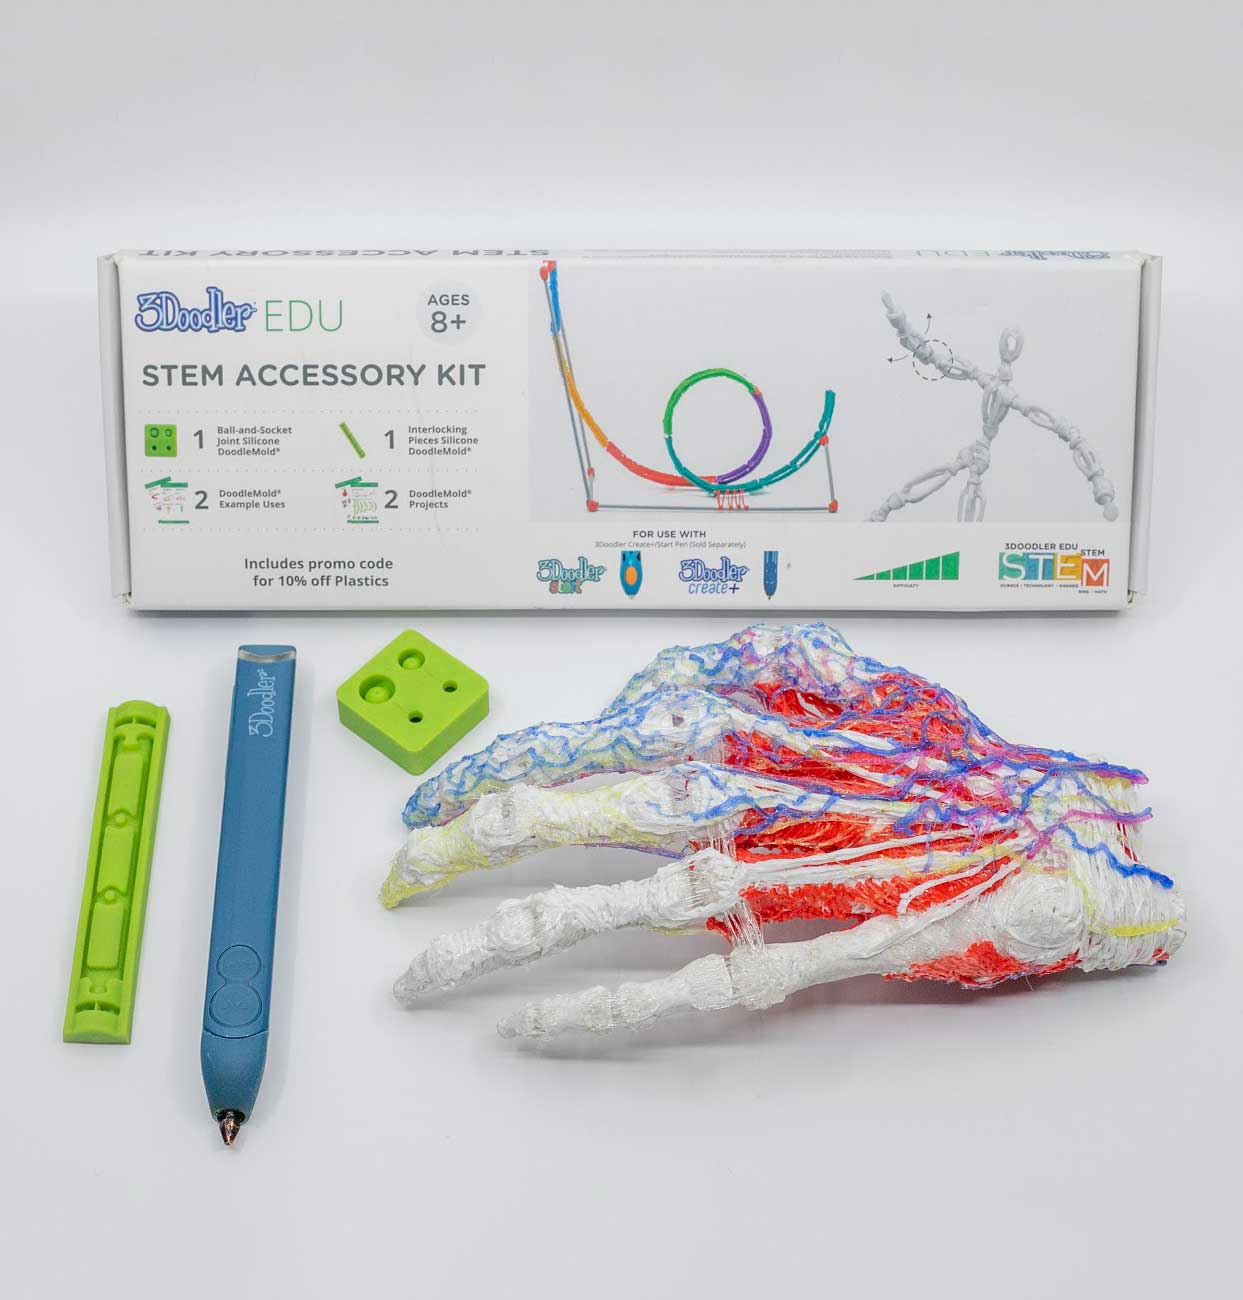
The joints are movable due to being created with the ball and socket DoodleMold included in the STEM kit. Likewise, the hand is able to be moved despite the layers of tissues and veins on top due to them being Doodled with FLEXY, our flexible filament for the Create+.
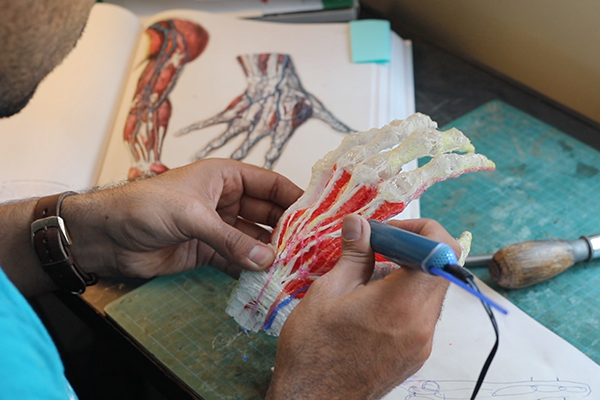
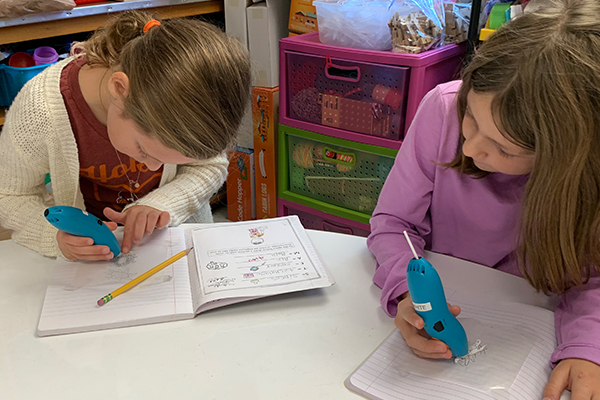
We had a chance to catch up with Ricardo to learn about his process making the hand, and he even provided a brief tutorial for you to follow along with, either with your students or at home.
"“…the advantage of a 3D anatomical figure is it that it gives students the opportunity to manipulate the hand, watch the muscles flex, follow the path of arteries and veins, and so on.”"-Ricardo Martinez Share
3Doodler: Thanks for taking the time to meet with us, Ricardo! Can you please give a brief introduction to who you are?
My name is Ricardo Martinez Herrera and I am a Mexican sculptor, painter, and photographer. In my work as an artist I go by Riikc. Since finishing my sculpture studies at the Académie Royale des Beaux-Arts in Brussels, Belgium, I have had the great pleasure of creating dynamic art pieces around the world, including in Canada, Mexico, Belize, and now back in Belgium.
You used to create anatomical drawings professionally for medical use. Can you please share a brief history of your experience doing that?
My experience with medical drawing came long before my formal studies, while I was still living in Mexico. In fact, I feel incredibly lucky that someone decided to take a chance on this aspiring artist from Mexico, with no formal studies, but a real drive to apply himself in the art world.
One of my best friends was studying medicine and he came across a call for proposals from a group of researchers in the department. He passed it along to me, and I submitted an application with some of my past illustrations. The team accepted me almost immediately, and I was brought on to illustrate their upcoming publications. I ended up working with that team of researchers for several months, and my illustrations were featured in their published medical articles, and even a reference book.
The experience left a deep impression on me, in particular because I come from a family of doctors. My family has always been supportive of my pursuit of a career in the arts, but I don’t think they really understood the spectrum of art until they started to see my work published in medical journals and texts. It is easy to overlook how much of our world is underpinned by creative, artistic pursuits like these.
Based on your experience, can you comment on the benefits of learning from 3D anatomical figures as opposed to 2D drawings?
Many students learn best when they can be physically moving and interacting with an object. So, the advantage of a 3D anatomical figure is it that it gives students the opportunity to manipulate the hand, watch the muscles flex, follow the path of arteries and veins, and so on. This is really beneficial for students who may not learn as well through solely a 2D visual resource, like a textbook.
There is also the advantage of using 3D figures to explain systems thinking. Particularly in anatomy, it is important that students can think about how individual parts work, and then relate each of them to their function within the whole system. Even with myself, despite having been working with drawings for years, I found the structure of the hand so much easier to understand when I saw it layered into a 3D model, where you can physically trace each element and see how they are connected.
Ricardo’s Journey Creating the Anatomical Hand
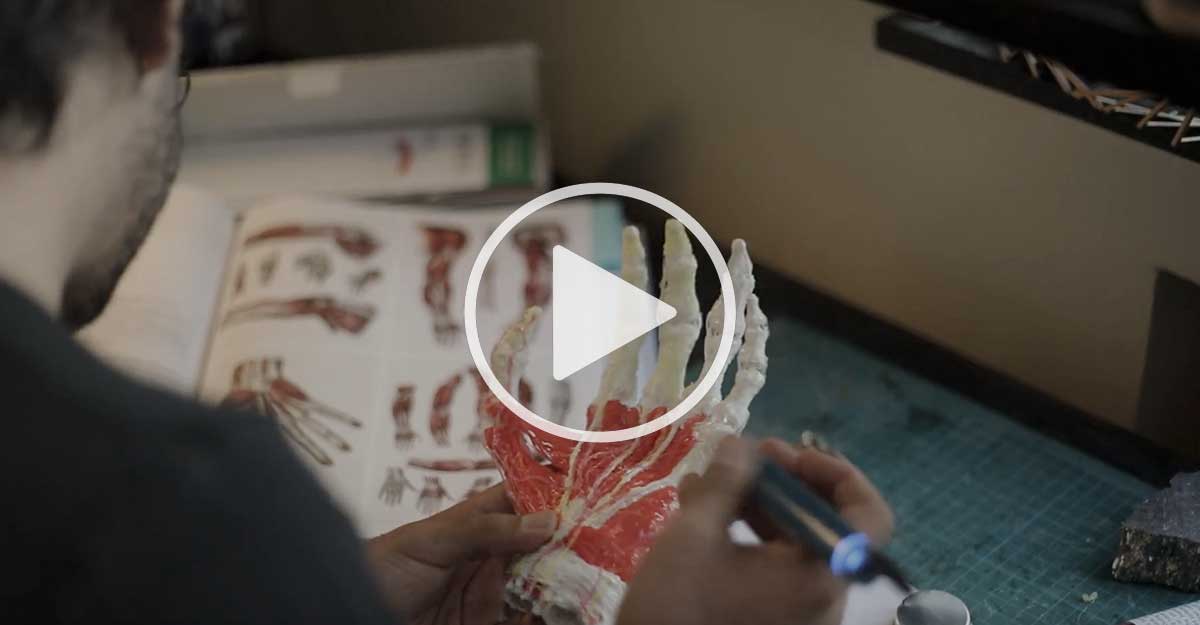
1. Before starting, it was important for me to find the right reference materials. In my case, I was working with The Atlas of Human Anatomy and Surgery, which is not only a solid reference text, but it also contains illustrations that are visually beautiful.
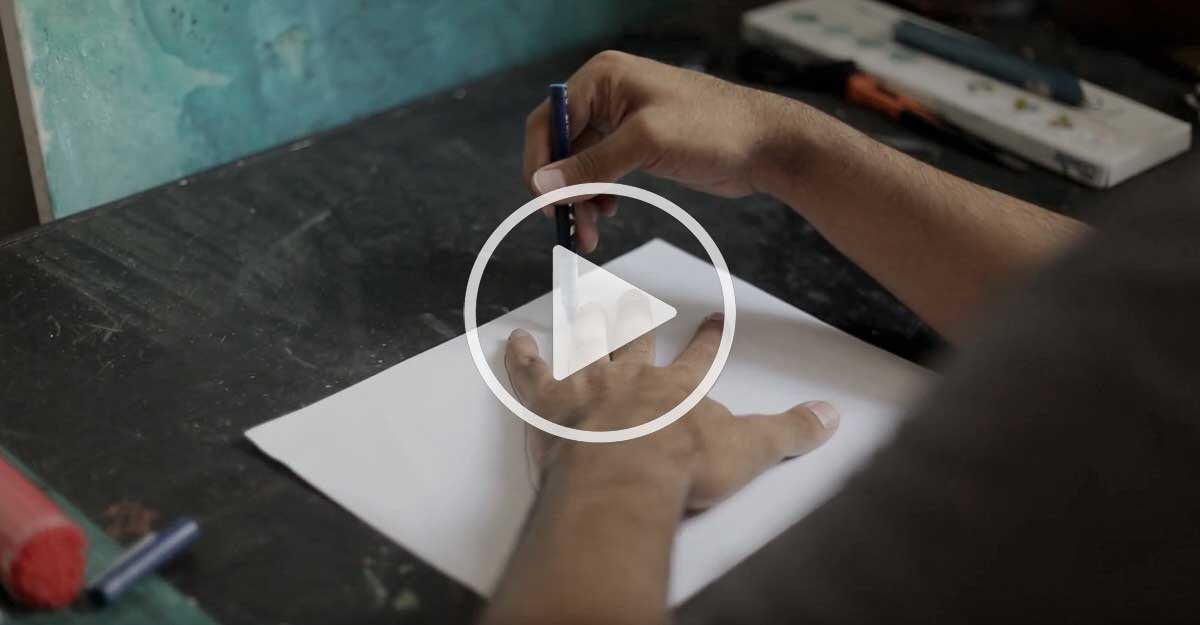
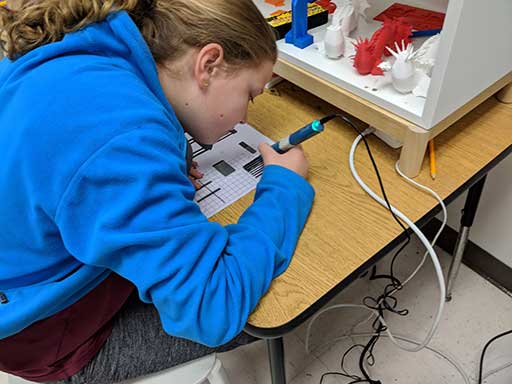
2. From there I began with a pen-and-paper sketch of my own hand to use as a blueprint.
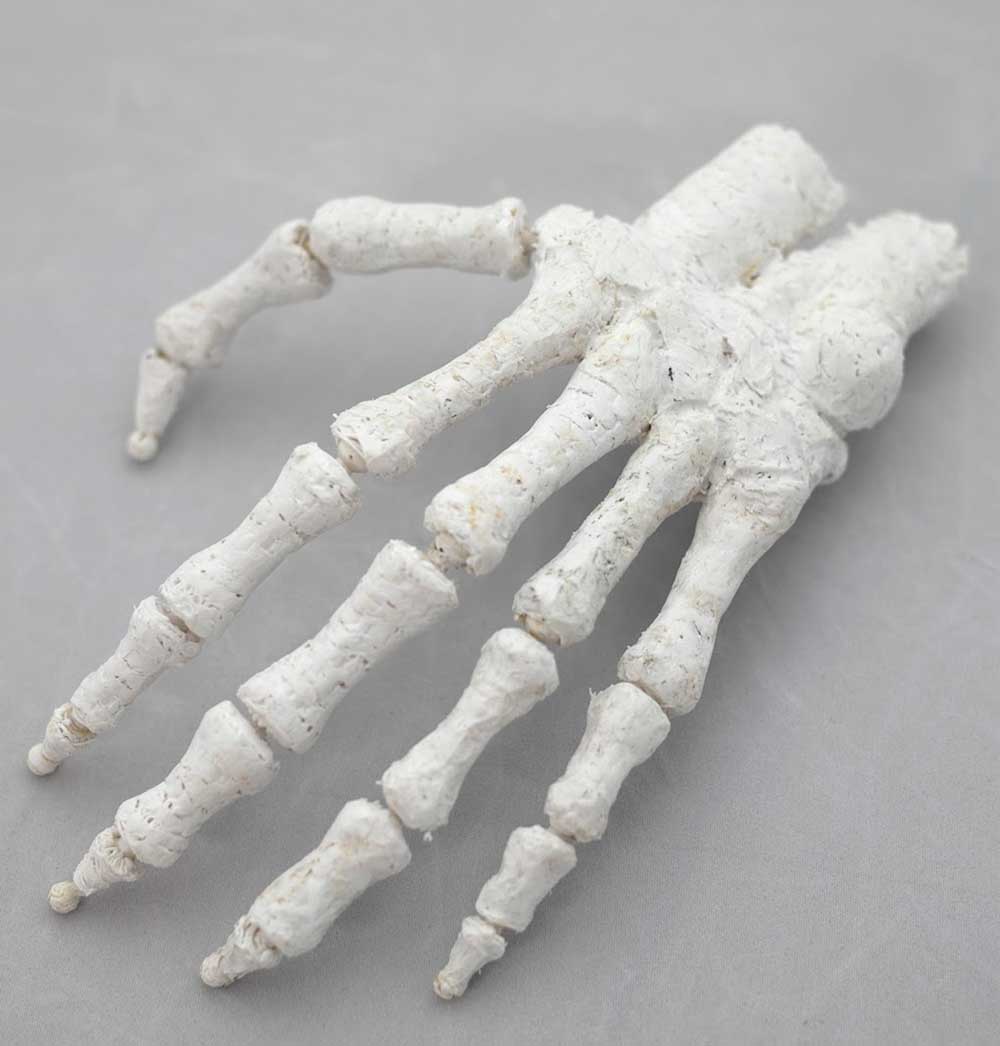
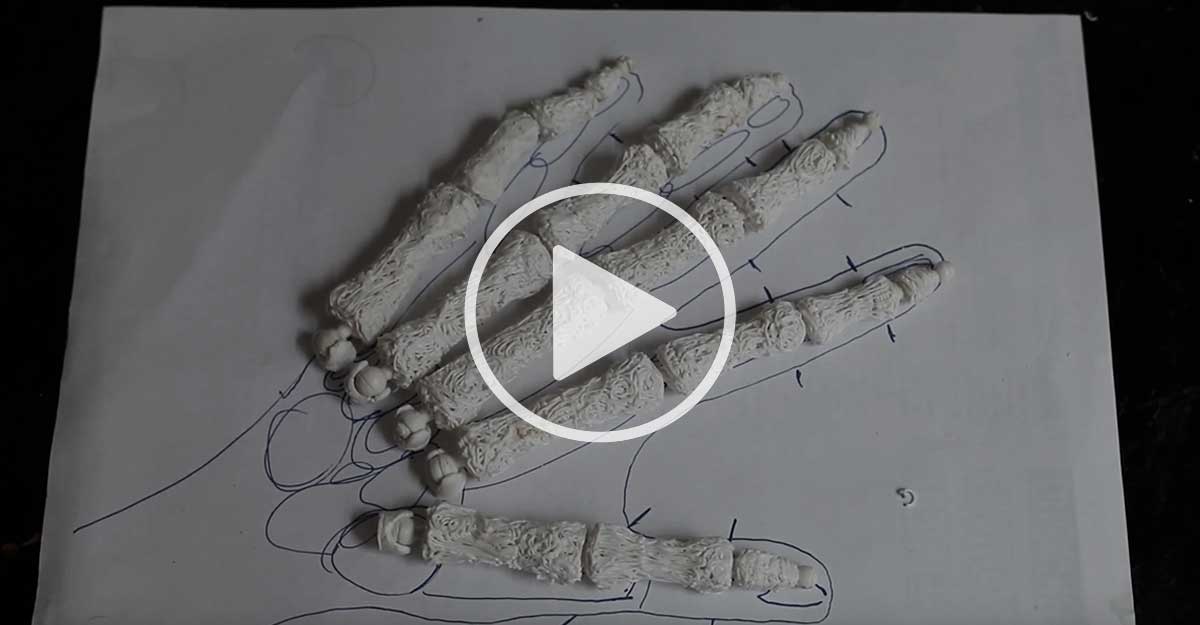
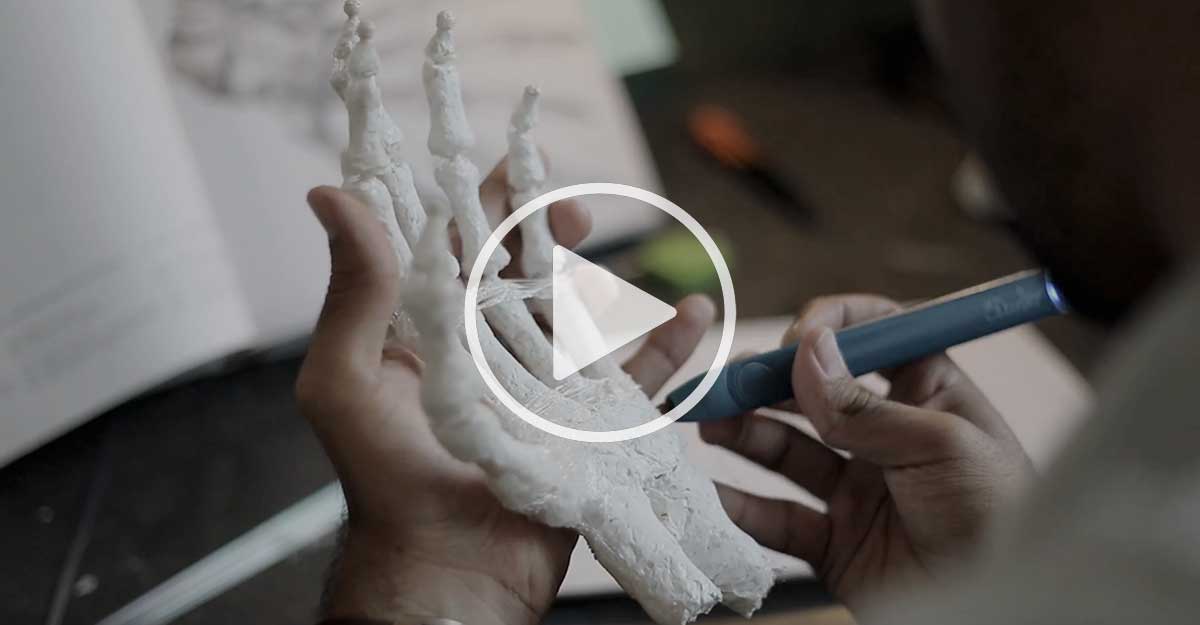
3. I then moved onto the ball and sockets to begin building out each finger joint. For the bones I used white ABS filament, the standard nozzle, and the smoothing tool to give the bone texture. Once I had built out the general shape of each finger, I used a Dremel and sandpaper to smooth them out, and create a more realistic bone shape.
4. After the bones, I created the ligaments, using white and clear FLEXY filament and the ribbon nozzle. This connective tissue was one of the quicker elements to create, as it simply reinforced the bones and joints and ensured their smooth articulation.
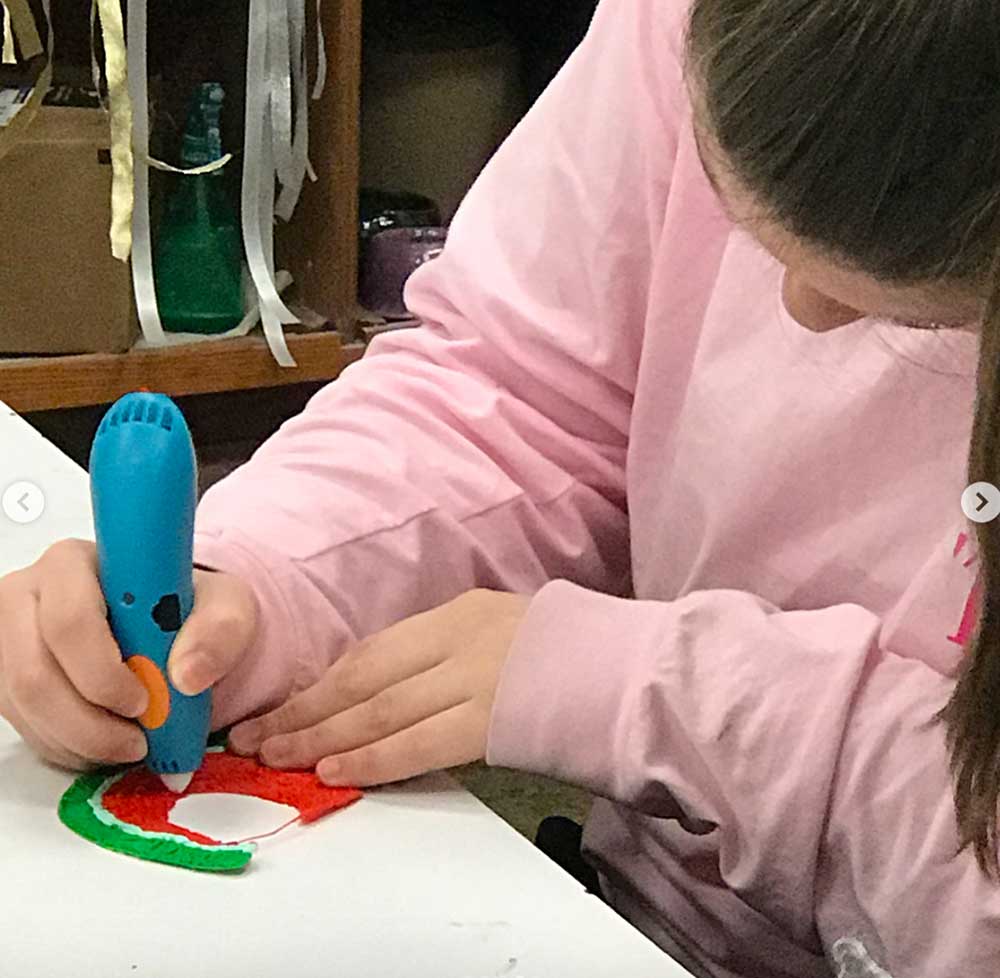
5. The ligaments were followed by muscles, drawn in red FLEXY filament using the ribbon nozzle. I chose this nozzle because it creates a flat, sinuous thread that was much closer to the texture you would find in muscles. The challenge with this step is that muscles occur in several layers throughout the hand. This means that while the first layer of muscles might lay directly on-top of bone, there are others that will be on top of nerves, veins, and arteries. This step took a lot of precision.
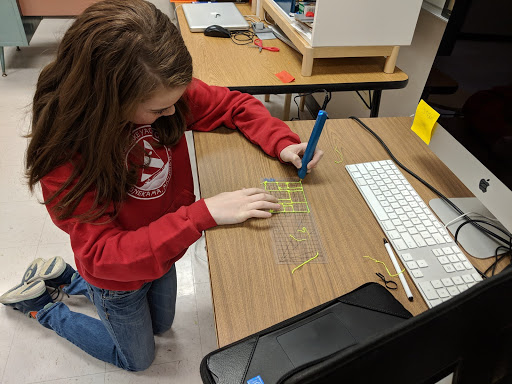
6. I then drew the nerves in yellow FLEXY using the 0.5mm nozzle. Fingers are some of the most sensitive parts of the body, which means there are a lot of nerves running all the way to the tips of our fingers. This step required a lot of patience and attention to detail to accurately represent the paths of these nerves.
7. Finally, I drew the arteries in red FLEXY and veins in blue FLEXY, using the 0.5, 1, and 1.5 mm nozzles. The diameter of veins and arteries changes as they branch off toward the fingers, so at the base and top of the hand they are much thicker, while in the fingers they become much thinner.
8. Lastly, for educational purposes, you will see that I progressively added layers, but not on all parts of the hand. So the pinky is bone and ligament alone, the ring finger adds muscle, the middle finger adds nerves, and then the index finger and thumb include all elements.
3Doodler: For all of our STEM followers, do you have any advice on making 3D anatomical figures you can share with them?
My main advice is that you don’t need to become an expert on anatomy or sculpture before you start working, and you don’t have to have a full understanding of the final product right from the beginning. Focus more on the function of each element than you do on the form, and eventually you will come out with a useful model.
For instance, if you are unsure what type of material or nozzle to use, take a moment to study the element and its function. Ask yourself questions like, “How does this move?” “Where does this connect,” and “Should this be smooth, coarse, or sinewy?” When you focus on the function, and work one element at a time, the final form will eventually emerge.
Step-by-step for the creation of the hand:
The best way to start is to have a reference of the inner anatomy of the hand:
1. Draw the outline of your hand on a piece of paper.
2. Add bones to your 2D drawing
3. Mark every joint between phalanxes. These spots will require one ball and socket combo.
4. Create all the balls + sockets and join them accordingly. See pic.
5. Doodle the bones in!
6. Once the bone hand takes shape, add all other elements in this order:
— Ligaments
— Muscles
— Nerves
— Arteries
— Veins
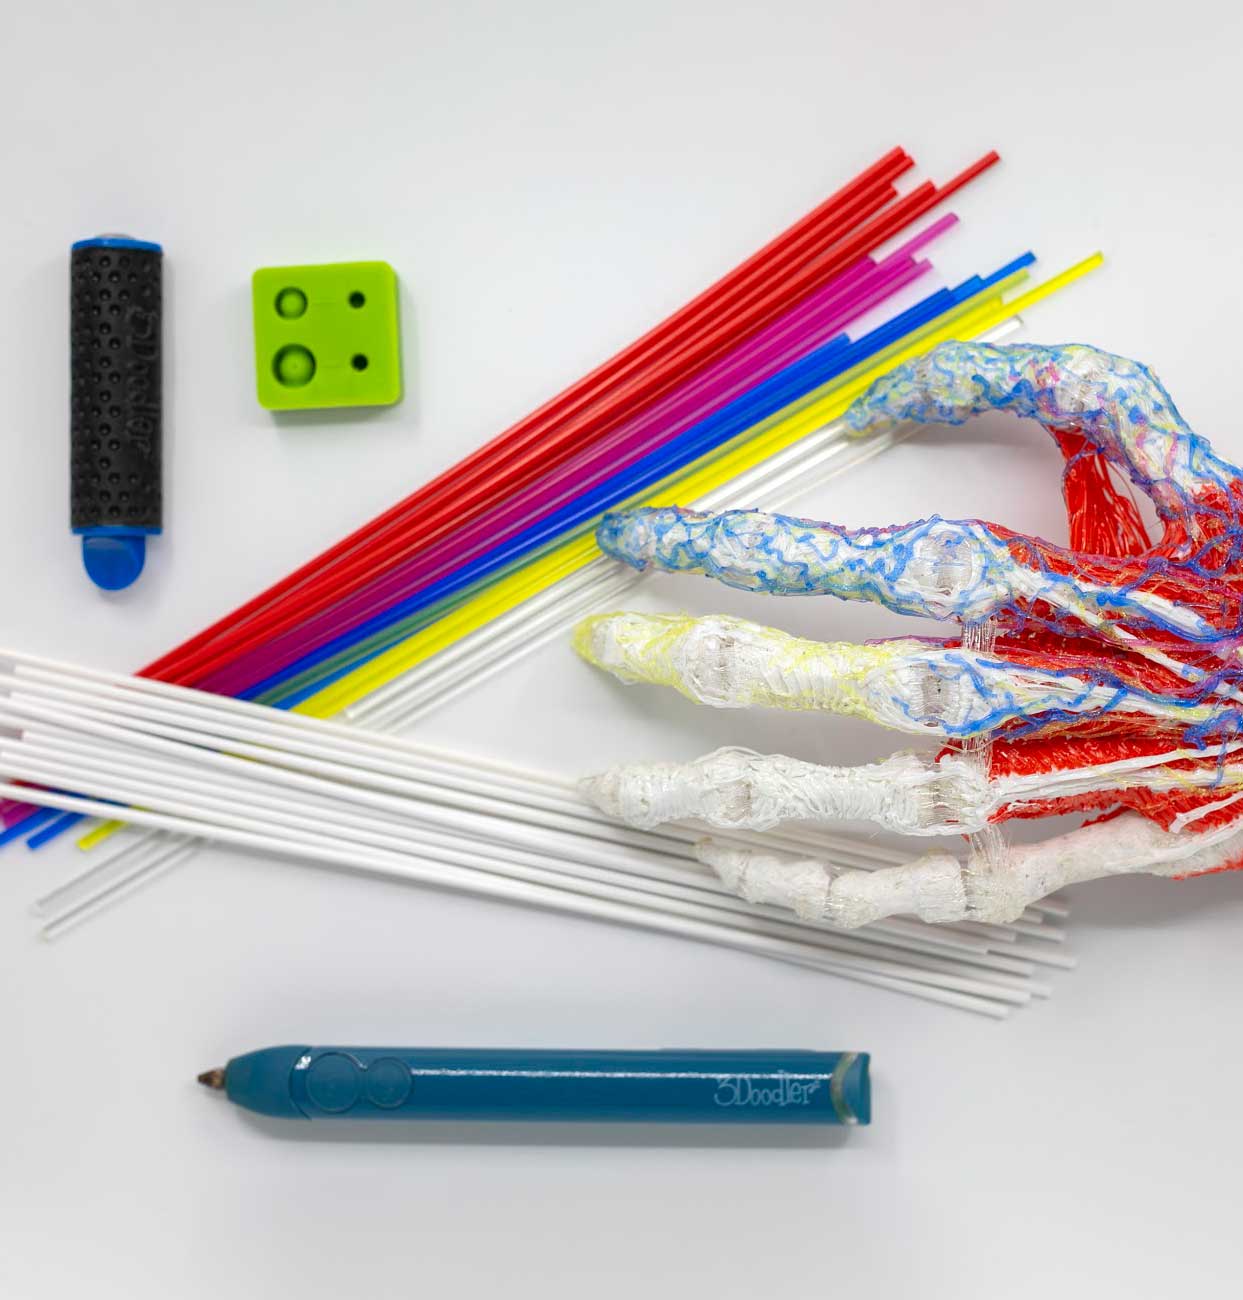
A list of the filament colors and which anatomical parts they represent:
Polar white ABS filament — Bones
Flexy White & Clear — Ligaments
Flexy Red — Muscles
Flexy Yellow — Nerves
Flexy Blue — Veins
Flexy Pomegranate Pow — Arteries
Are you inspired by Ricardo’s anatomical Doodles? Share them with others on social media, and let us know what you think!
Tag Us: @3Doodler, #3Doodler, #3DoodlerEDU
Be sure to follow Riikc on Instagram!


