Whether your Halloween personality is scary, funny, or sweet, dressing up and making your own costume is one of our favorite parts of this holiday. You don’t have to spend megabucks on store-bought items to look awesome, instead, try out these easy-to-make 3D printed Halloween costume ideas for affordable, fantastic-looking outfits!
We know the thought of making a costume can seem overwhelming – but don’t worry, we’ve gathered only the easiest projects which use the 3Doodler Create+ 3D Pen and a variety of Create filaments.
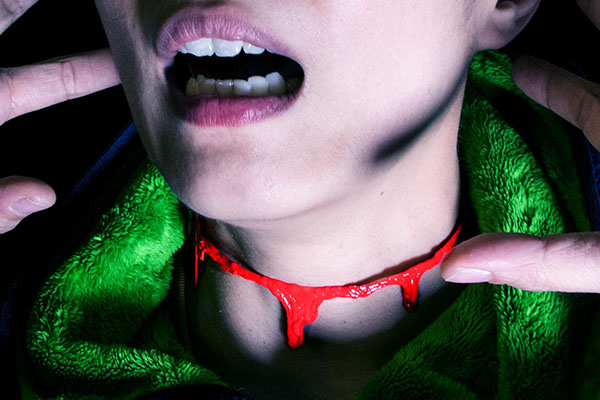
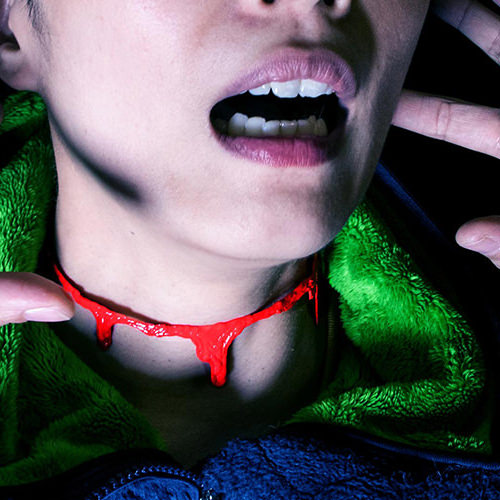
Subtle but scary Halloween Jewelry:
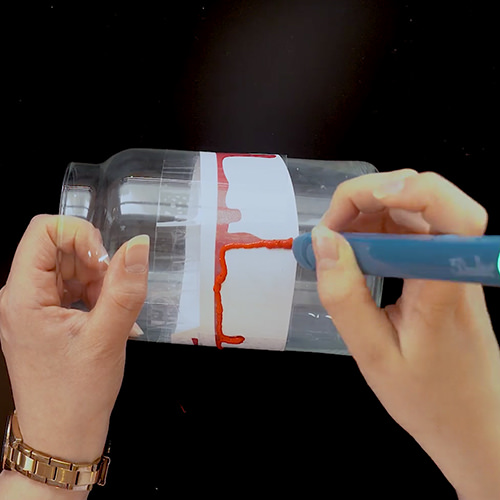
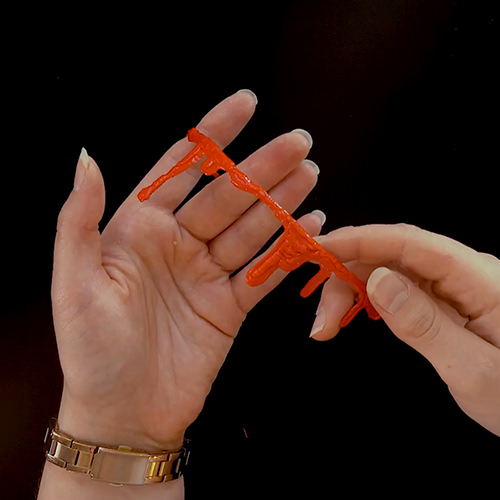
If you don’t want to go over-the-top with your costume, but want something that achieves that spooky effect in a subtle way, this slit-throat choker necklace is the perfect accessory.
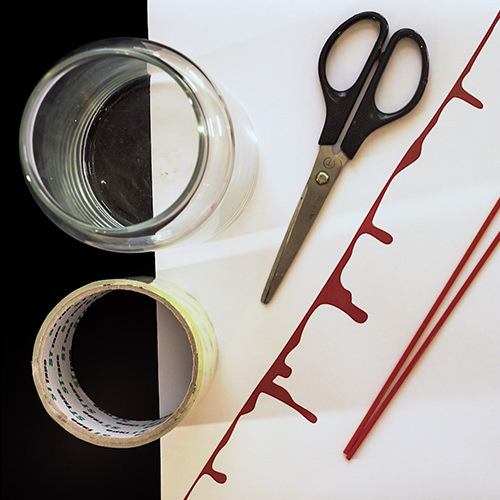
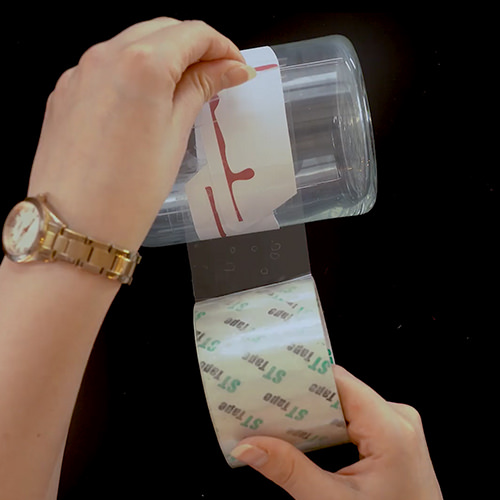
Wrap it around a jar and tape it down with transparent tape.
Doodle over the stencil using red PLA filament.
Once the filament has hardened, remove it from the jar carefully.
Dress up as your favorite character
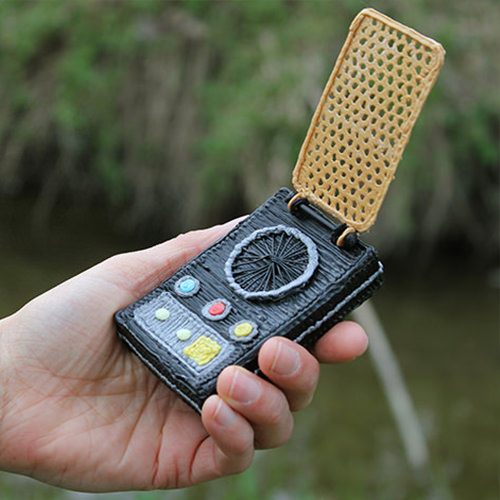
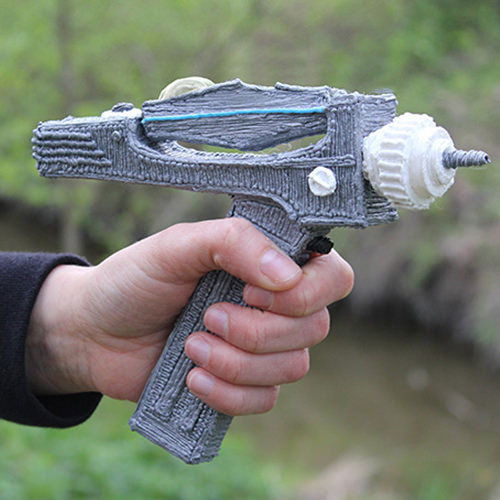
A sure-fire way to make realistic Halloween Star Trek™ costume parts is with the Star Trek Project Kit. Follow the stencils included, or design your own stencils to “3D print” any costume you like without investing in expensive 3D printers or complicated software.
Steps
Things you’ll need: 3Doodler Create+ pen, Create Star Trek Project Kit
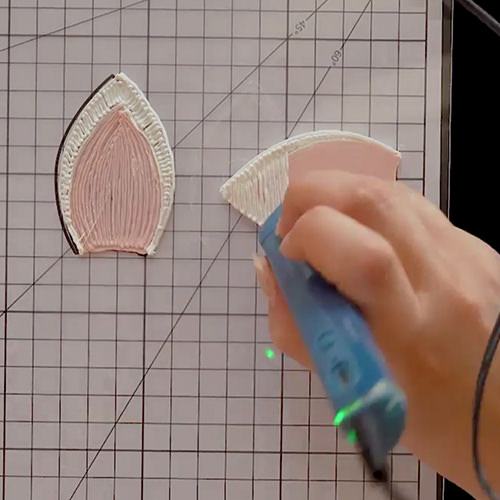
Identify accessories or unique traits that your character possess (for example, for Spock it would be his ears).
Use a stencil to trace out the shape. The Create Star Trek Project Kit comes with Star Trek themed stencils, but you can easily draw your own for your character or find stencils online.
Add 3D details to finish.
DIY Halloween headbands
Dress up as a sweet and magical unicorn, stand out from the crowd with bats flying above your head, or go for a classic “arrow through the head” look with these DIY Halloween Headbands
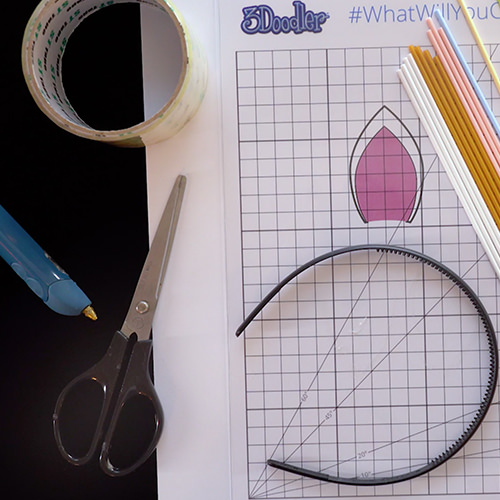
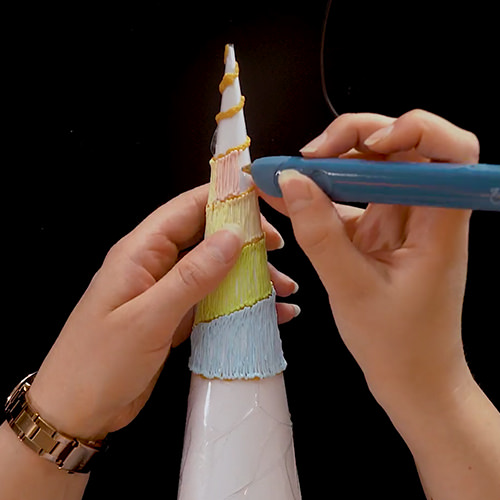
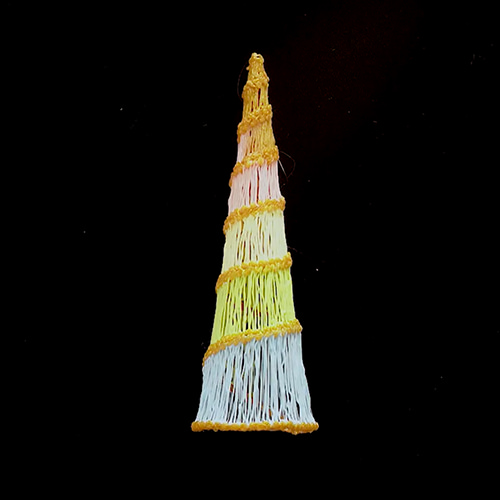
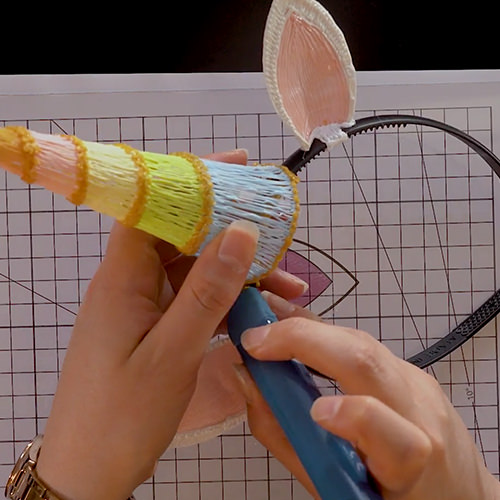
How to make a Unicorn Headband
These ears and horn make a whimsical prop to complete your Halloween Unicorn costume. They would also make a wonderful party craft, or could even be handed out as party favors!
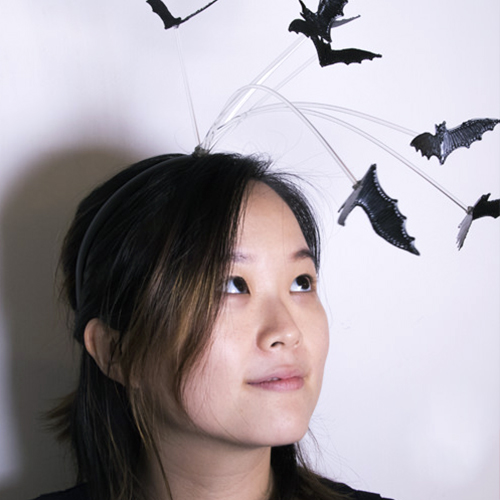
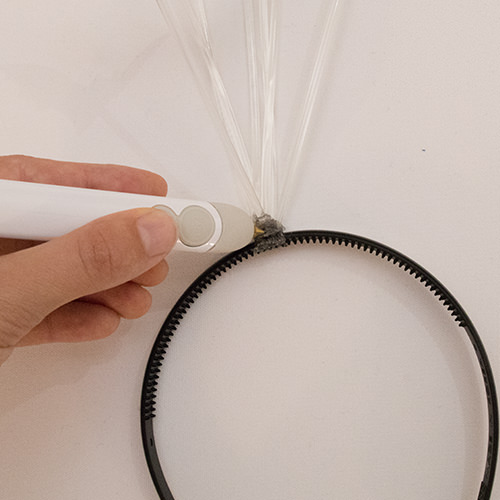
This headband is fun, cool and festive – and it’s perfect for last minute Halloween DIY projects! You could even pair this with a witch hat for your flying bats to circle.
Join each half of the arrow onto opposite sides of the headband.
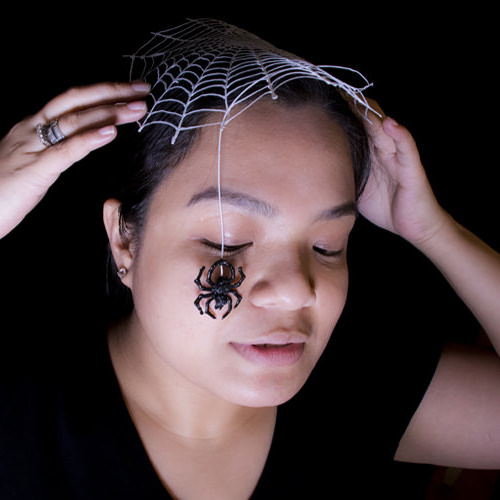
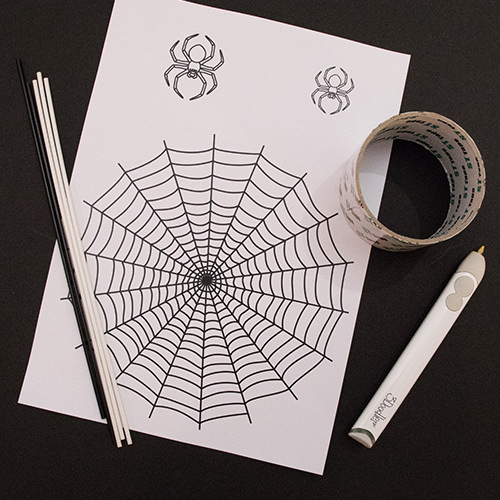
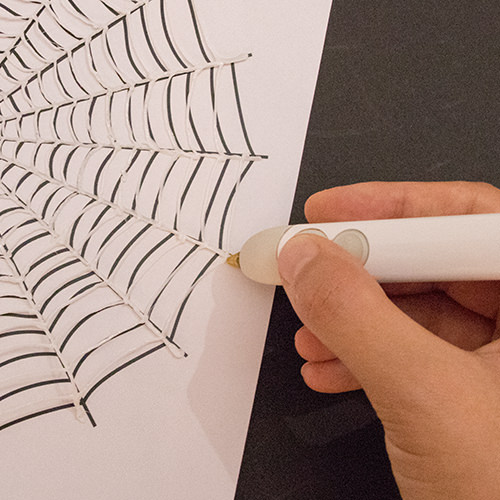
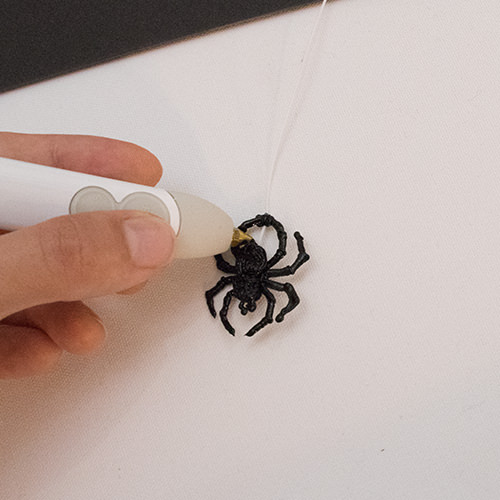
DIY Halloween Spider Web
This project is perfect for the whole family! Simply print out the stencil in different sizes to make cobwebs for both kids and adults. There’s so many things you can do with it: you can attach the cobweb to your shirt, pin it in your hair, or even decorate corners of your house!
If these costumes inspired you, be sure to take a photo and share your creations with us via Facebook, Instagram or Twitter. Tag @3Doodler so we can see your work!
There’s something special about making your own Halloween costume. It’s unique to you, and can lead to lifelong family memories of creating costumes instead of purchasing store-made ones. With the 3Doodler Start, kids and parents alike can create 3D printed Halloween costumes, accessories, decor and even creepy crawlers that move across the room! Who doesn’t love a little tech with their creations?
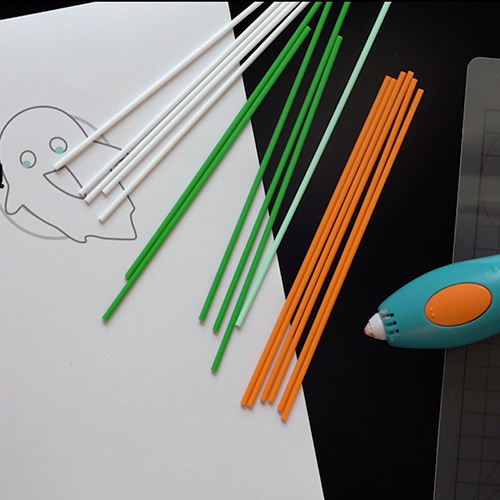
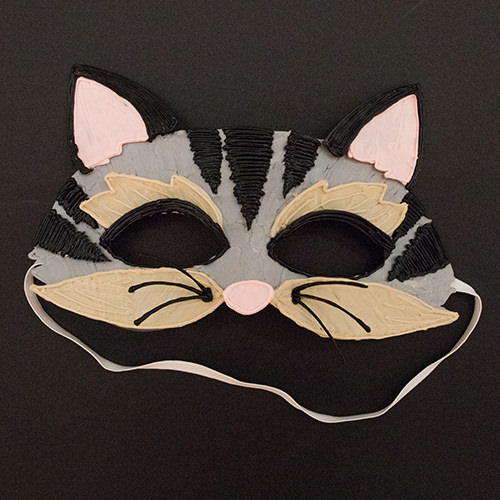
DIY Halloween Glasses
Nothing says Halloween more than orange, black and white! Take the Make Your Own Eyeglasses Activity Kit and cover it in Halloween colors, for a fun accessory to wear for Trick or Treat! This project takes less than 30 minutes to complete, and is completely customizable!
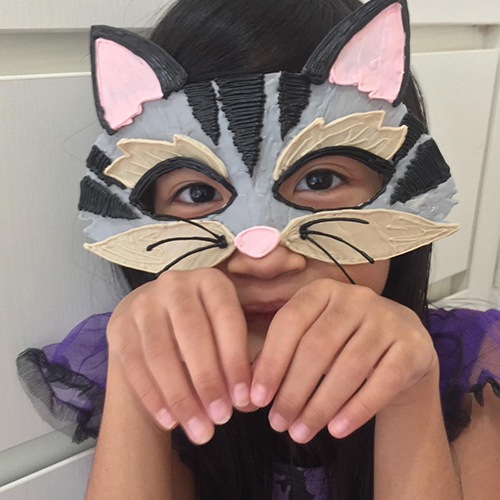
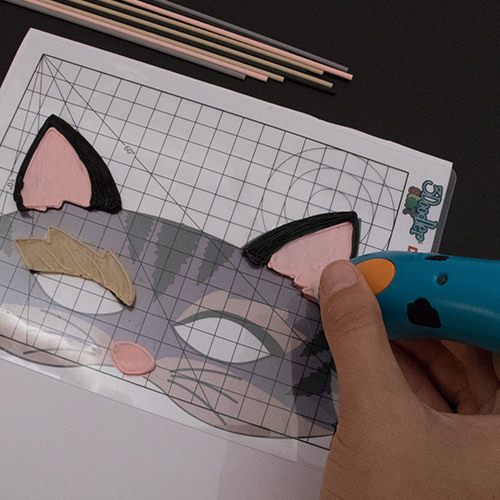
Print out the cat stencil here, or draw your own mask design.
Place a Start DoodlePad over your stencil, then Doodle over it. over your stencil, then Doodle over it.
Doodle to attach the pieces onto the Mask Base.
Add final details, and put on your Mask to transform into your Halloween character!
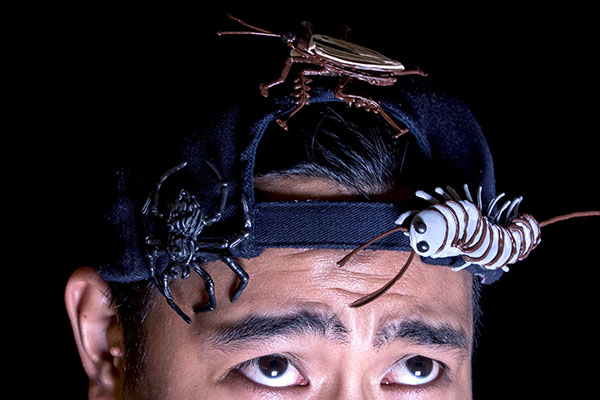
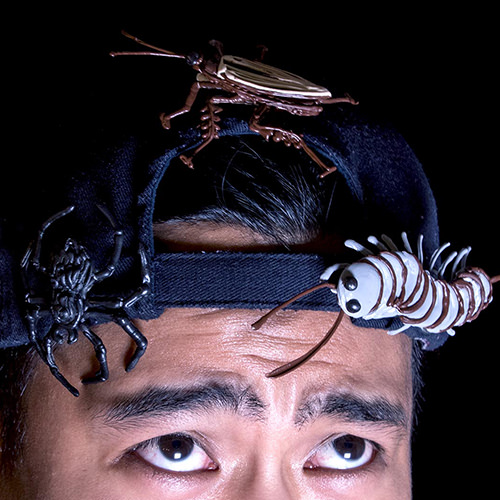
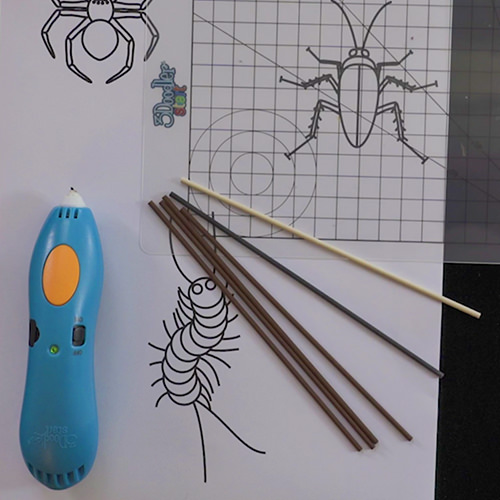
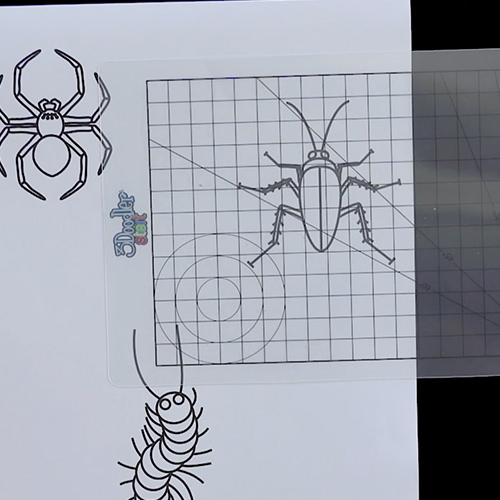
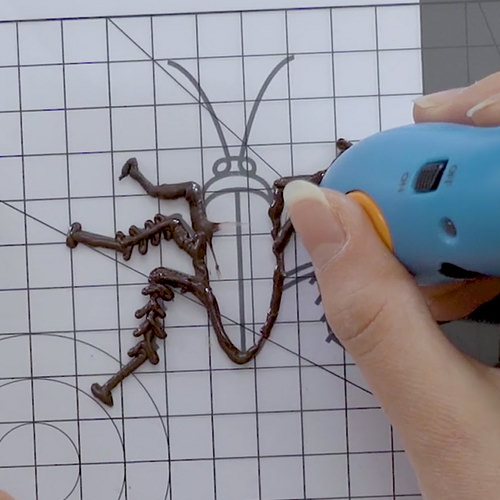
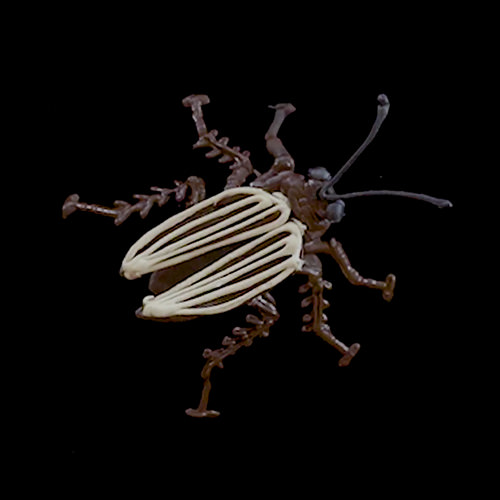
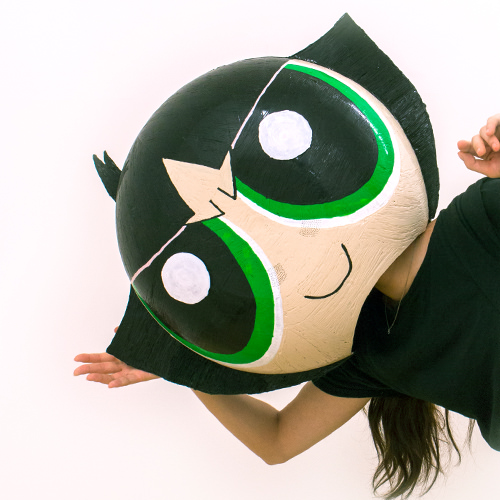
Creepy Crawly Pins Craft Project
If you don’t want to dress up but would still like a hint of Halloween flair, this project is perfect for you! Decorate your plain t-shirt or hat with creepy spiders, cockroaches and other scary bugs.
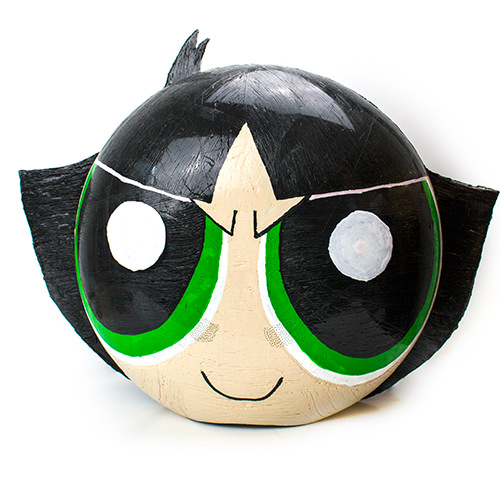
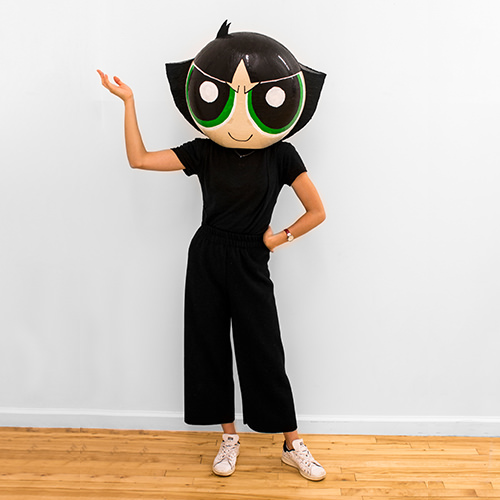
Find a bowl that fits over your head, a big salad bowl or a goldfish bowl might work.
Draw a line down the middle using a Marker pen.
Doodle onto one half of the bowl to form the shape of the head. Make extended parts for areas like the hair and other accessories your character may wear.
Remove the Doodle carefully from the bowl.
Then Doodle the other half repeating step 3 – 4.
Doodle to join both halves of the head.
If these costumes inspired you, be sure to take a photo and share your creations with us via Facebook, Instagram or Twitter. Tag @3Doodler so we can see your work!
If you’re finding it challenging to pick the best activities for your class, here are a few of our most downloaded lesson plans for inspiration. These lesson plans are designed for elementary through middle school, and combine the use of educational technology and STEM to engage students in fun, hands-on learning activities.
Don’t forget to check our Lesson Plan Collection regularly to find new teaching resources for your classroom, all of which are available for free!
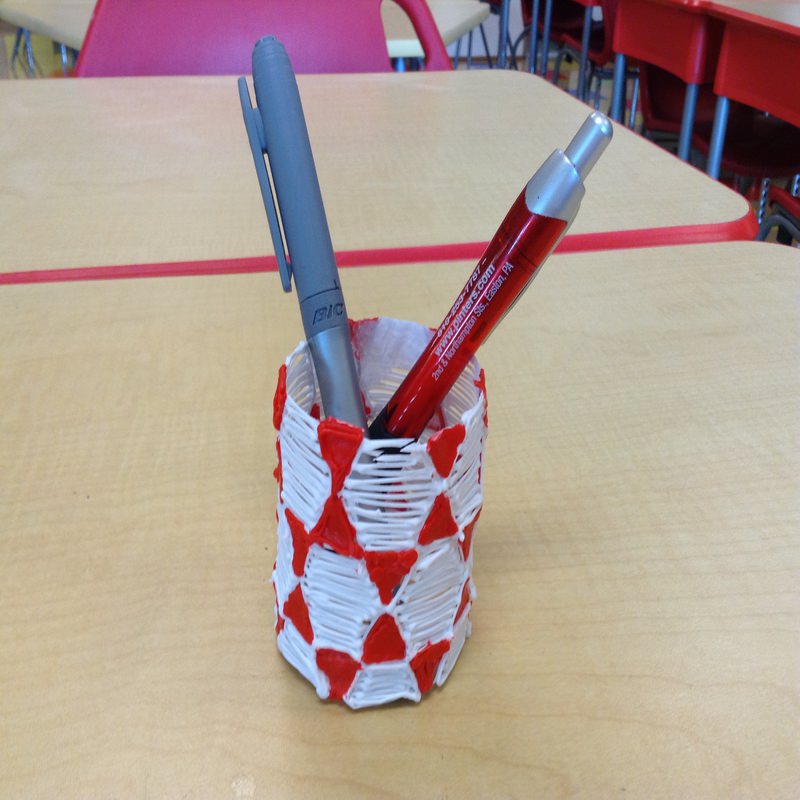
Geometric Shapes & Tessellations
Recommended grades: 3 – 5 Learn about: Geometric shapes and problem solving through design Overview: Students will design a simple tessellation for a 3D shape such as a cube, a cylinder, or a cone using 2D templates. Students will enjoy seeing their 3D shape come together, and will even be able to use it as a functional item, such as a pen holder!
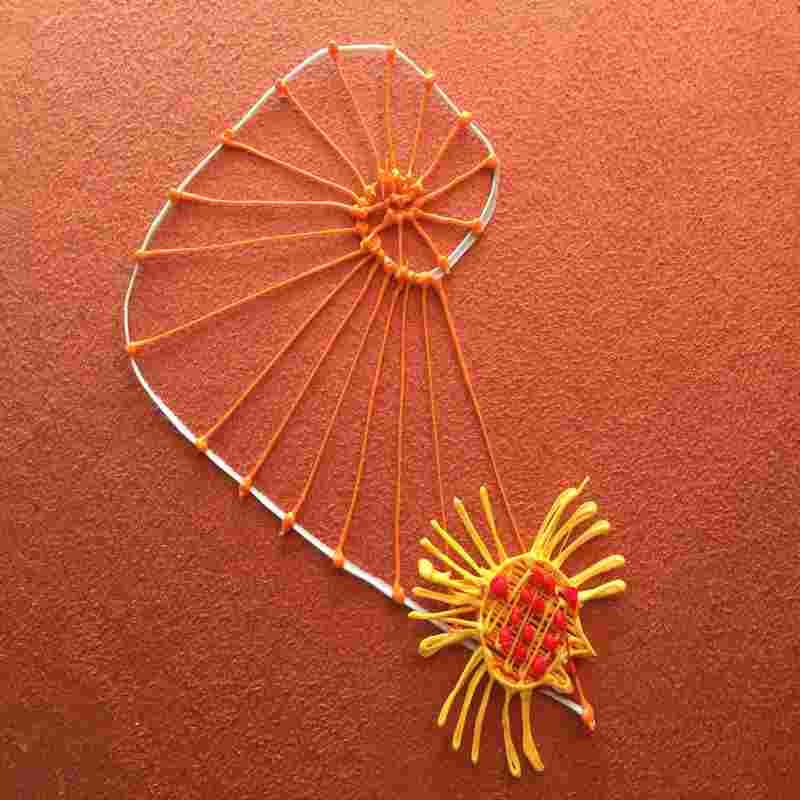
Recommended grades: 3-5 Learn about: Fibonacci numbers and patterns in nature Overview: Students will learn what a fibonacci sequence is, then discuss how it’s present in the patterns in nature. Students will observe how the sequence affects the structure of a spider’s web, and then Doodle their own spider’s web in order to visualise their learnings in a 3D object.
Recommended grades: K-2 Learn about: Geometric shapes, how to calculate area and perimeter Overview: In this lesson, students will have fun creating outlines for a collage of geometric shapes with the 3Doodler. They will then use crayon rubbings over their outlines in order to create a colorful piece of art.
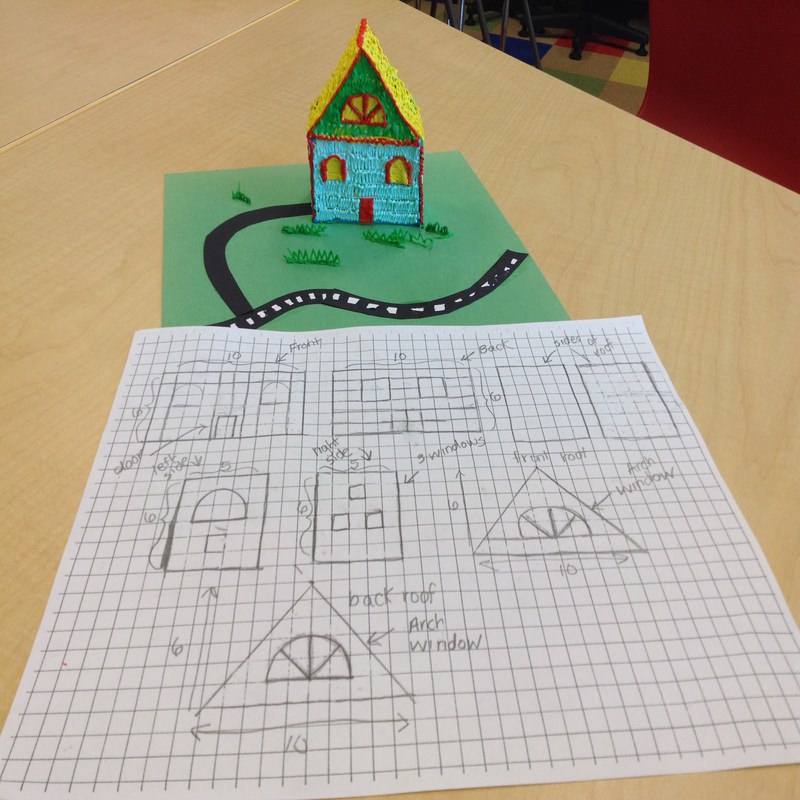
Recommended grades: 6 – 8 Learn about: City planning, geometry, area and perimeter calculations Overview: Students will identify the structures that make up a city (e.g. roads, buildings, bridges), and then analyze the way in which these structures are composed of lines and geometric shapes. Students will design 2D shapes and then Doodle over them to construct their own 3D structures. Each group will design one part of a city, then collaborate to form a whole city. This real-world, hands-on project combines math, problem solving, collaboration and technology.
Busy planning ahead for the school year? We’ve prepared something to help you out!
We’ve added tons of new Lesson Plans for elementary school level all the way up to grade 8, specially designed for use with the 3Doodler Start. These teaching resources are perfect for STEM classes, and some are so fun you could even use them as a first day of school activity! You can print them out to use in your class or for a project at home. All lesson plans are accompanied by presentation slides, reference images, and worksheets that you can use during your lesson.
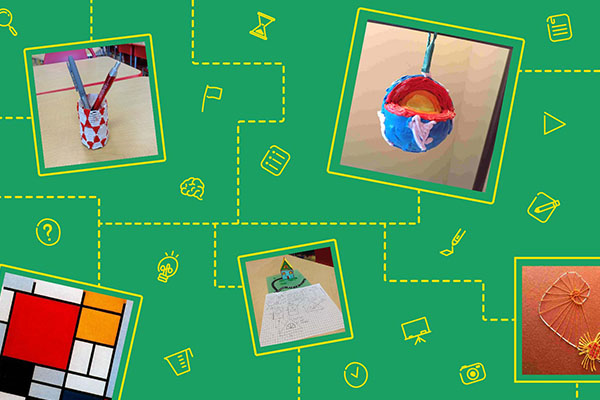
Here are a few STEM lesson plans that we’ve handpicked for you. To see the full collection, click here.
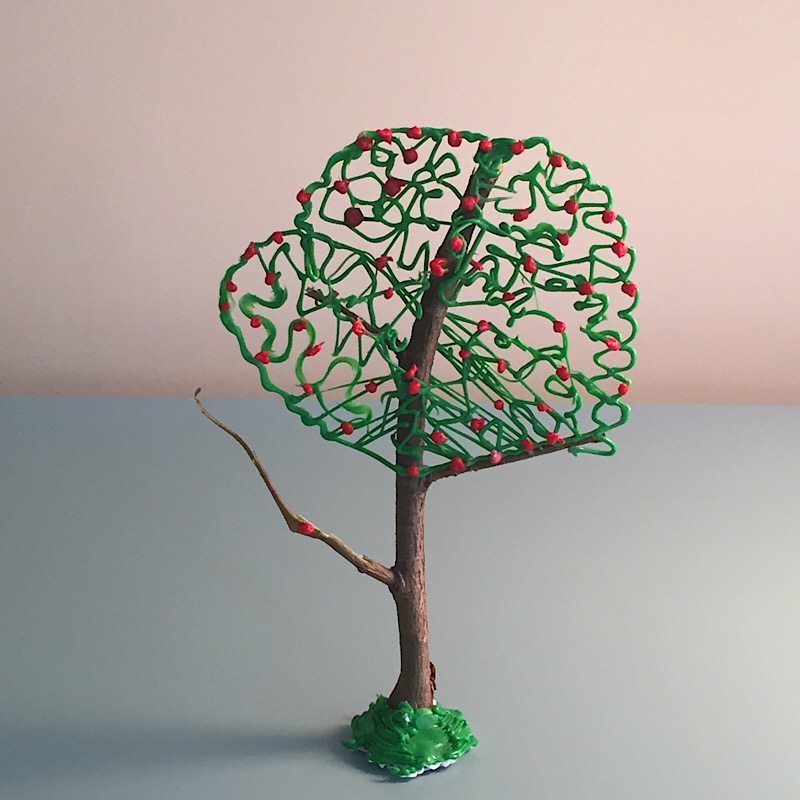
Doodle-Trees and the Four Seasons
Recommended grades: K-2 Learn about: Seasons and changes in nature Overview: Students will Doodle on four tree branches to create models of the four seasons. This is a fun STEM-focused educational activity that includes a short walk outside for students to collect branches. It also introduces students to the cycles of nature and gives them a strong visual representation of the changes in the trees and foliage throughout the seasons.
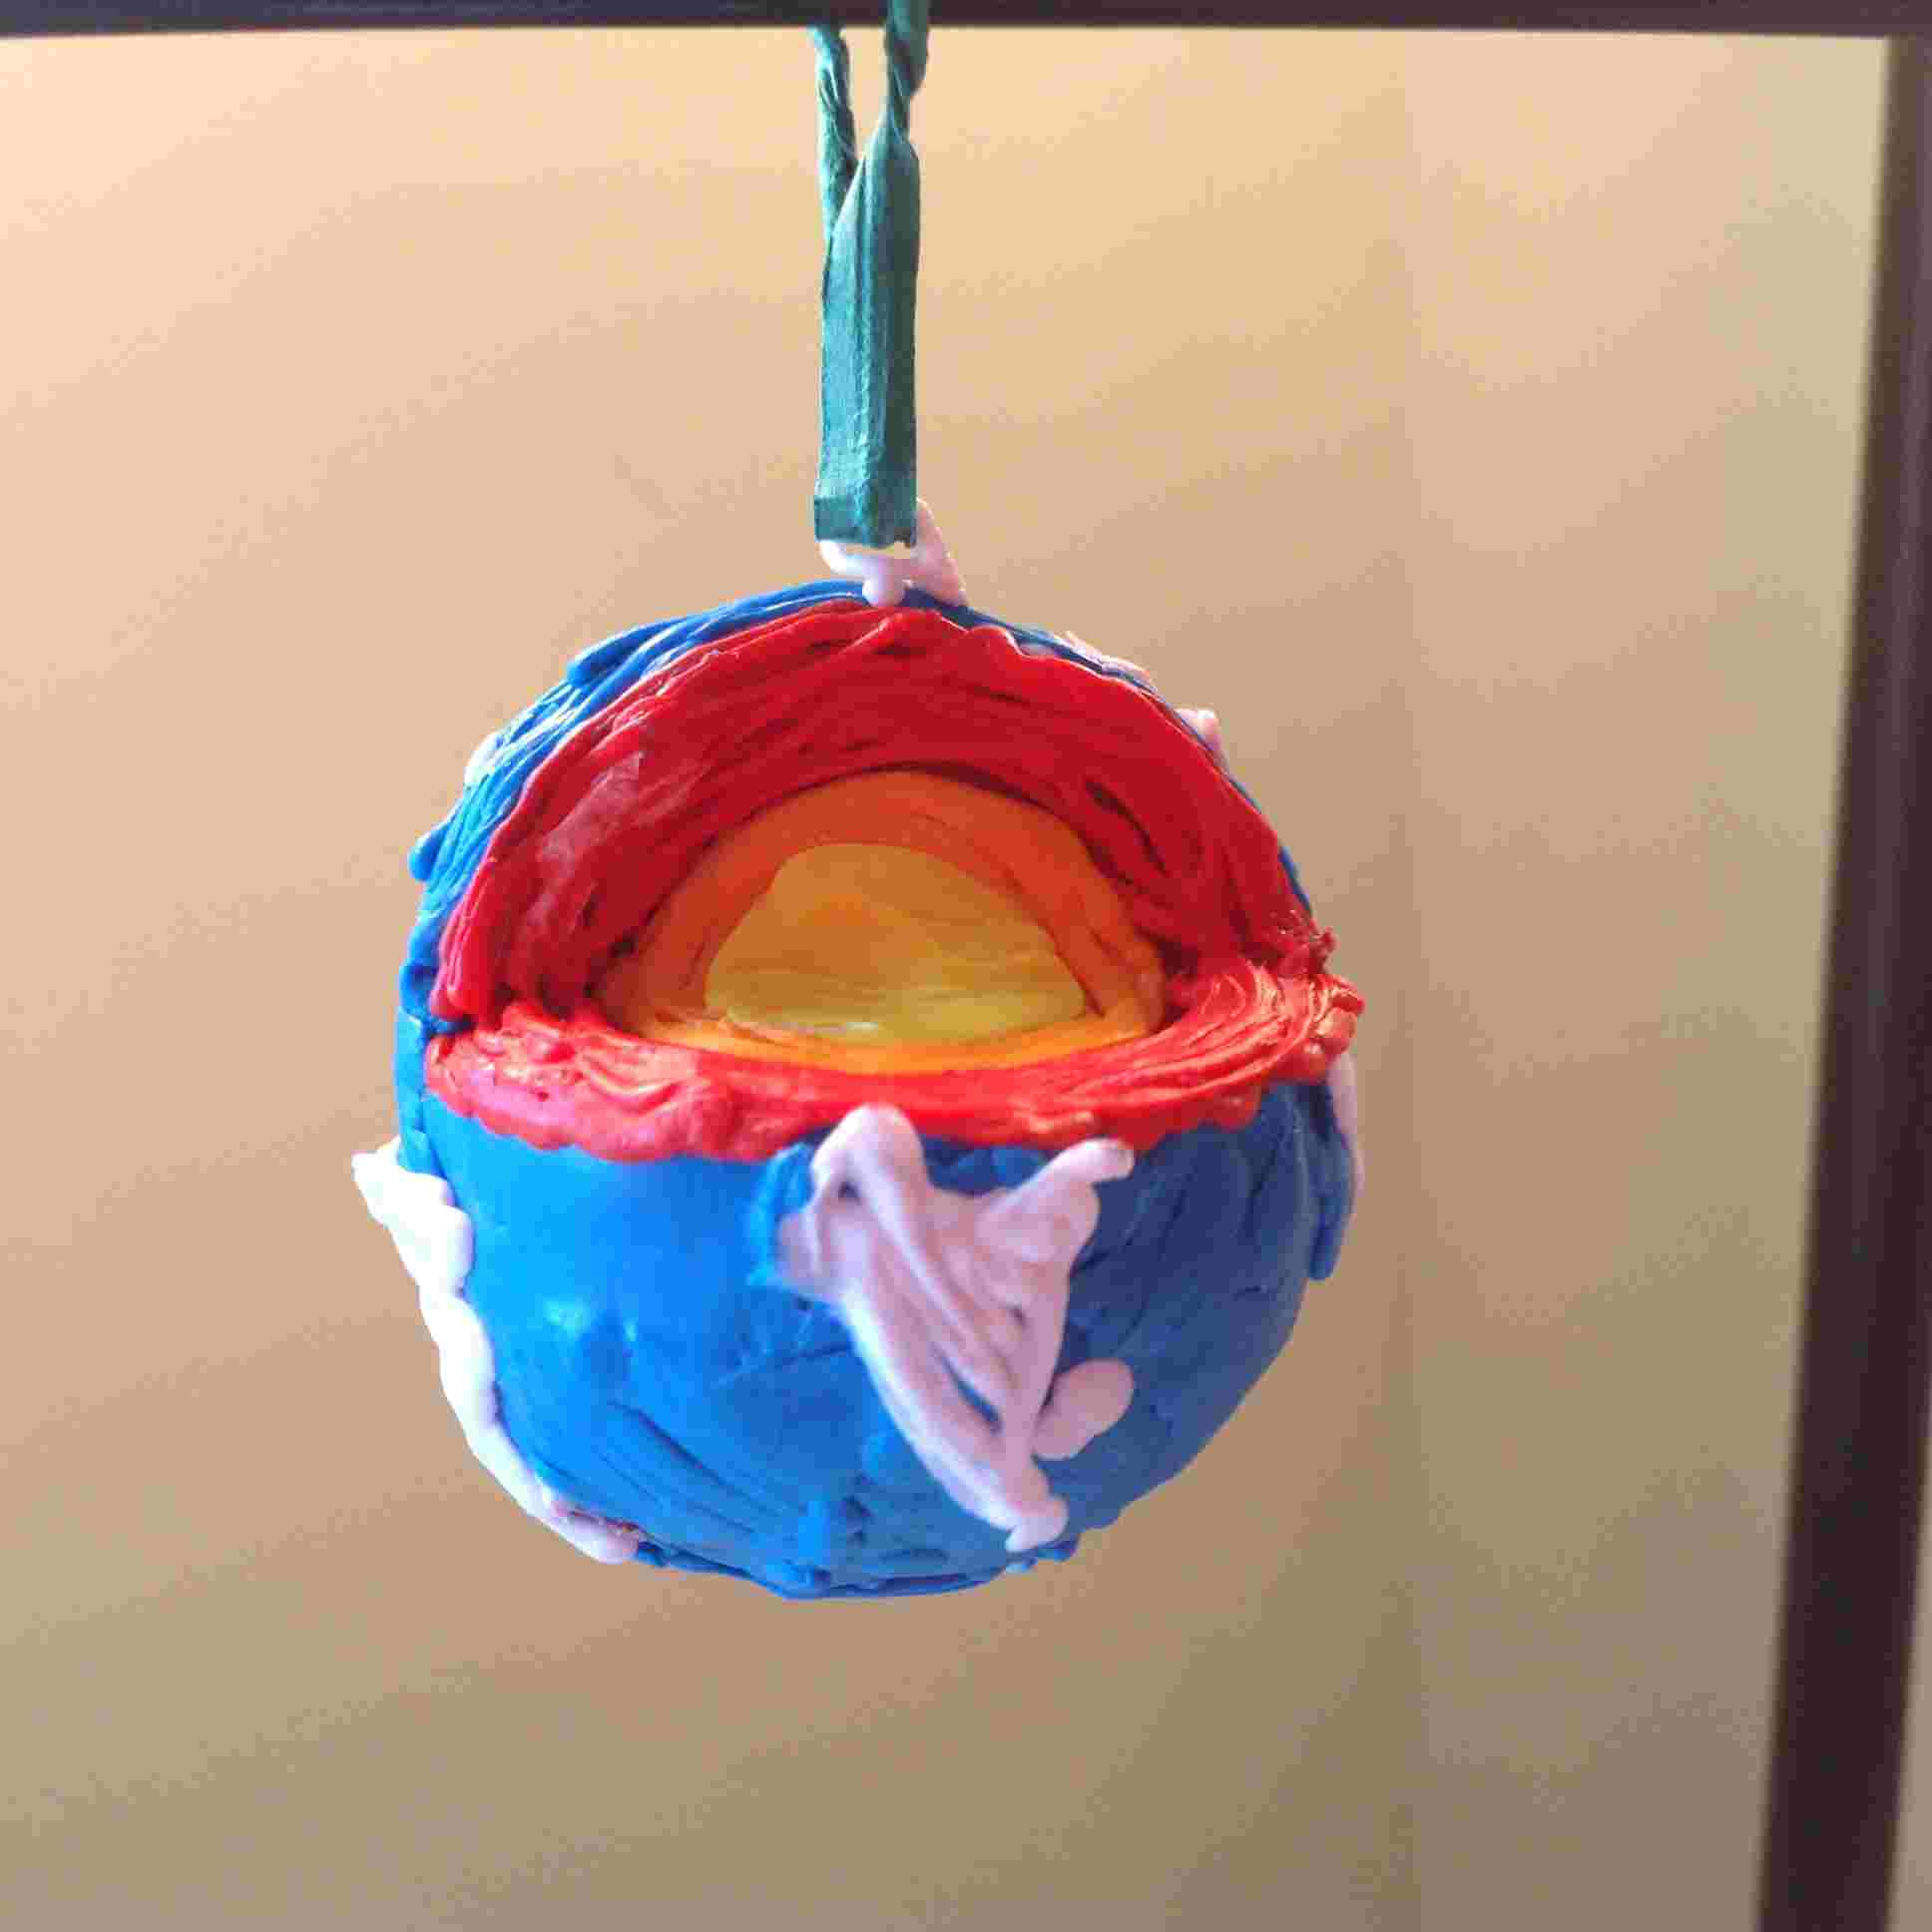
Recommended grades: 3-5 Learn about: Different internal structures of planets Overview: Students will research our solar system and Doodle cross-sectional 3D models of the planets. They will learn about the makeup of the different layers and compare and contrast the likenesses and differences between the planets. Students will then assemble the planets into a solar system display of their own.
Recommended grades: 6-8 Learn about: Research methods and design experimentation for a functional Wobblehead Overview: This activity involves researching a historic figure and incorporating five of their characteristics into the design of a 3D wobblehead! Students will learn about exaggerating an individual’s most notable physical characteristics (similar to a caricature), and will be challenged to design a working Wobblehead by experimenting with Doodled springs, dowels, and more.
Celebrate National Dog Day on August 26th by giving your four-legged pal a hug and a kiss, and by Doodling a mini version of them!
This special day, founded in 2004 by Animal Advocate Colleen Paige, recognizes rescue dogs and the positive role all dogs play in people’s lives both at work and at home. Read more about National Dog Day here. Psst…we also love this day because it gives us an excuse to talk about our dogs a little bit more…
How to celebrate National Dog Day?
Every day is bring-your-dog-to-work day at 3Doodler. Our dogs give us random kisses, remind us to take a break once in a while, and make us smile – it’s a real treat to have them around. We made these Doodles, sculptures, and accessories to toast our four-legged friends. How will you celebrate? Perhaps these 3D art pieces will inspire you to make something for your pooch.
Meet the dogs of 3Doodler…
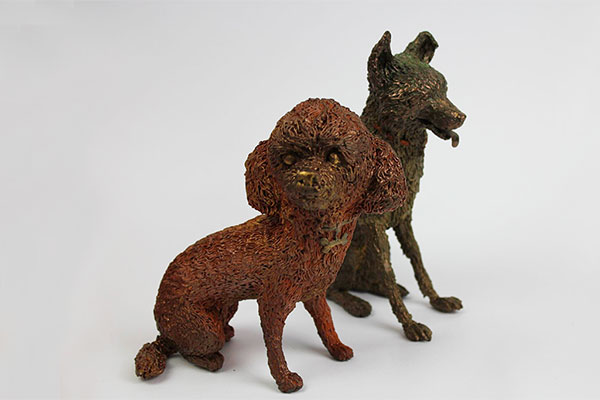
Hepburn and Theodore
Hep and Theo hated each other when they first met. Hep peed in all of Theo’s favorite places around the house. He’s a fraction of Theo’s size but thinks he’s twice as big. They’re now best of friends/true bros. These two 3D pen figurines were made using the 3Doodler PRO pen and ABS filament for the base structures, then layered with Bronze and Copper filaments for the fur details.
Ophelia
Ophelia has many titles that have been bestowed upon her over the years: Ophelia Rubenstein Bogue, Empress of the East Village, Queen of Newtonville, Ambassador to West Newton, Sultana of Sutton Place (Honorary). Ophelia’s 3D portrait was made using the 3Doodler Create+ and PLA filament.
PJ
PJ is a Shikoku mongrel named after rock legend PJ Harvey. While also known as ‘Jimjams’, ‘Pyjama Pants’ and ‘#PollyJeanTheMongrelQueen’, her many names are only a fraction as playful as she is. PJ loves hugs, beaches & buffalo (most of which don’t want to play) and has an unfortunate disdain for cute puppies. These 3D pen figurines were made using the 3Doodler Create+ and PLA and ABS filament.
Bailey and Brandy
Everyone thinks they’re blood sisters but they’re not related, though they do go everywhere and do everything together (double trouble). They might look small but they have massive personalities and hearts. Bailey and Brandy’s figurines were made using the 3Doodler Create+ and PLA filament.
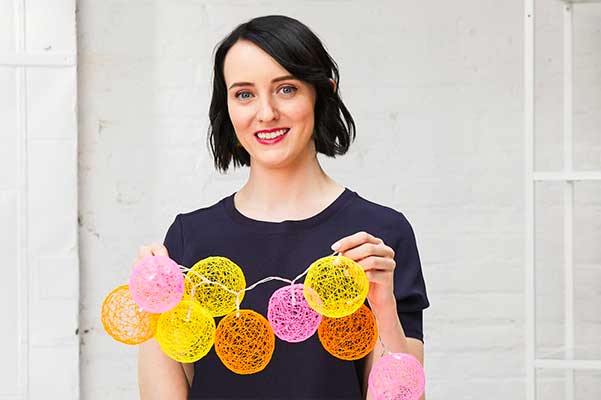
Prolific 3Doodler Printing Pen Artist, Grace Du Prez, has been Doodling since 2014 and has worked on record breaking projects, such as a life sized car for Nissan. She is also the host of our Bluprint 3D Pen Art series.
Grace has been running 3D Pen Creation workshops for two years, so she knows all the best tips and tricks for beginners. She has gathered the top 10 most common questions she’s received since the beginning of her Doodling career, and answered them here.
1. How do I use a 3D Pen? What can I make with a 3Doodler?
There are three main ways to use a 3D pen like 3Doodler.
Use a 3D pen design Template or Stencil
This technique is great for beginners to draw flat designs. You can also use this technique to construct simple 3D shapes like a cube. Make 6 flat squares then join together to create the 3D shape. There are lots of 3Doodler stencils available for free online.
Using a Stencil
Freestyle Doodling
This involves drawing up into the air or building an object up by layering. This is one of the most common ways we’ve seen 3Doodler art being made. This technique can require a bit of practice as you’re using your eye to judge if it looks right.
Using Molds
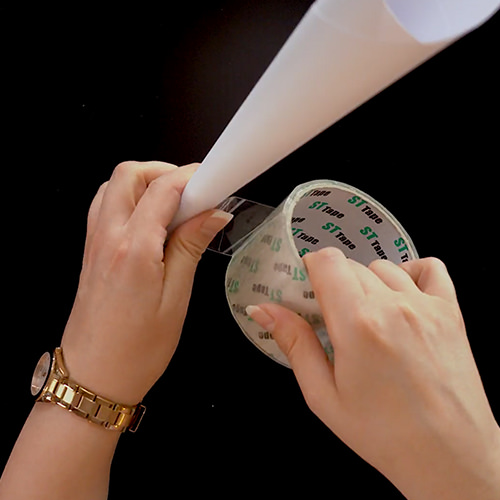
This involves drawing over a pre-existing object, such as a salad bowl. The filament will set in that shape and can be removed when you’re done, or remain on the object. If it’s something like a bowl it can be done in one piece. If the shape is something like a ball, you can make the two halves and then join together afterwards. Something like a balloon can be drawn over and then deflated. This technique is used in my Lantern Lights video. There are some great canvas mold 3Doodler projects available, or you can use any household object as long as it’s covered in masking tape – even a smartphone!
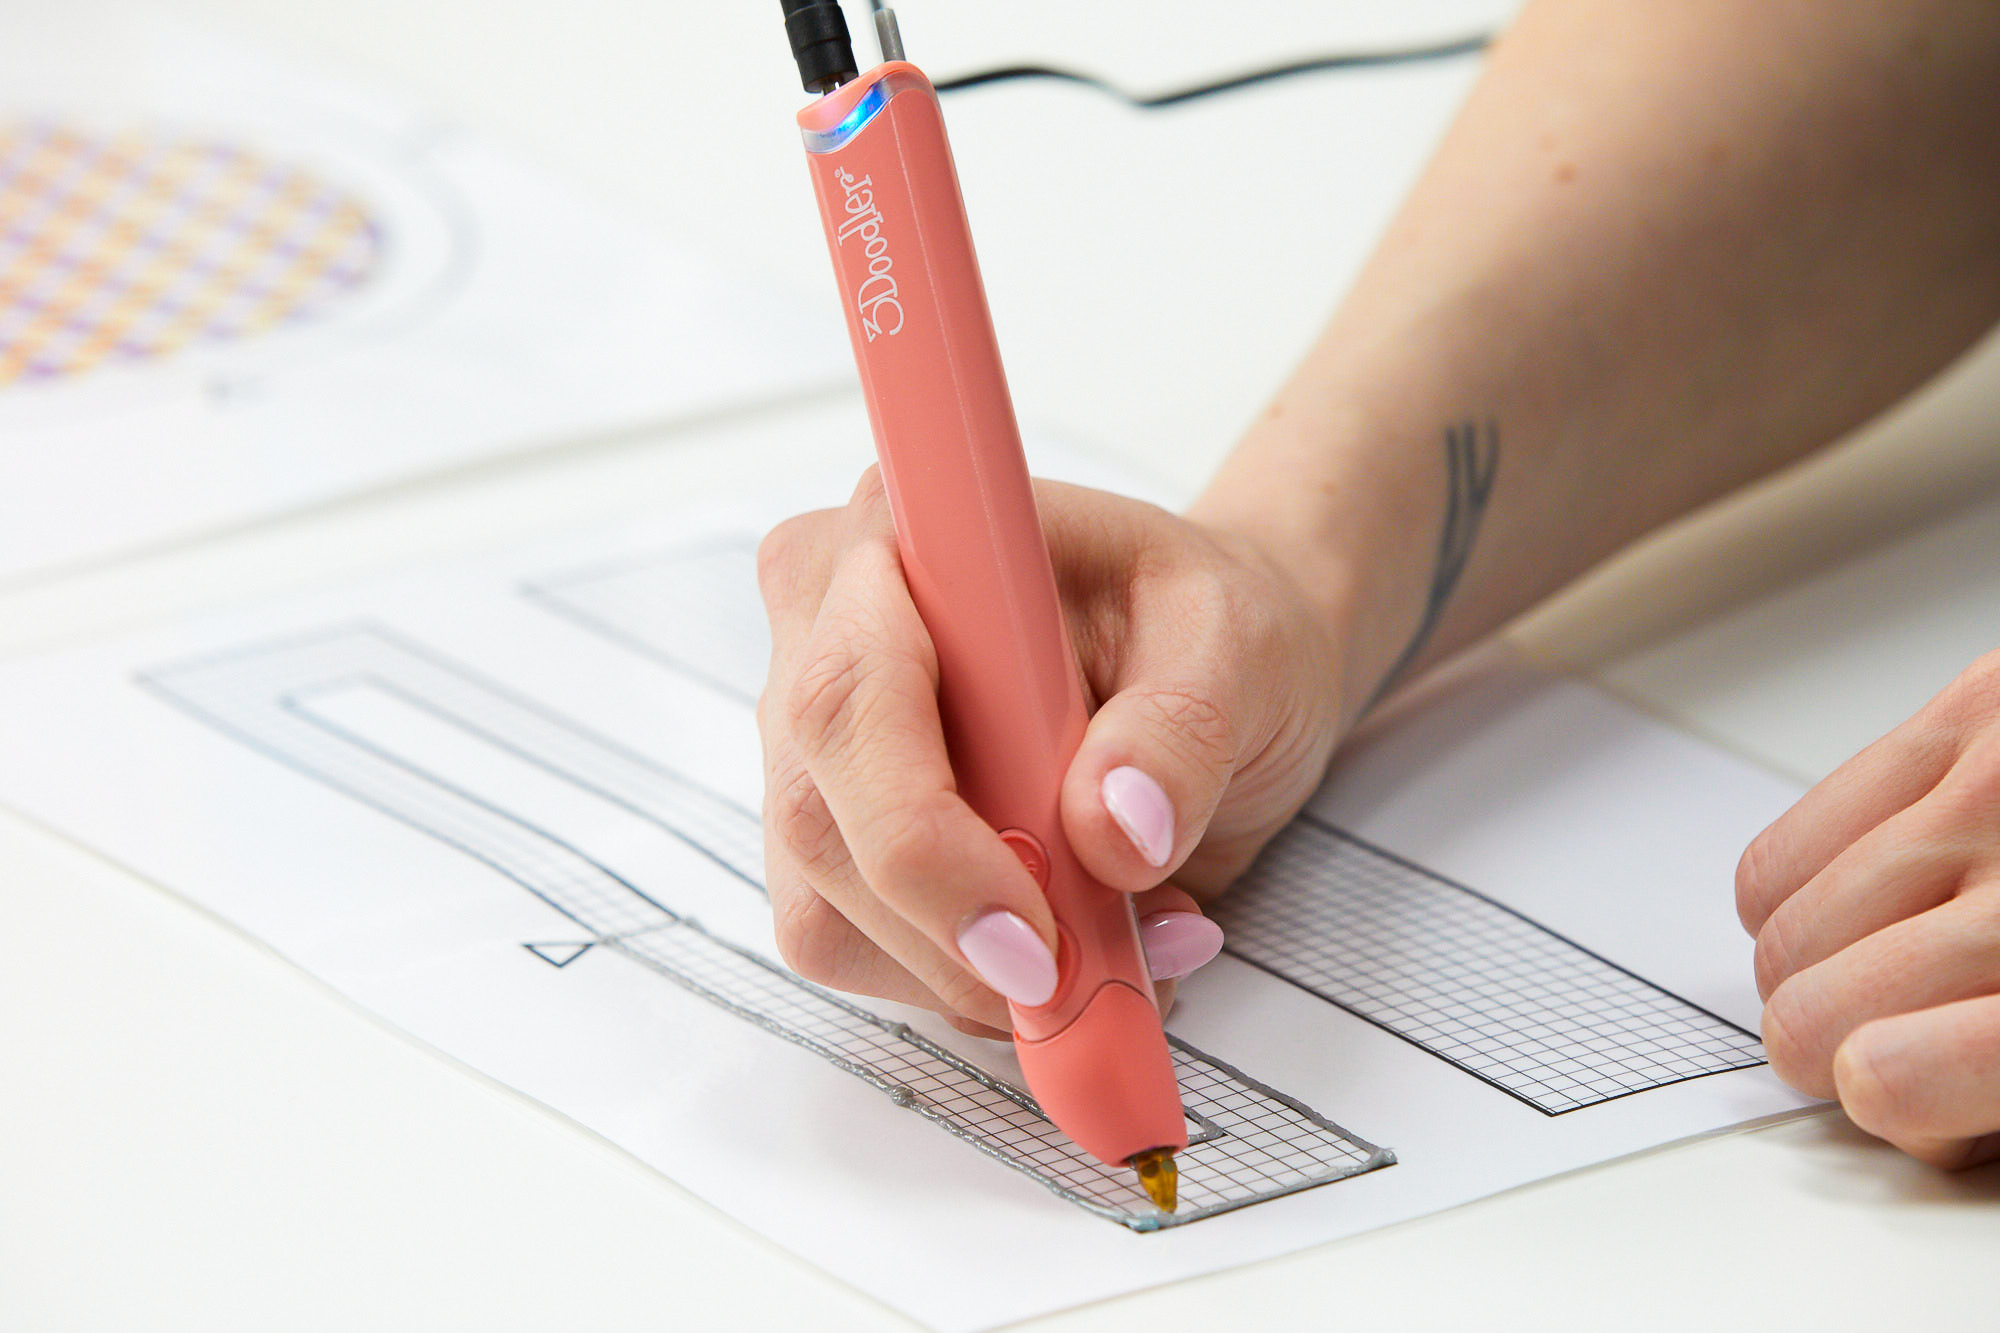
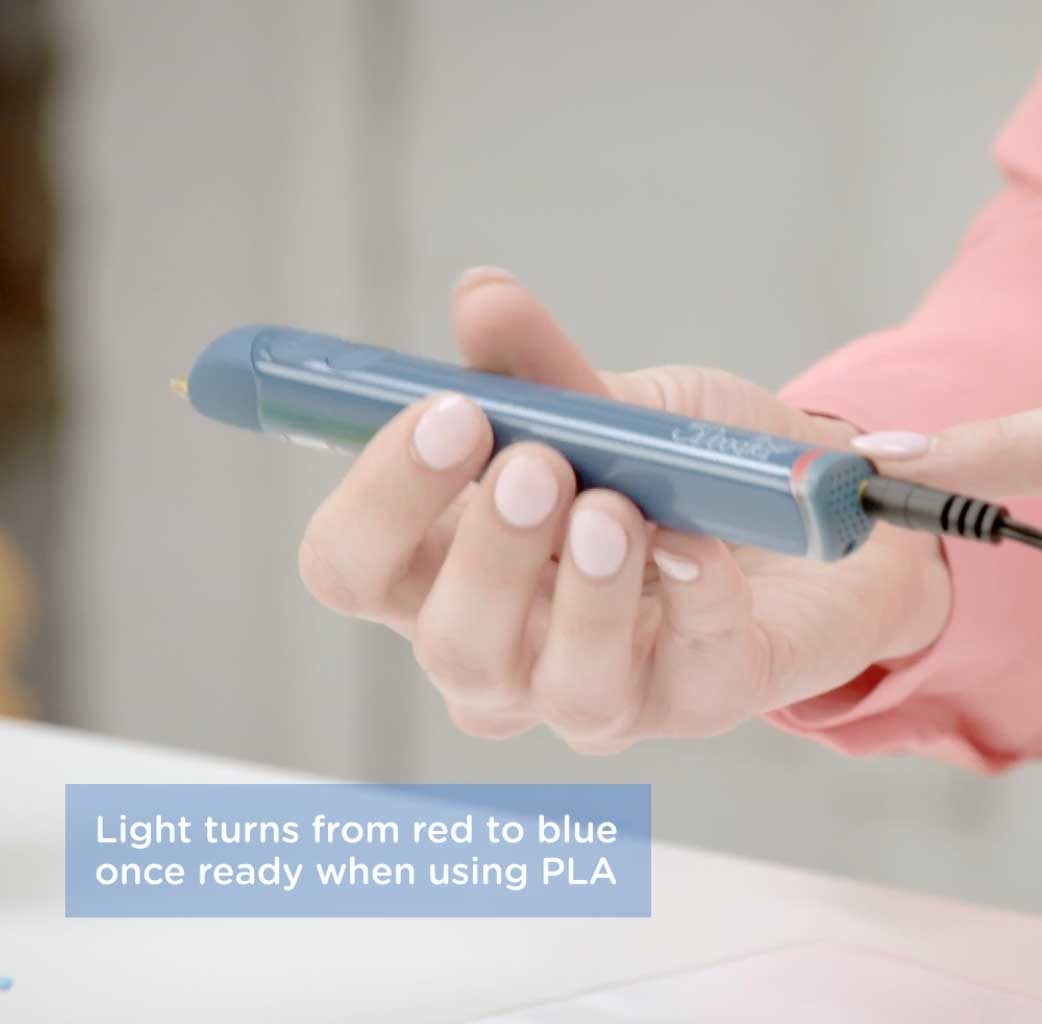
2. Why is there a red light on my 3Doodler pen? What do the different light colors mean?
Don’t worry, the red light is totally normal and just means that the pen is heating up to the right temperature. When it’s ready to extrude filament, the red light will change to either blue or green. It’s important to have it on the right heat setting as each filament melts at a specific temperature. Blue for ABS and Flexy, and Green for PLA.
Many people are concerned about 3D pen safety. The 3Doodler pen has a great safety feature – if you’ve taken a short break, the pen will start to cool itself down. This means that the red light will come on again. Simply turn the pen off, and then on again, and it will automatically start warming up to the temperature you set it to.
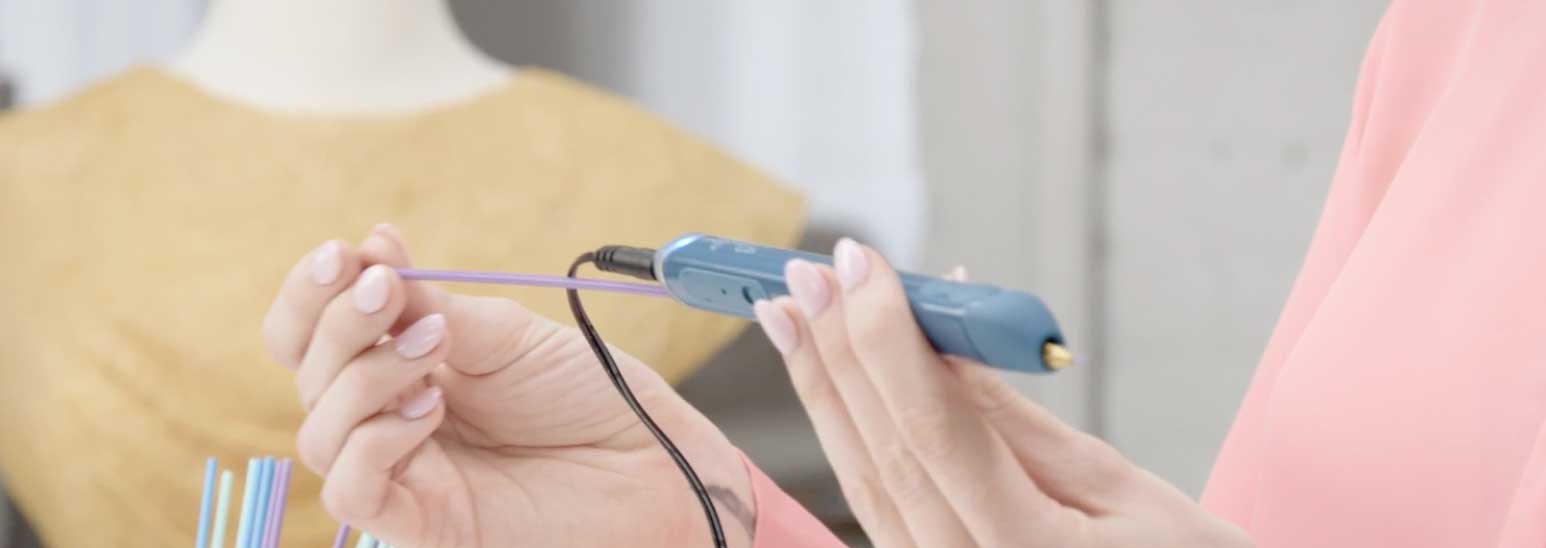
3. Why is the filament not coming out of my 3Doodler 3D pen?
If your 3Doodler is not feeding, try giving the filament a gentle push into the pen (but make sure you have clicked either FAST or SLOW first). When your filament has run out, just insert the next strand to keep the filament flowing.
It’s better to push the filament from a point on the strand that is close to the pen, otherwise you risk bending and damaging your filament.
If the 3Doodler filament is jammed, there are a few questions you can ask yourself: Are you on the right heat setting? Each filament melts at a specific temperature so if it’s not on the right one it won’t melt. Is there a flashing blue or green light? You may have gone into reverse by mistake, a function that is engaged by double clicking on either FAST or SLOW button. To be on the safe side if you’ve done this, fully reverse the filament out, snip the frayed end of the filament off with a pair of scissors or pliers, and try reinserting it.
4. Should I use FAST or SLOW mode when using the 3Doodler 3D pen?
There is no right or wrong option here, it’s about finding what feels right for you and adapting to the situation.
Benefits of FAST mode
It gets the project done in less time, and is ideal for those large-scale projects.
It’s good for welding two pieces of filament together. As the filament is extruding more quickly it stays hotter for longer, which helps to re-melt the filament you’re welding and give you a more stable connection.
Benefits of SLOW mode
It’s better for beginners as you have more time to think ahead and control your 3D pen.
It’s great for drawing up into the air. When in SLOW mode, the filament is making more contact with the cool air around it and setting in that position. This will really help you perfect those spirals and staircases!
When using 3Doodler Flexy filament, it’s better to be on SLOW mode.
5. How do I start my 3Doodler 3D pen?
Simply click either FAST or SLOW once to start. To stop, click either button once again. A common mistake is to press and hold the button, which you don’t need to do, as the filament will continually extrude with one click.
Something else to watch out for is that there is a slight delay between pressing a button and the filament extruding. Avoid clicking multiple times as you’ll just be starting and stopping your pen repeatedly.
6. How should I hold the 3Doodler 3D pen?
Hold it like you would a marker pen. You can hover your index finger over the buttons so that you can easily start and stop. Some find it easier to turn it upside down so that the clear filament window is facing up and your thumb is hovering over the buttons. What’s important is that you find a way that suits you.
Hold at a 90-degree angle
You might naturally want to hold the pen at a 45-degree angle and move it at the speed you would with a regular pen or pencil. This can result in an inconsistent texture in the filament. Instead, try holding your 3Doodler at a 90-degree angle so that it’s vertical to the page. This will make sure that the filament extrudes evenly – imagine that you are mimicking a 3D printing machine!
Try experimenting with the speed that you move your hand. The slower you move, the thicker the Doodled line, and therefore the stronger your creation will be.
Test to see the difference between pressing down onto the page, versus hovering slightly above the page. Making contact with the page will give you a more precise line that will stick to the template, whereas having the pen tip hovering will result in a random squiggly effect. Have a look at my Getting Started video for the 7 top techniques on using a 3Doodler 3D pen.
7. How do I change the filament color in my 3Doodler 3D Pen?
There are two ways to change the filament color in your pen. If the filament is sticking out of the feed port, you can reverse the strand and gently pull it out, then load your desired color. If the strand is too short to pull out of the feed port, you can carefully remove the hot nozzle with the mini spanner (be sure to do this with the pen turned on and heated up), engage the reverse function, and insert the unblocking tool through the nozzle end of the pen. This will push the short strand out of the rear of the pen. Then you can replace the nozzle with the mini spanner, being careful not to overtighten it, and load the new strand of filament.
Double-click to reverse strand, then remove
The filament doesn’t need to go to waste! There are a lot of fun things you can make with half a strand of filament. You could even try out these projects to transform leftover filament into beautiful jewelry and decor items!
Don’t try to apply too much force to pull the filament out, as you could end up doing some damage to the pen. Simply double click either the FAST or SLOW button, and the pen will do the hard work for you. Once it’s finished reversing, gently pull out the filament. Watch this video to see how it works.
Reversed filaments may have a wispy ends, which can get tangled up in the mechanism of the pen. It’s important for you to snip it off before re-inserting it into the pen.
8. How do I get rid of mistakes in my 3Doodler art?
Mistakes are bound to happen, even for the most professional Doodlers. The nozzle tip can help you melt away pieces you don’t want on your design. You could also use scissors to create a super accurate edge. They need to be sharp, but don’t use your best sewing scissors as it may blunt them.
9. Why are there wispy strands on my 3Doodler creation, and how do I get rid of them?
You might notice that there are some ‘hairy’ bits on your creation. They can easily be melted away using the nozzle tip, but it’s better if you don’t make them in the first place (unless it’s intended)!
These might be caused by lifting the pen away from your work too quickly. A bit like mozzarella on a pizza! Once you’ve pressed stop, count to three and then pull away. You’ll get a much cleaner finish.
10. Is 3Doodler filament environmentally friendly?
PLA (Poly Lactic Acid) is a eco-friendly type of filament that is made from the starch of plants such as corn, sugar cane or sugar beet. This means that it is environmentally friendly and sustainable. With the right conditions it can take approximately 6-12 months to break down compared to other filaments, which can take hundreds of years.
ABS (Acrylonitrile Butadiene Styrene) can be recycled, but it is not widely accepted by local authorities. Don’t let that stop you, as you can do it yourself at home with a few easy steps!