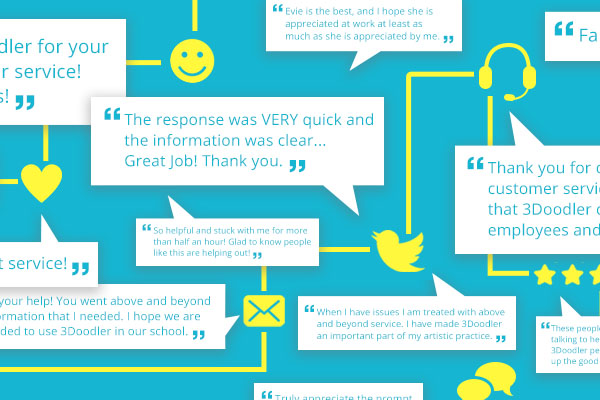
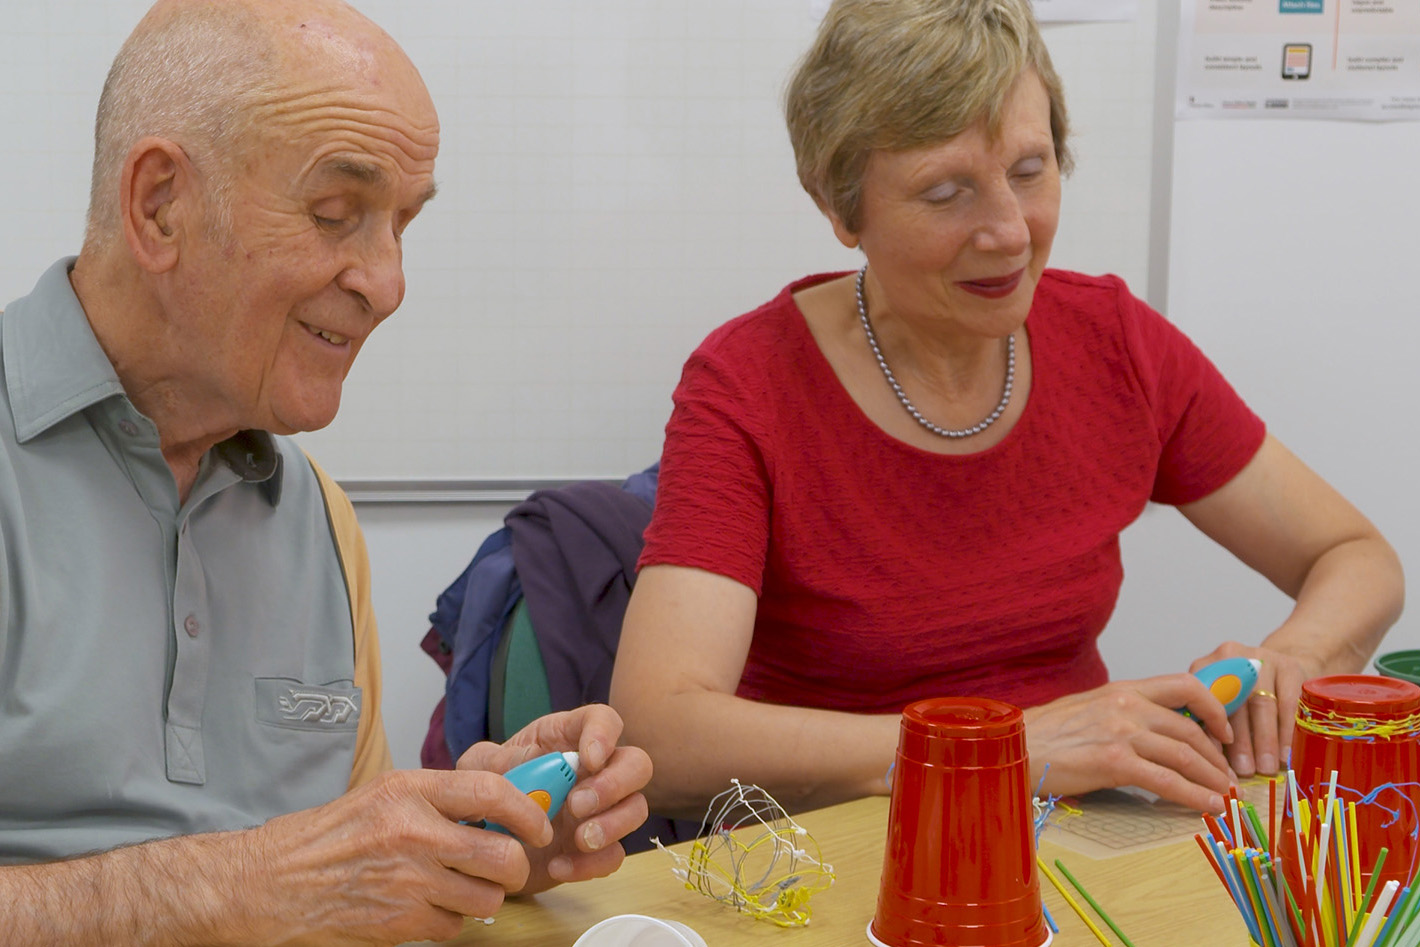
It’s Customer Service Week, and there’s no better time to show our appreciation for the amazing people who support our community on a daily basis. At 3Doodler, we’re proud to say we have an excellent Customer Service Team, and thankfully our community agrees.
Here’s a taster of the feedback we’ve received:
“I was so surprised to get such a quick response – at first I thought my message had bounced back somehow. This is how customer service should be.”
“So helpful, and stuck with me for more than half an hour! Glad to know people like this are helping out!”
“These people, who do online chat to help people with their 3Doodler pens are amazing! Without them no one would be able to fix their pen! Keep up the good work 3Doodler staff!!!”
Find out how you can show your appreciation for our team at the end of this blog.
Meet Our Awesome CS Team
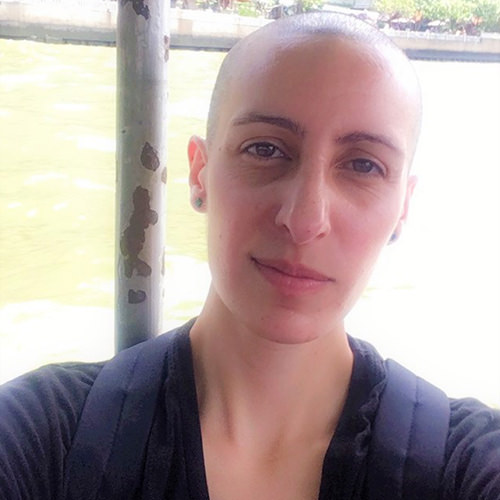
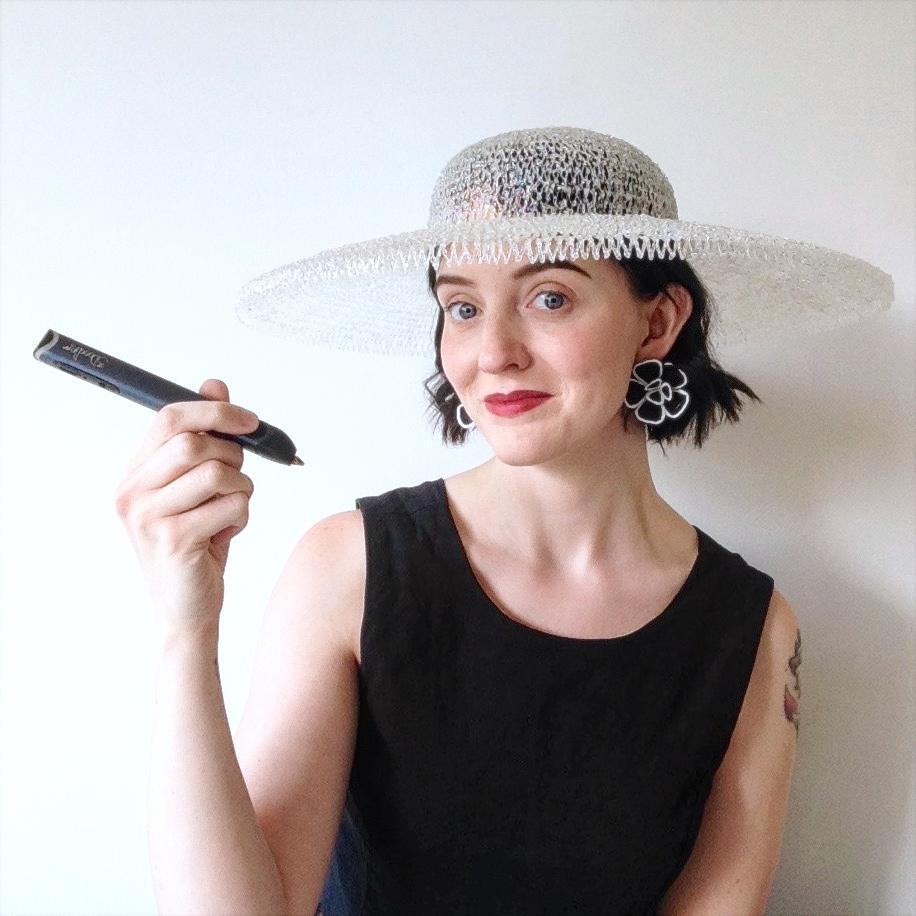
Nisey Steward
– Director of Customer Experience
Hello! I’m Nisey, and it’s my job to lead the best team here at 3Doodler – the Customer Service team. I also work with the other departments on projects to make sure customers have the best possible experience with 3Doodler from the get-go, and throughout their user journey.
What’s your goal?
My current goal is to beat Doom on my Nintendo Switch. Wait, you mean work wise? Can you erase that last answer? No? Fine! My current WORK goal is to always push my team to be better, aiming for that 100% satisfaction rating. I treat each and every interaction with the customer as a learning experience, and we use feedback to be better as a team and a company.
What’s a typical day at work like?
A typical day at work for me includes going through all of the feedback left by customers in our ticketing system, touching base with the team about what they are working on for the day, and emails, lots of emails. French vanilla iced coffee makes the emails better.
What do you like to do in your free time?
I have a passion for collecting sneakers. I buy what I like, not necessarily what everyone else gets. Just like with any other passion, purchases must come from the heart.
Something else about me… I was born and primarily raised in NYC (my soul is Southern). I could watch Law and Order SVU all day. I studied Criminal Justice, so law is life. I love numbers and have my tax preparers license. My entire heart has been captured by my best friend!
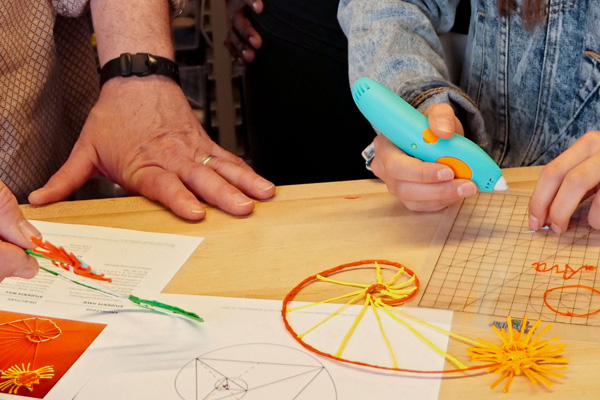
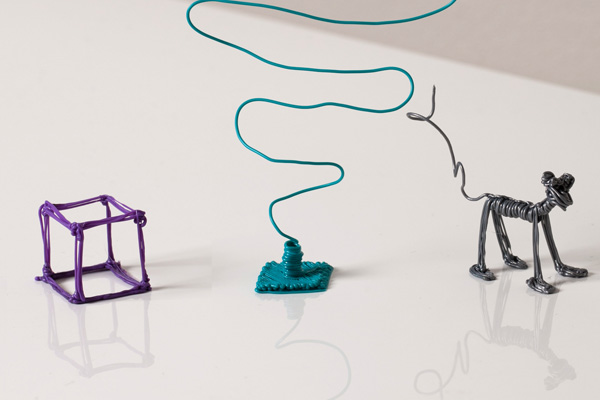
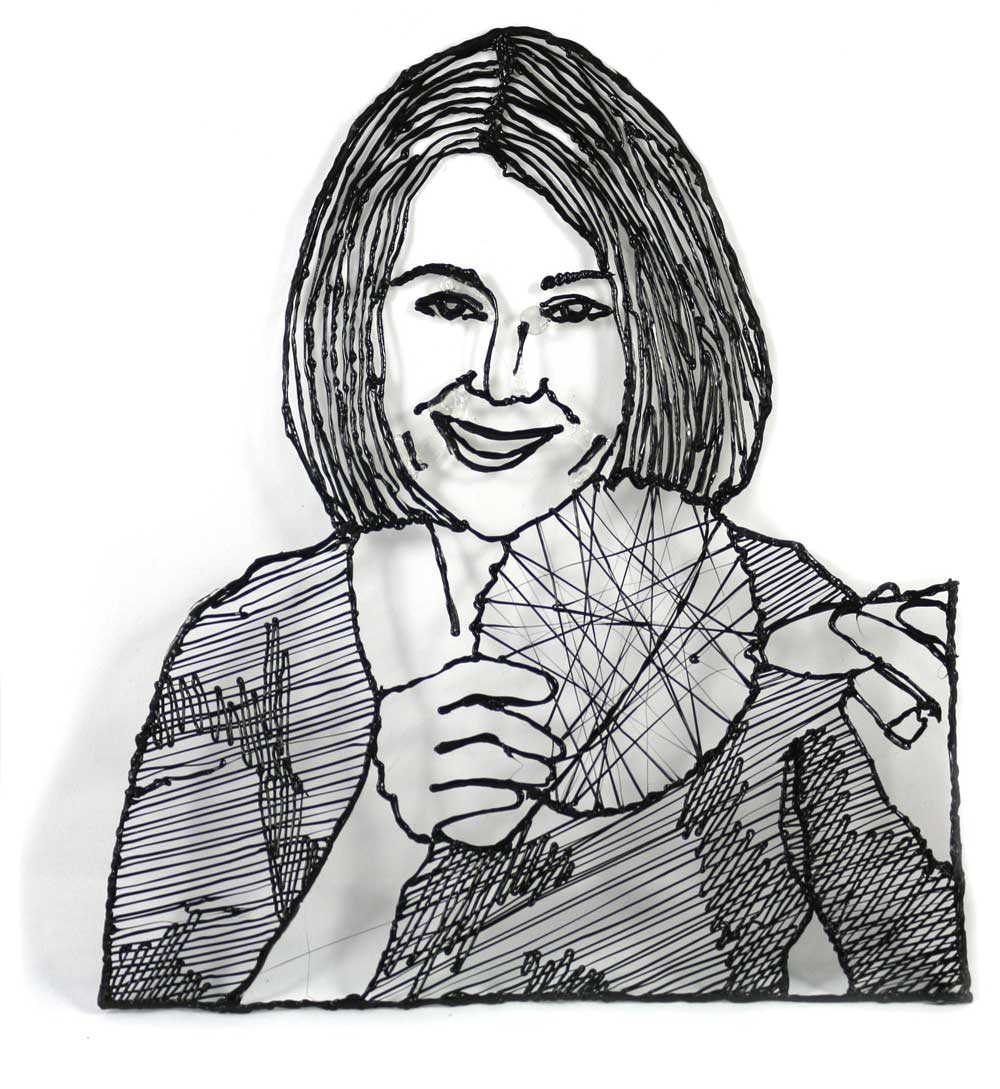
Tell us about your Personality Doodle
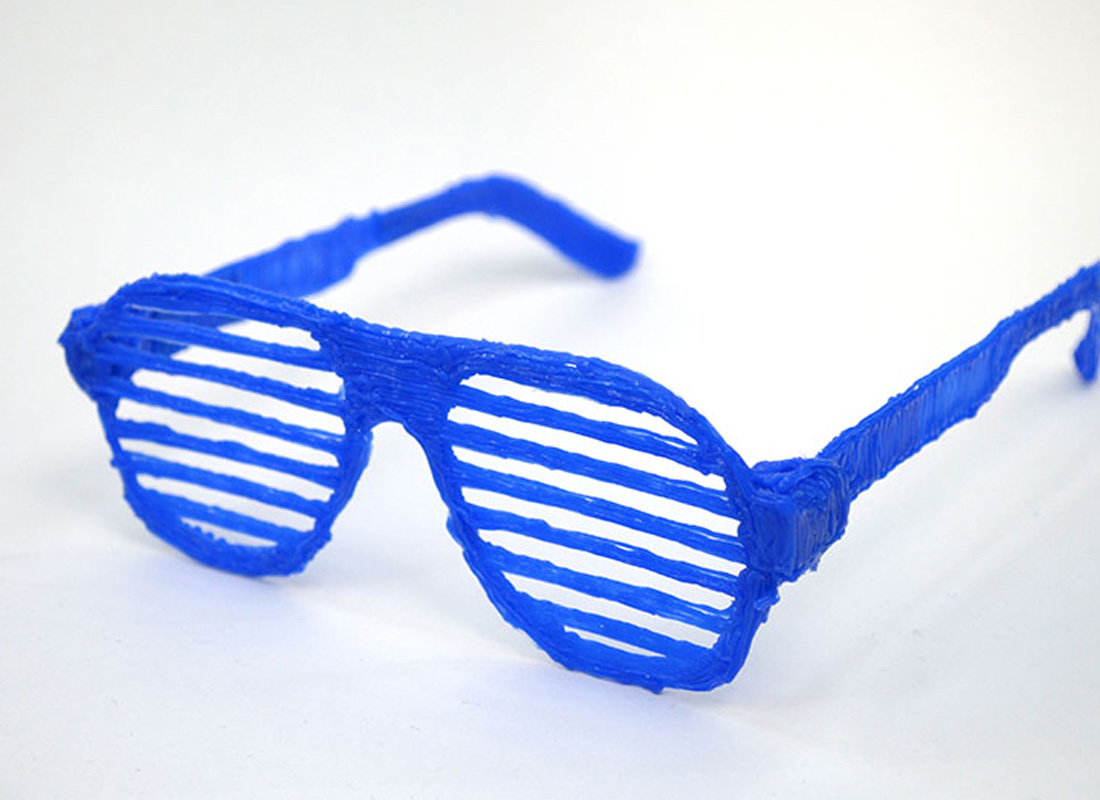
My Personality Doodle reflects my passion for sneakers. There is a Hexbug inside that makes it dance with love! Favorite thing I have ever seen!!
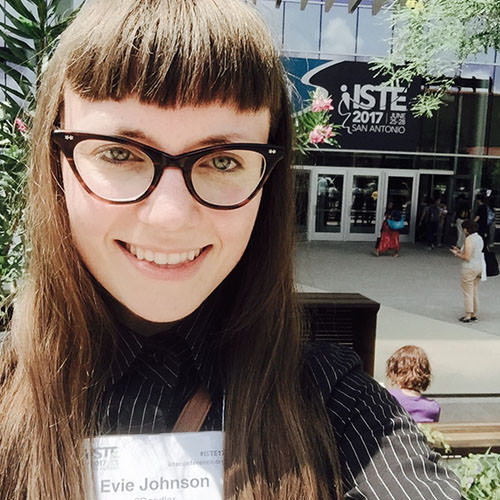
Evie Johnson
– Customer Service Manager
Hi there! As CS Manager, I help customers through emails, live chats, phone calls, social media, and video calls, and I love ensuring our customers are happy and well taken care of. I also help educators get acquainted with their 3Doodler Learning Packs, and talk with them about using 3Doodler pens in their classrooms. The 3Doodler Customer Service team is truly the best team in the world! I am grateful for every day I get to work with them and help support team-wide processes and successes! I also love assisting other departments with side projects, and helping them achieve their goals.
What’s your goal?
One important goal of mine is to get to know our customers better. I am researching how to better support them, and how we can accommodate their needs and wants to the best of our ability. I also strive to maintain “top shelf” customer service with positive customer feedback.
What’s a typical day at work like?
Daily, I check inboxes, answer phones, have video calls with customers, and have fun connecting with my team in our Slack channels. One of my favorite tasks is taking time to connect with 3Doodler artists that make visionary works of art, and supporting them as best as I can! I also spend time proofreading material, uploading and editing our EDU Lesson Plans, and receiving guidance from the amazing leaders in our company, which aids my professional development. On a daily basis I do my best to support 3Doodler in being the best company in the world!
What do you like to do in your free time?
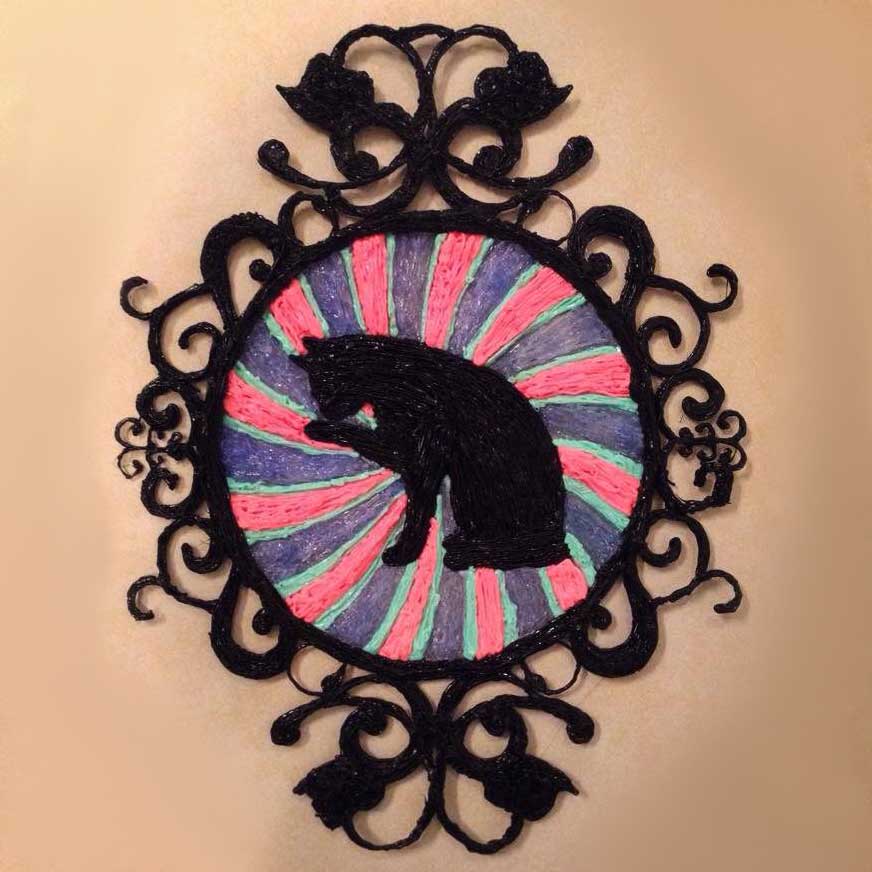
As far as extracurricular activities go, I love practicing yoga and making art! My best friend is a tiny cat named Kali Maa, and her coat is mostly black with flecks of beige and orange. In my spare time I love reading, drinking tea, and spending time with my cat. Kali inspires my love for all animals! I have spent over 700 hours volunteering in wildlife rehabilitation, and I also rescue injured and orphaned animals if I happen to find them.
Tell us about your Personality Doodle
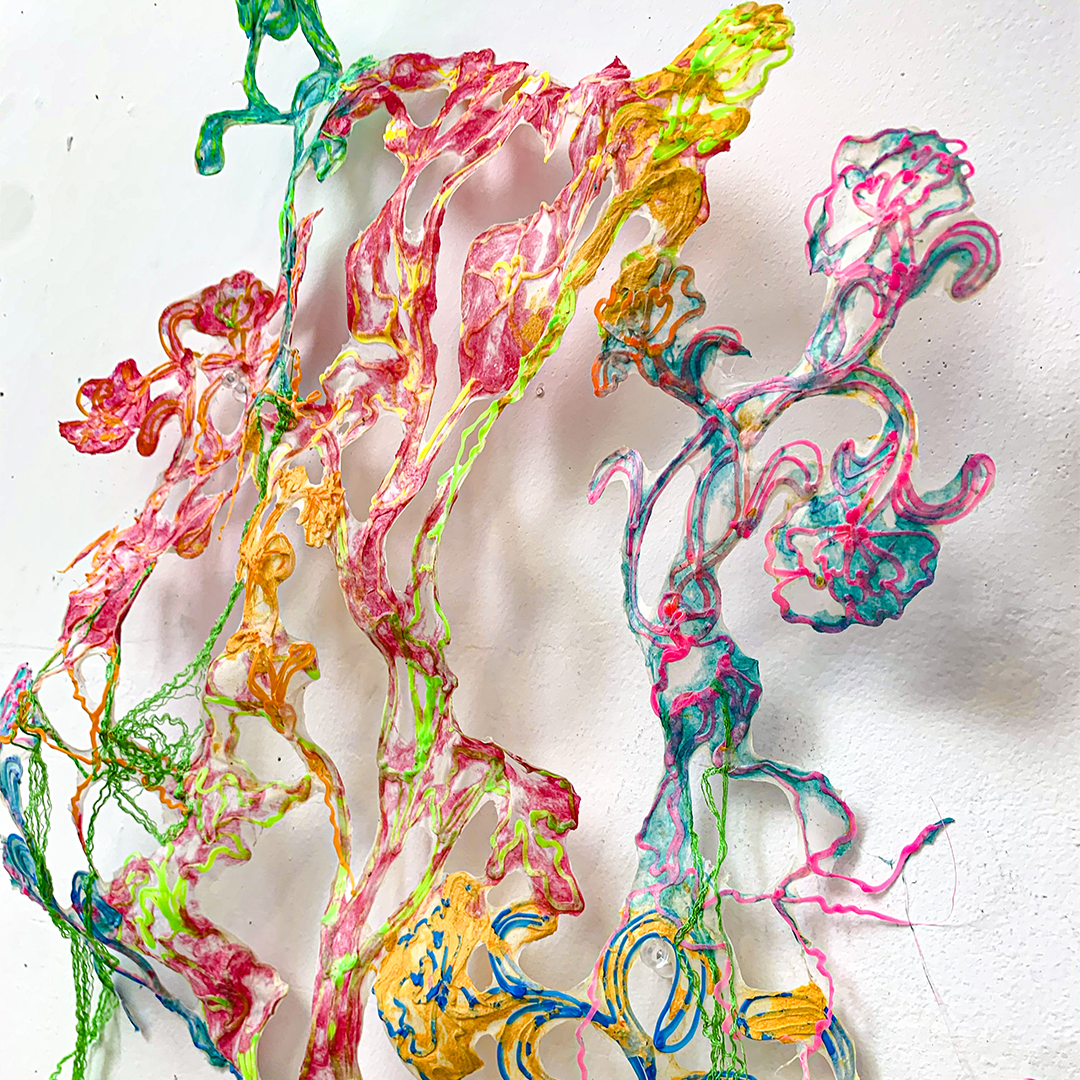
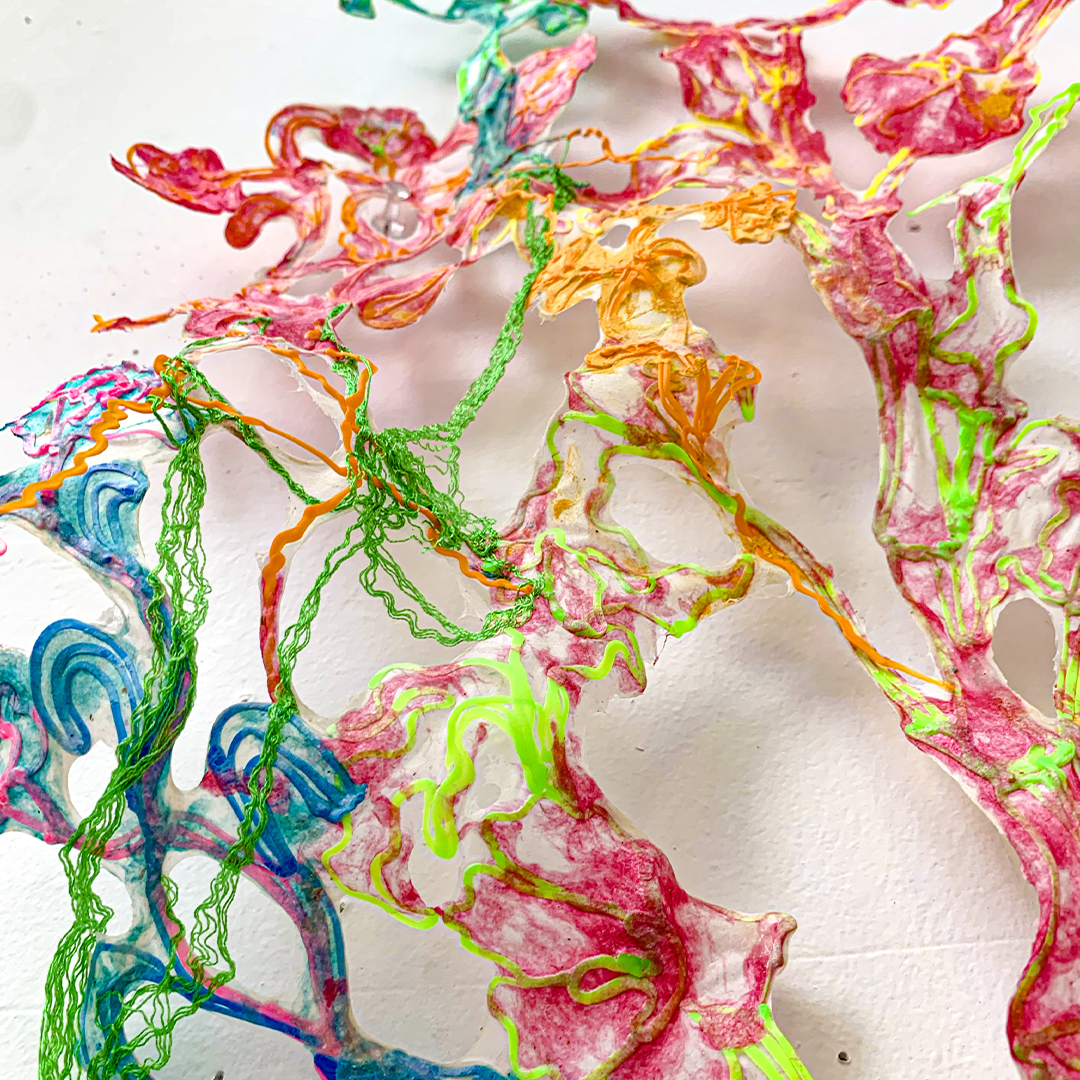
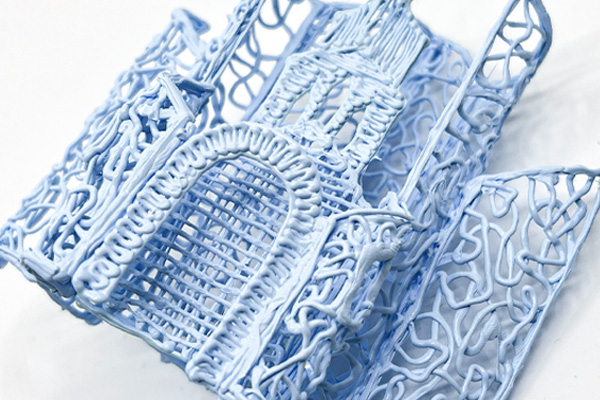
My Personality Doodle is of a cat because I adore cats! It is in an ornate frame that I Doodled as well. It was made with the 3Doodler Create using ABS and PLA.
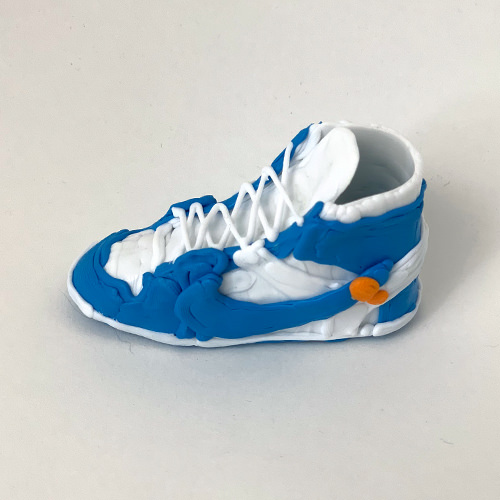
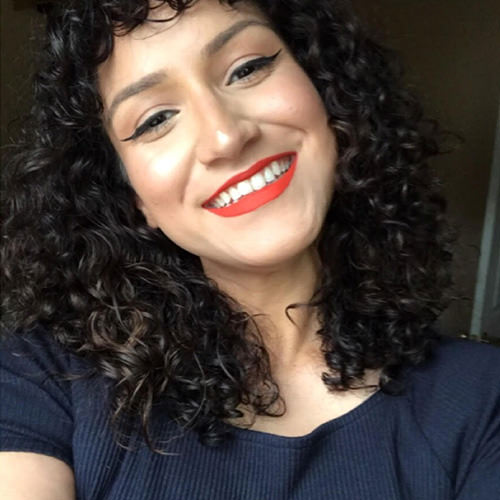
Andrea Macias
– Customer Support Technician
Hey, I’m Andrea. I help cultivate relationships between the customer and our products through every interaction. I help remind customers why 3Doodler is the best choice and help guide them in the best direction to bring their imagination to life.
What’s your goal?
I strive to create 3Doodler promoters who understand that what separates 3Doodler from other companies is our customer service. I strive to help customers know that our goal isn’t to sell you the most expensive pen, but rather to introduce you to a pen that suits your needs and helps you bring your imagination to life.
What’s a typical day at work like?
I’m super organized! I begin my day by writing down my daily work tasks and checking them off as I complete them. I interact with customers via our ticketing system, social media and phone calls. I comb through the data received from customer interactions to analyze our data trends, and I ship out any replacement items that need to be shipped.
What do you like to do in your free time?
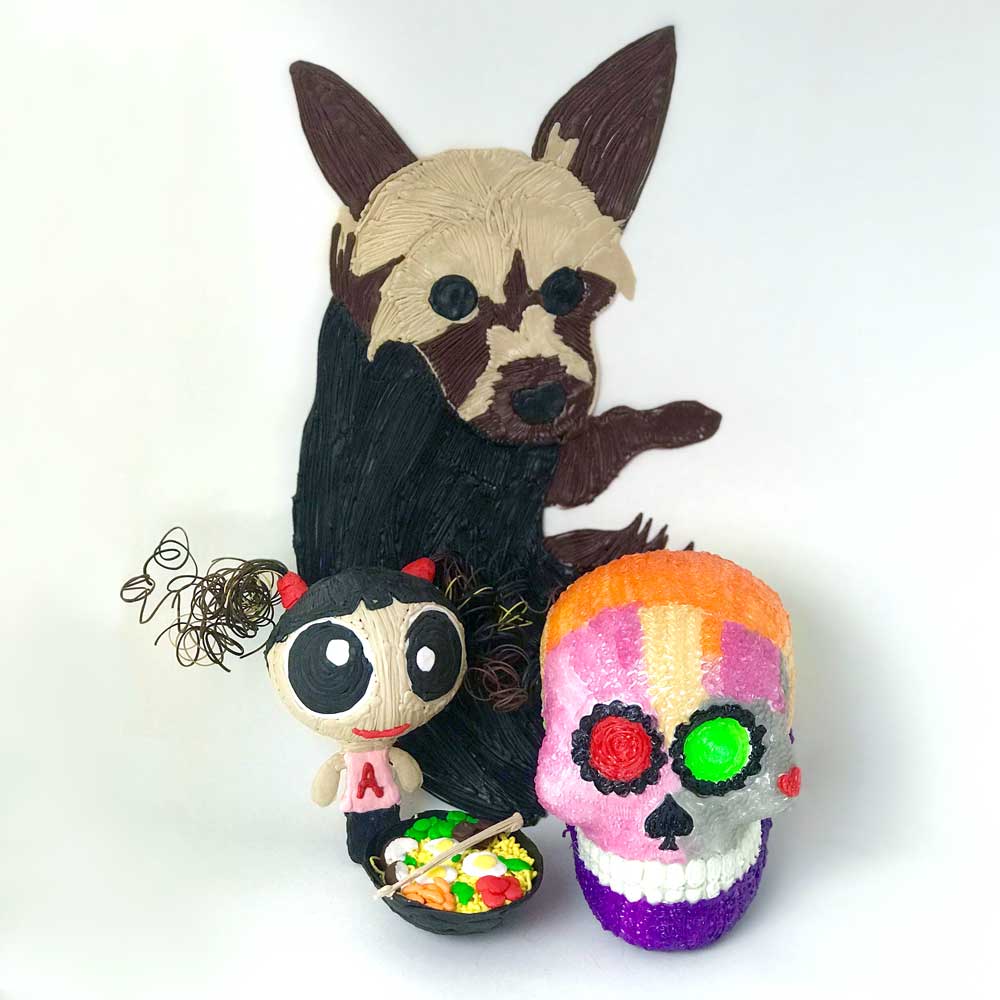
I love to film and edit makeup, cooking, fitness and hair How-To videos. I have a son named David (9 years old) and a Yorkshire named Biscuit, a.k.a. CornBread. I love, love, love going to the gym, but mainly because I have the biggest sweet tooth ever.
Tell us about your Personality Doodle
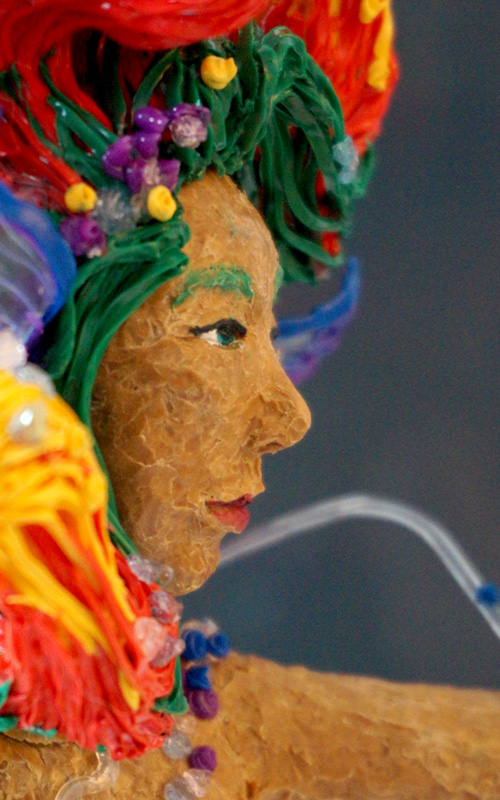
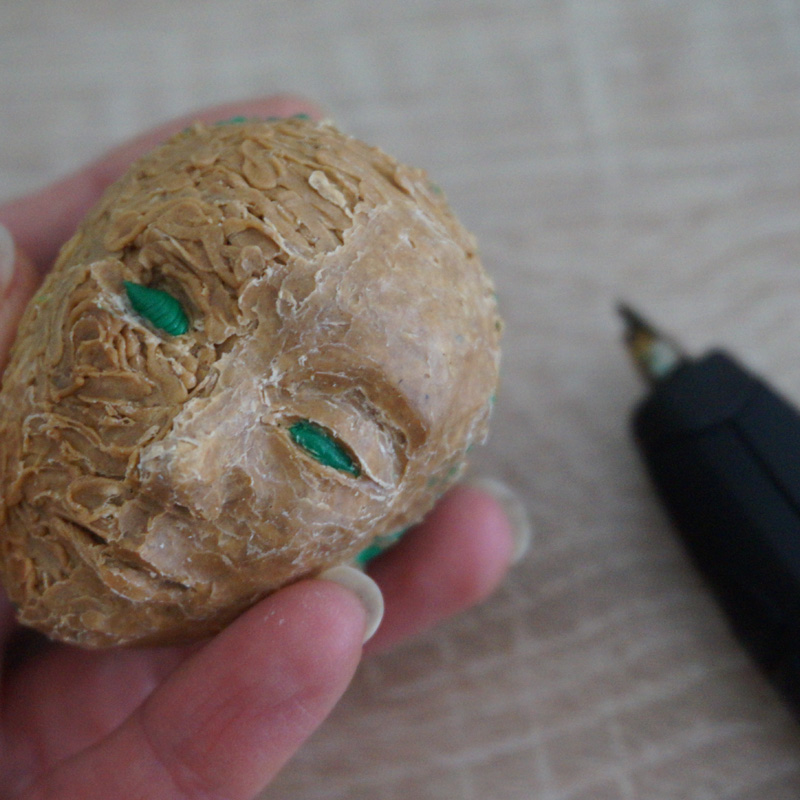
My Doodles show my style. The Powerpuff Doodle I made for the 1st 3Doodler NYC event I attended. The mini ramen bowl shows my love for tiny Doodles of food. The skeleton helped me get to the know the different nozzle types and filaments, and how they bring out the different textures found on the skeleton itself. Last, but not least, is my Biscuit Doodle, which is almost the same size as him.
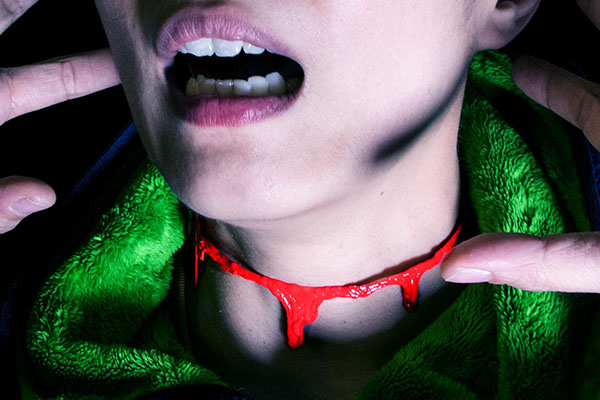
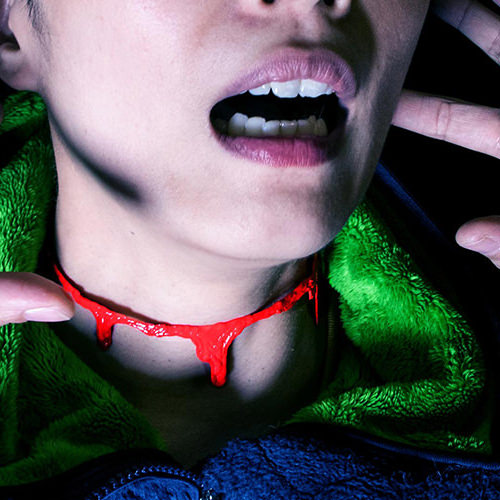
Dani Chillemi
– Customer Support Ninja
Hi! As CS Ninja, I connect with customers and help troubleshoot or educate about 3Doodler products. I strive to make sure customers know that they’re speaking with an actual human who just wants to help them. I know how discouraging it is to wait a long time for a response, only to have it be robotic and unhelpful.
What’s your goal?
I want the customers I connect with to feel like they’re reaching out to a buddy for assistance with something, and have them really feel that I’m happy to help them. I also strive to be fast in my response time to reassure the customer that I’m here and ready to resolve any issues.
What’s a typical day at work like?
On a typical work day, I make coffee then zone out on my laptop with daily tasks, such as answering emails, troubleshooting issues for customers, answering calls, browsing 3Doodler-related content on social media, taking care of spreadsheets, and now and then I’ll grab a 3Doodler and start doodling.
What do you like to do in your free time?
In my free time, I love urban inline skating, hanging out with my dog, going on adventures with my soul buddy, and pondering life and the universe (whoa, that’s deep, man). I like to practice just being, chilling and enjoying the moment, while gently nudging myself to continually grow and evolve, even if my pace is that of a sloth.
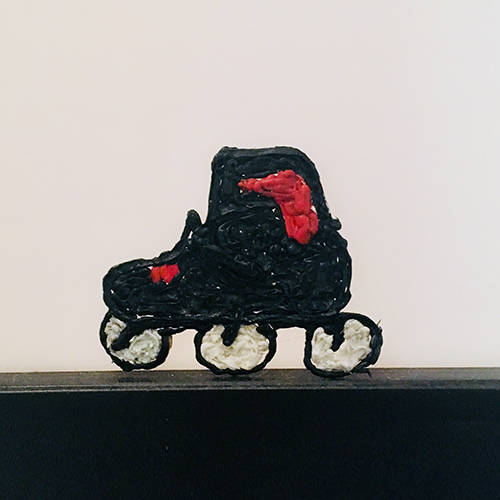
Tell us about your Personality Doodle
My Doodle is an urban inline skate; it’s based on one of my skates with 3x110mm wheels. It represents having fun, exploring, feeling free, and growing stronger.
Want to show a little love to our CS team and get 25% off your next purchase?
Show your appreciation by leaving a review on Trustpilot, then send us an email (help@the3doodler.com) with a link to your review. We’ll send you a 25% off discount coupon!


