


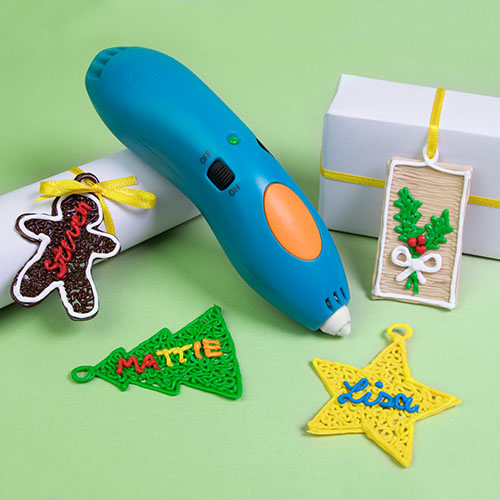
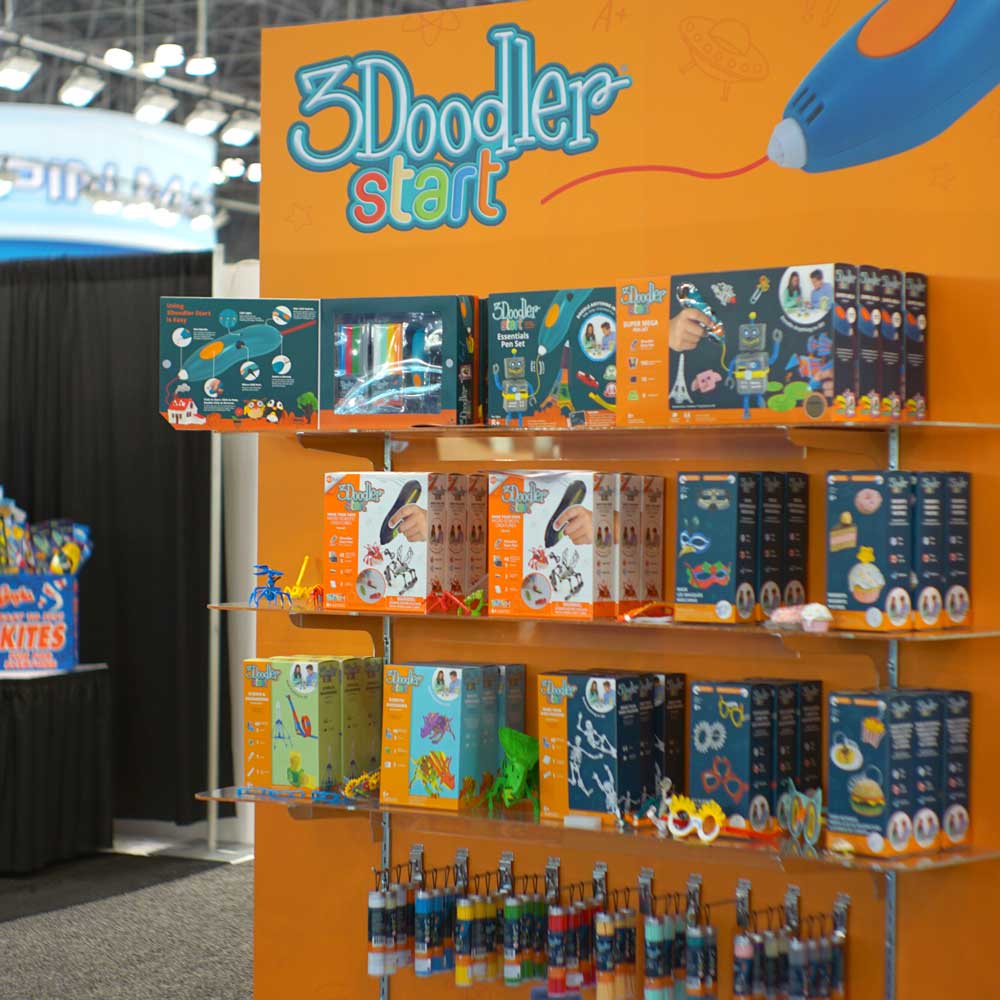
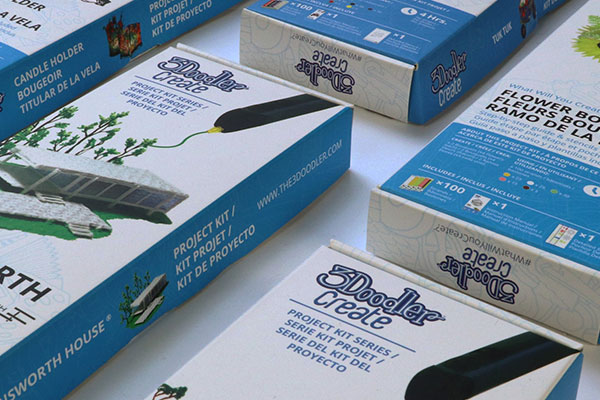
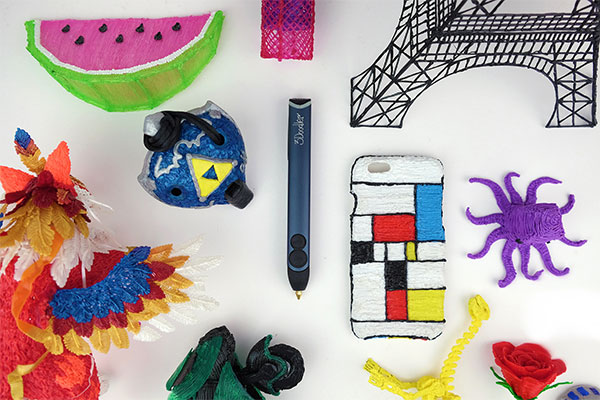
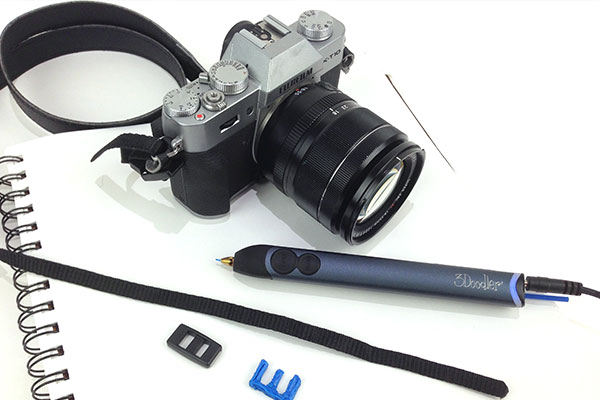
The ultimate guide to creating 6 projects with your 3Doodler 3D pen that are purposeful, creative, and ~aesthetically pleasing~ without breaking the bank!

As many of you are heading out to college this September, we wanted to take the opportunity to talk to you about how to decorate your space on a student budget!
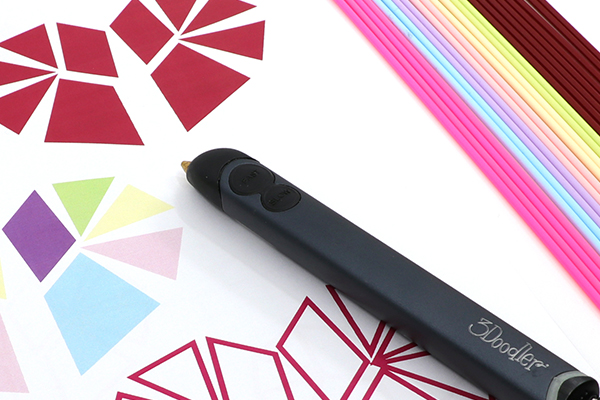
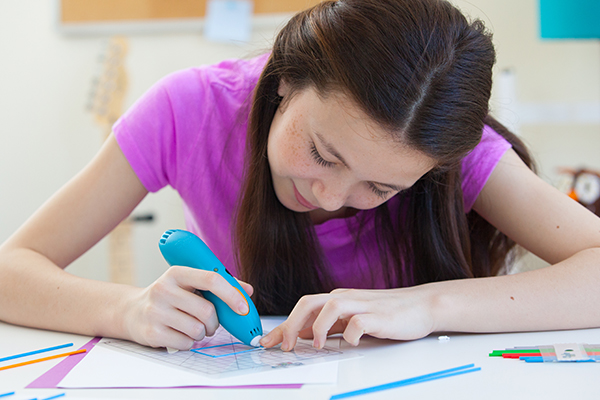
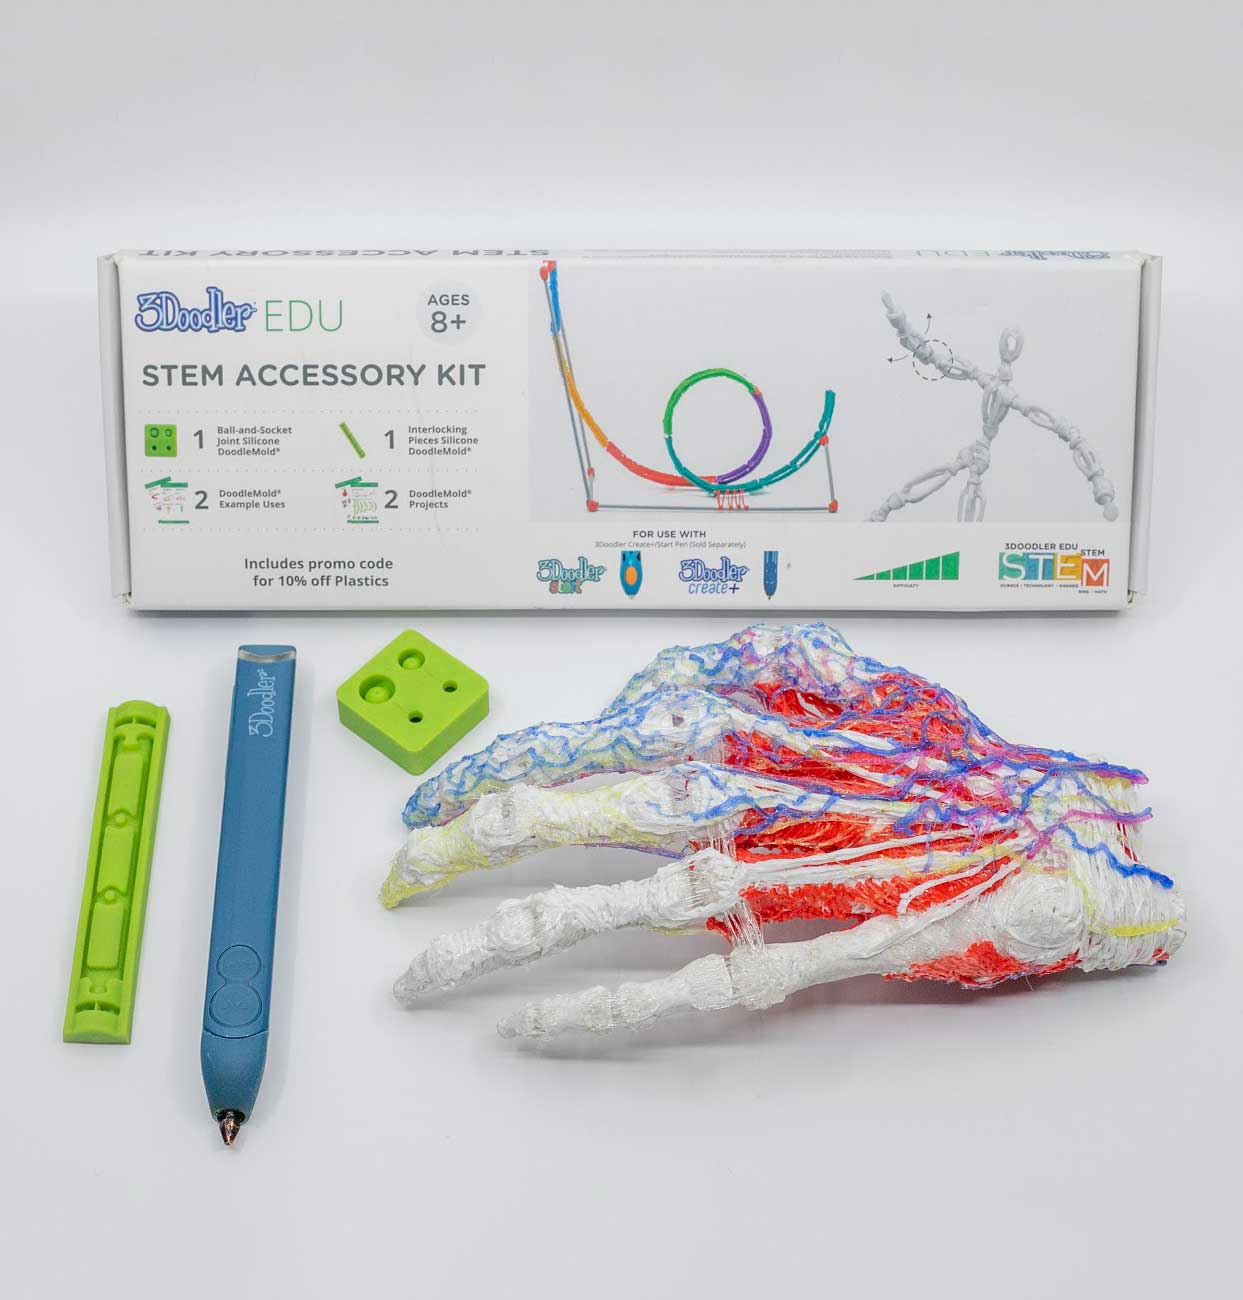
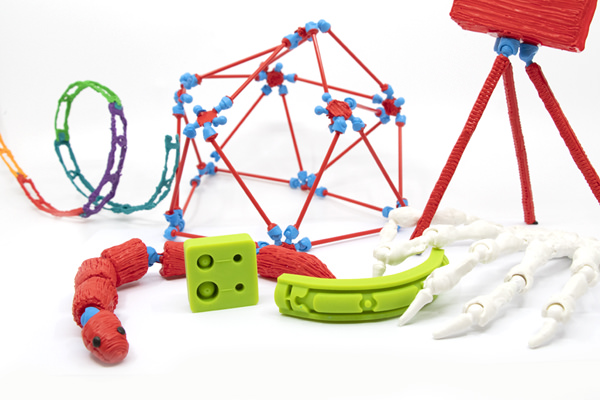
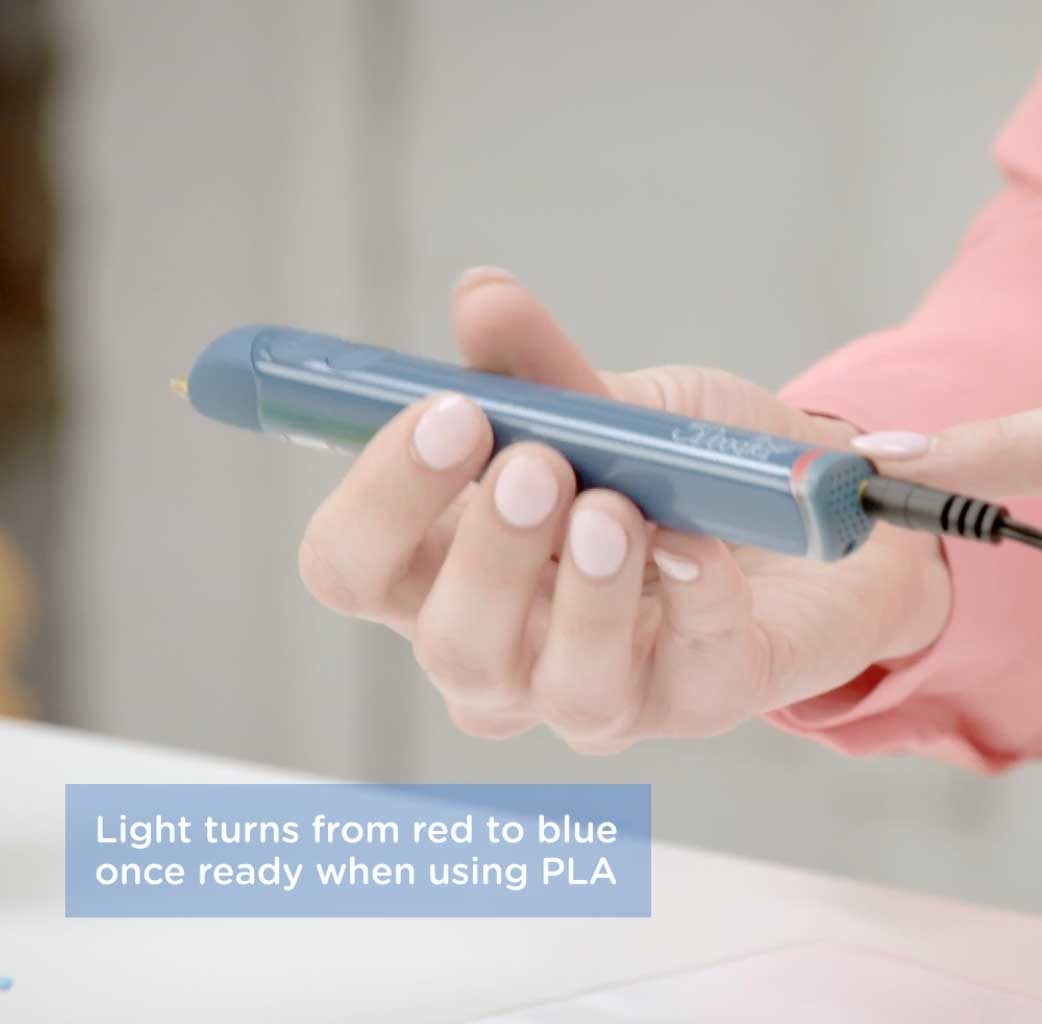
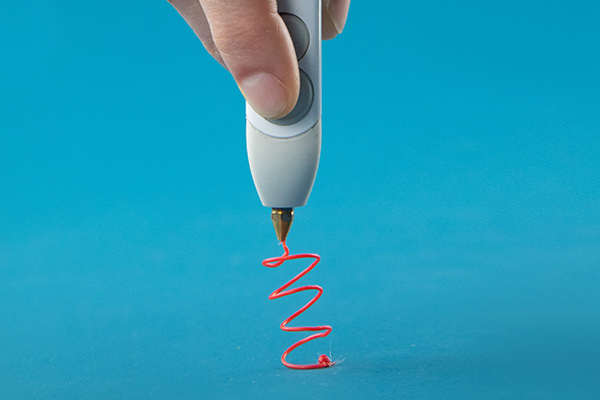
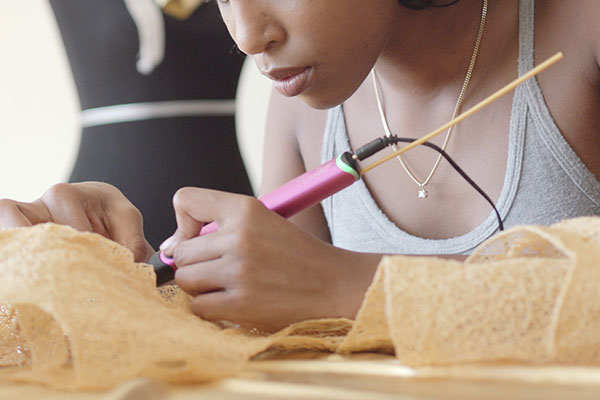
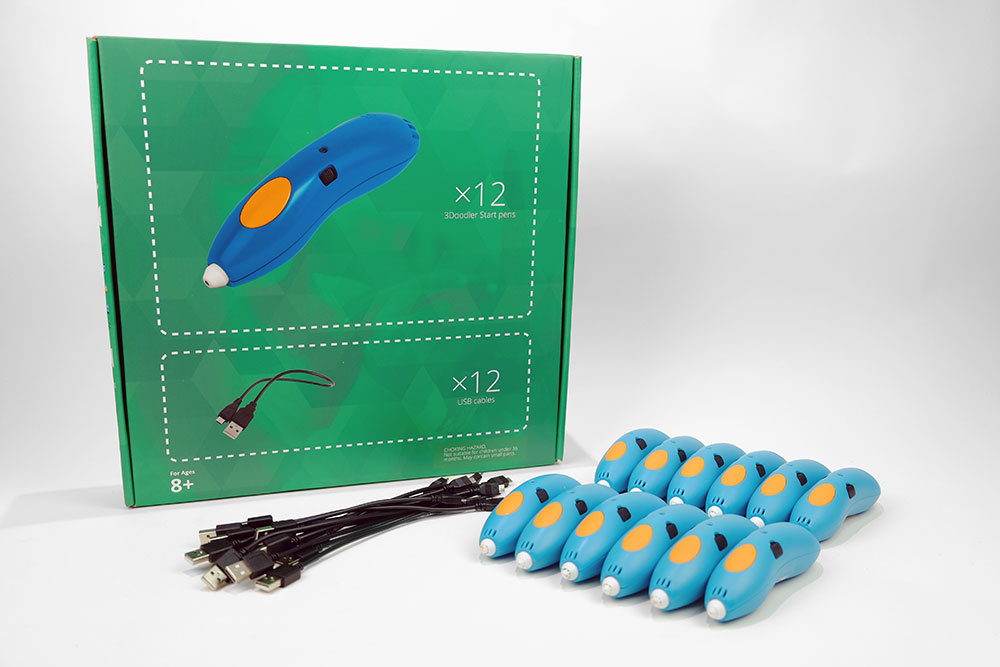
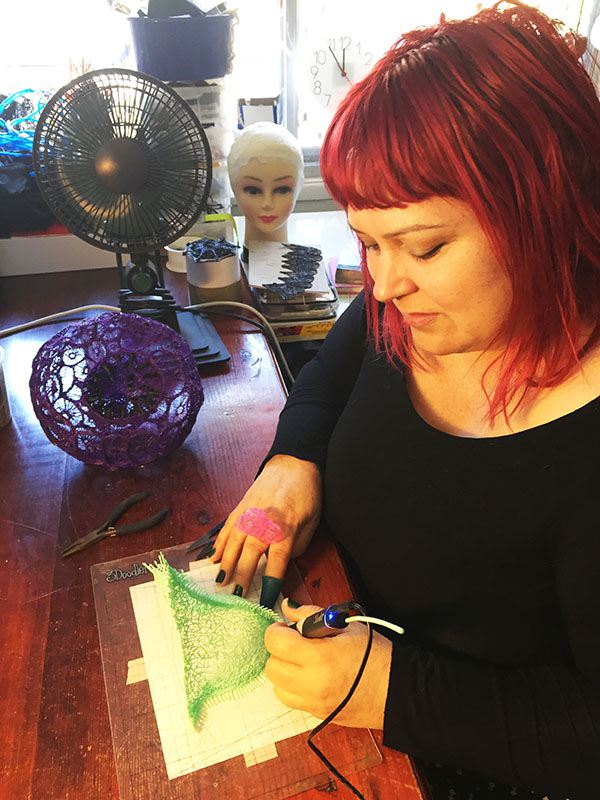
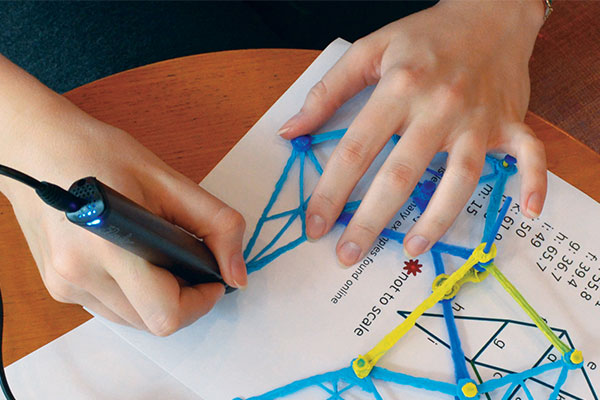
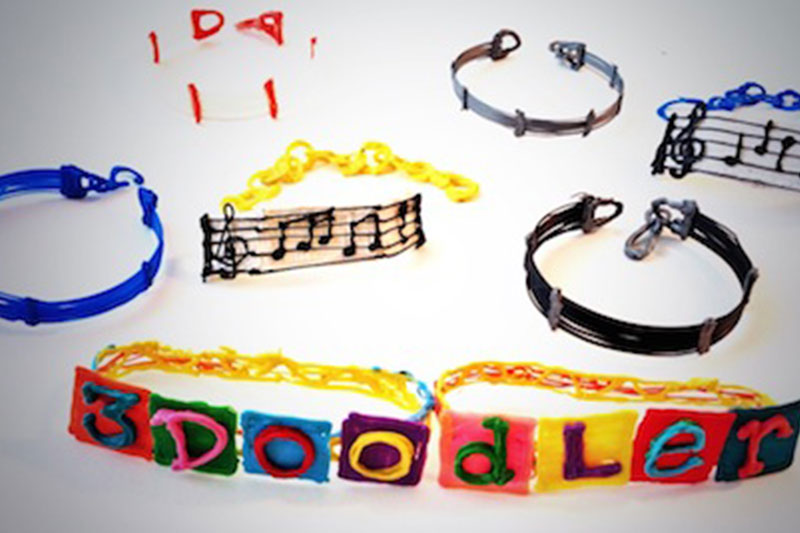
The good news is, if you have a 3Doodler pen already, then you have a great tool on your hands that’ll allow you to create practical and personalized creations perfect for your new space.
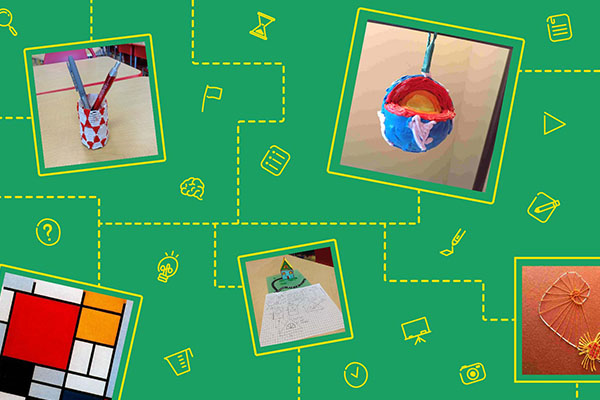
Here is our list of favorite dorm projects to do with a 3D pen!
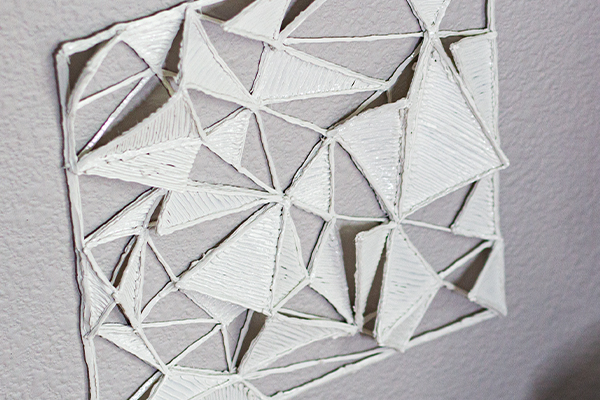
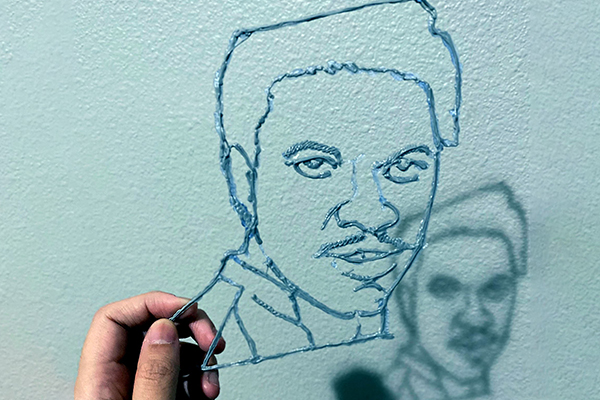
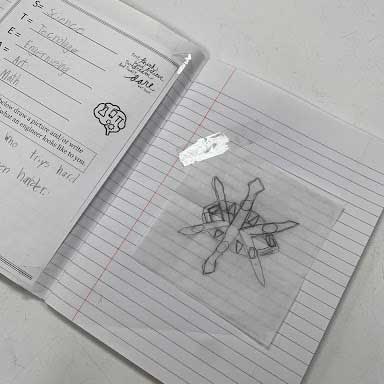
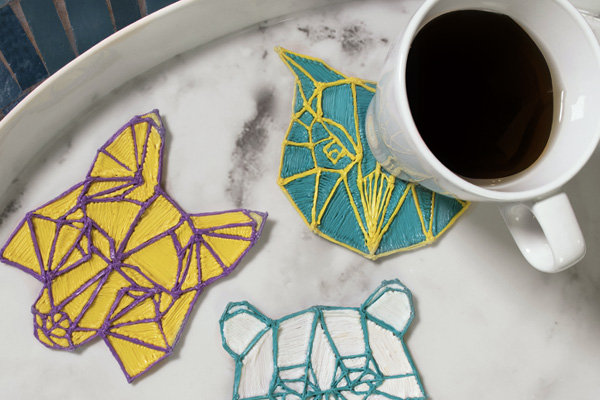
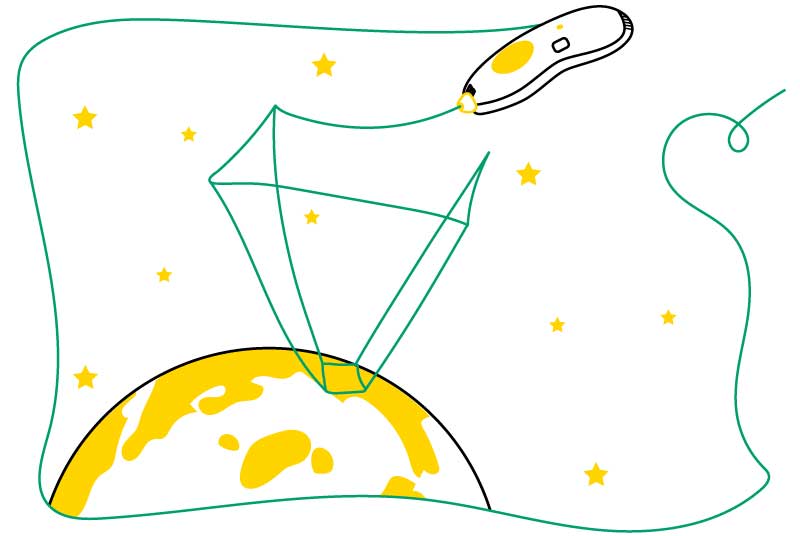
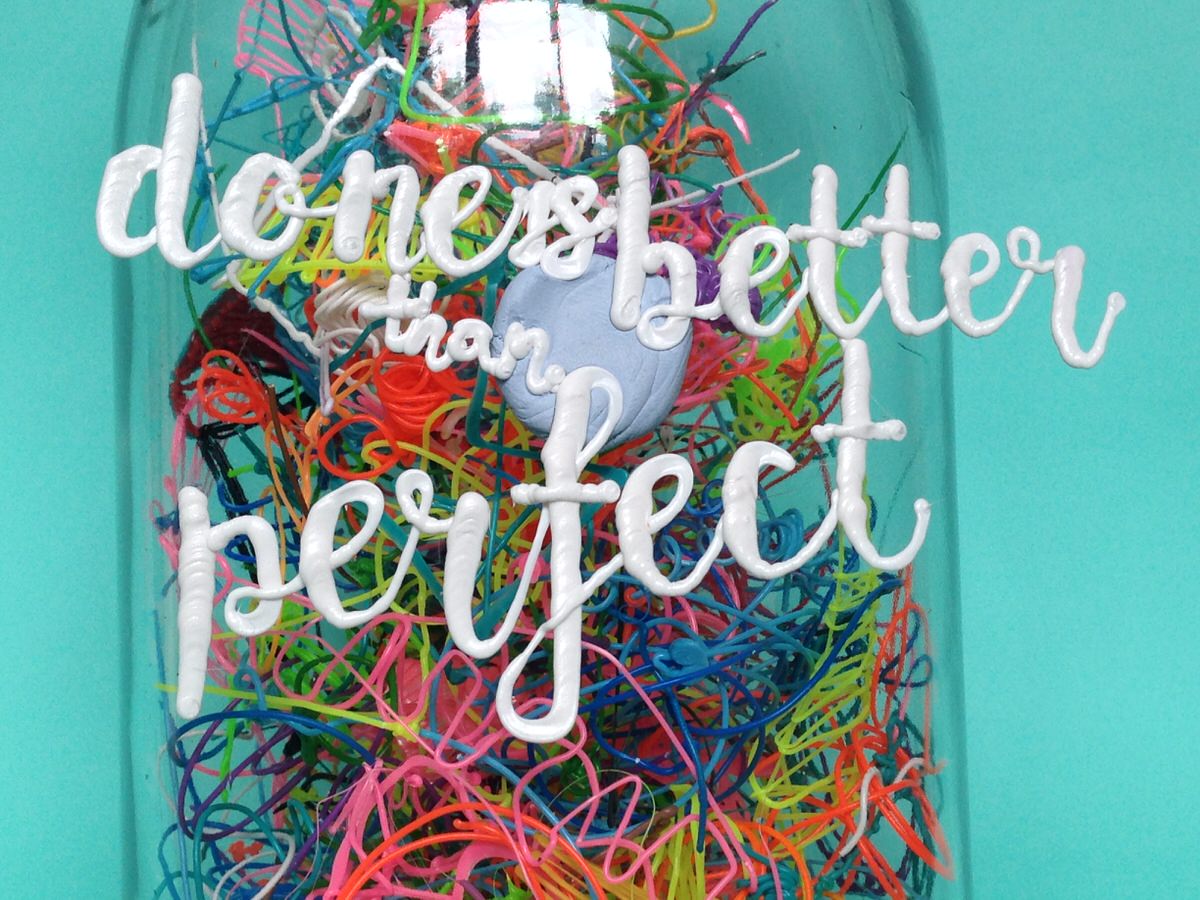
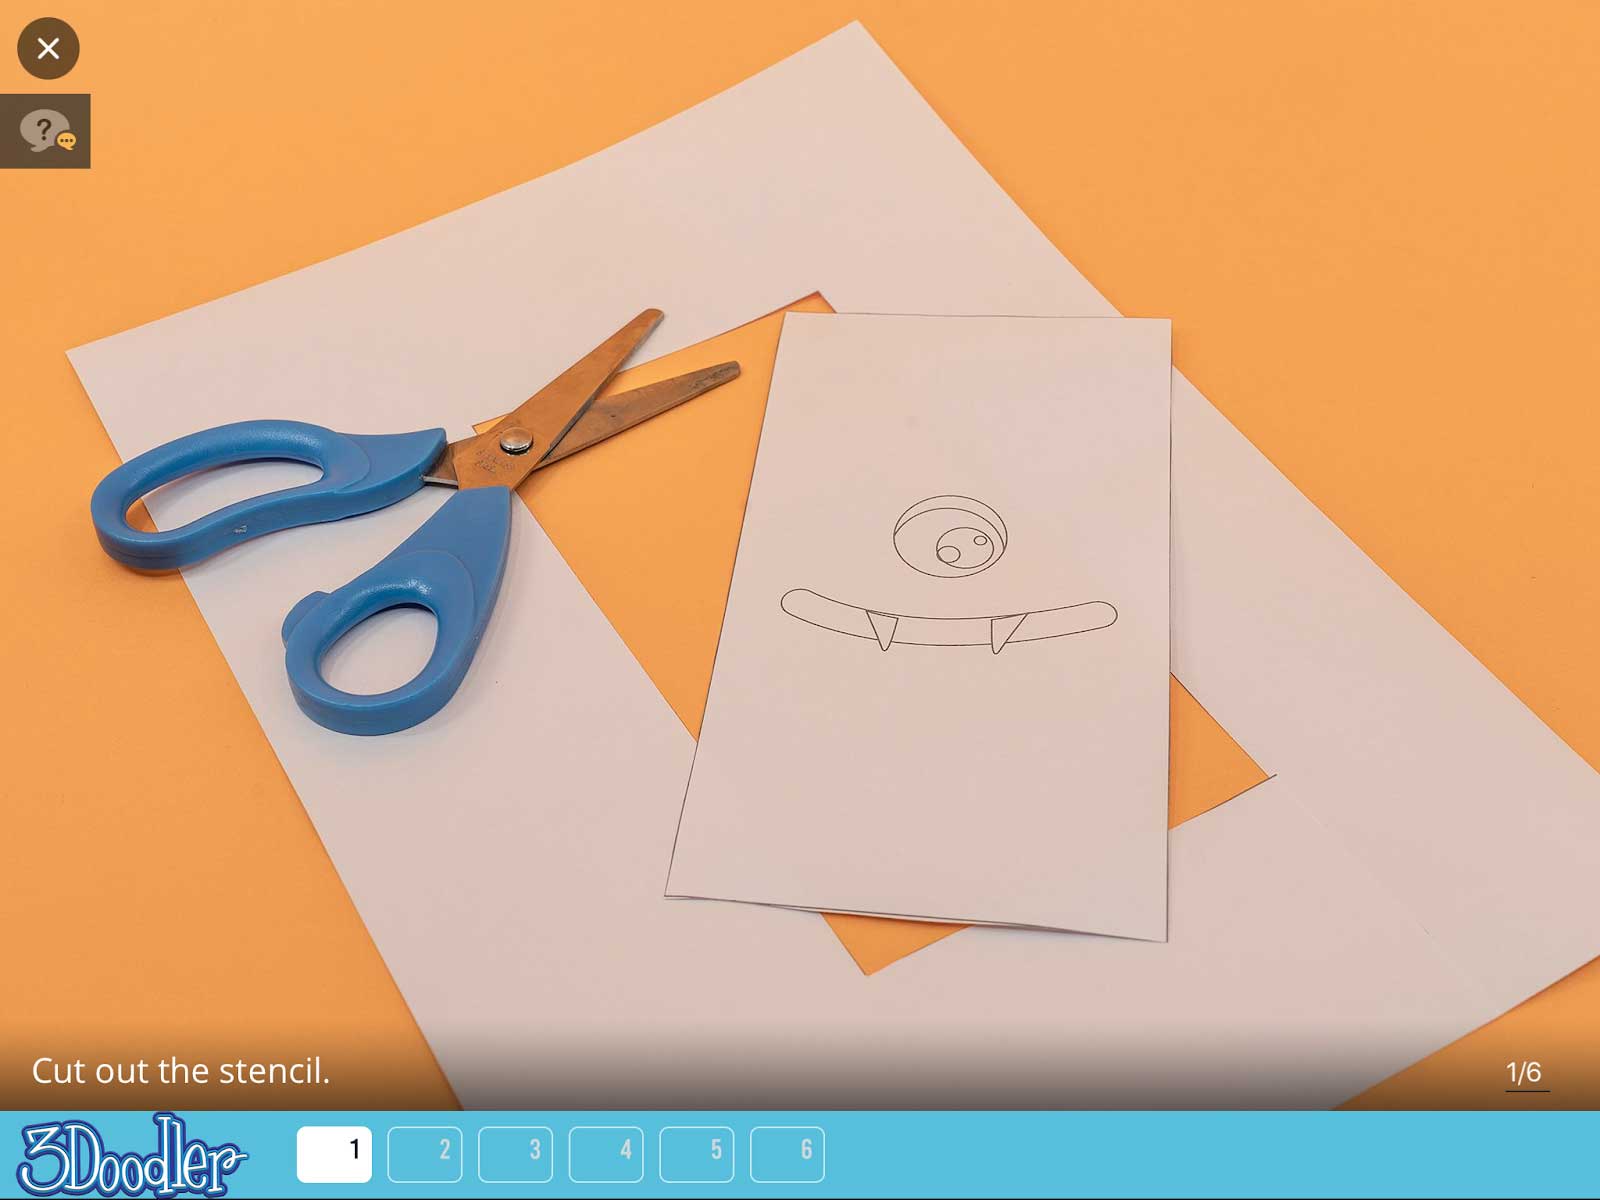
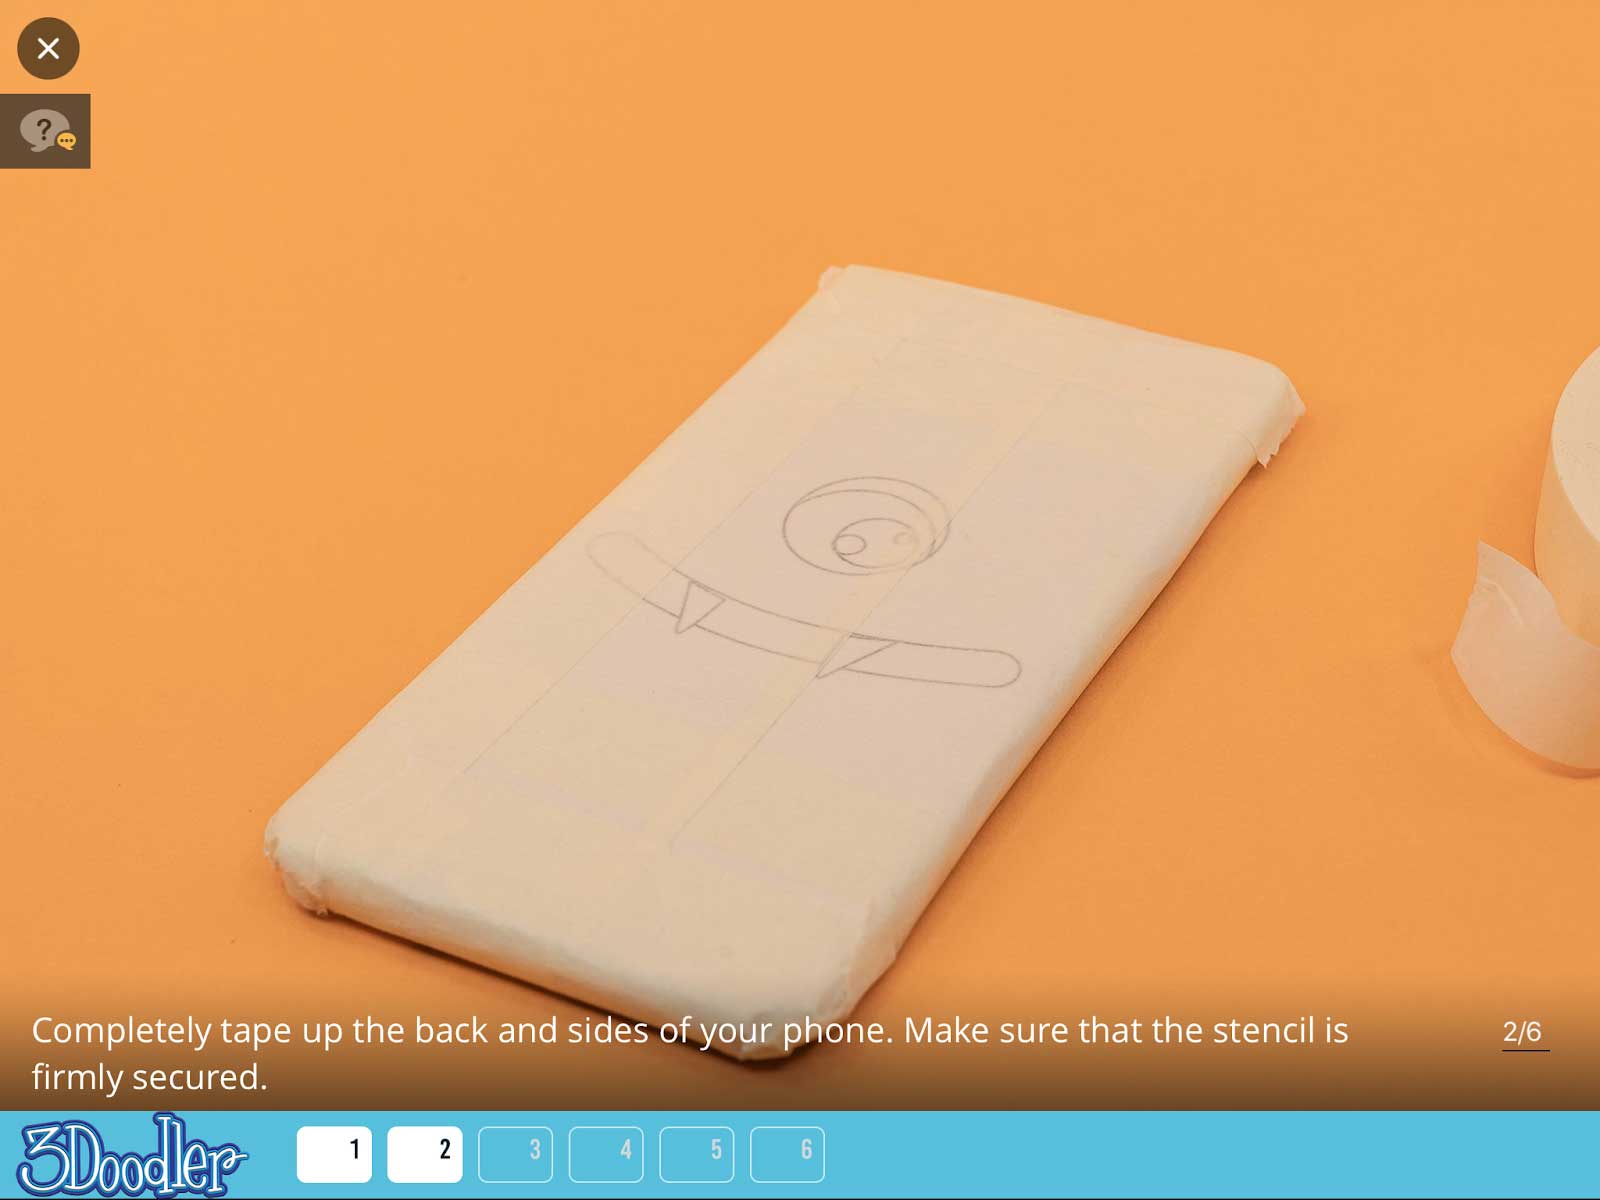
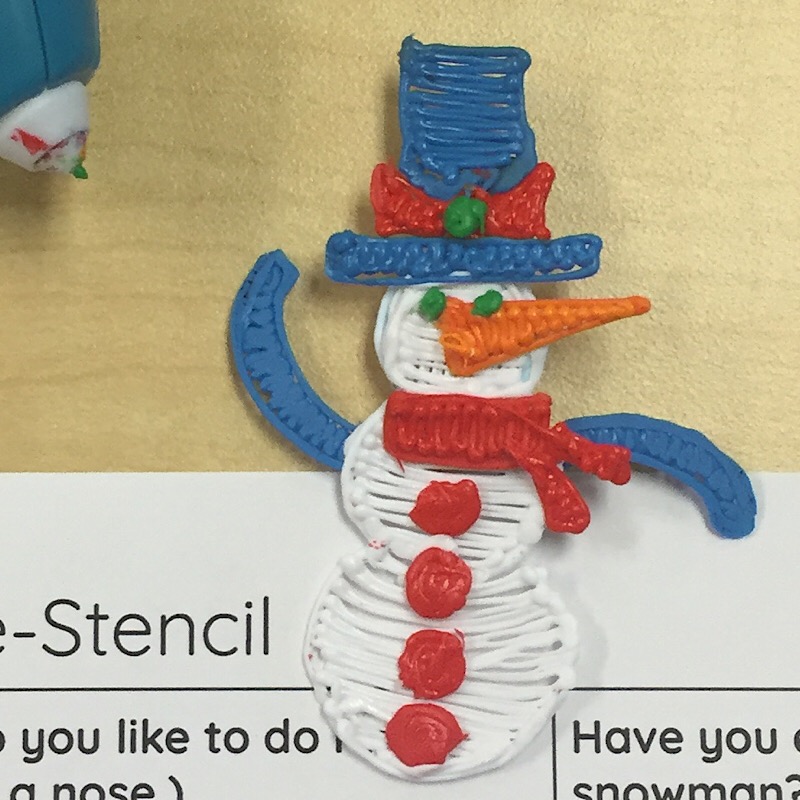
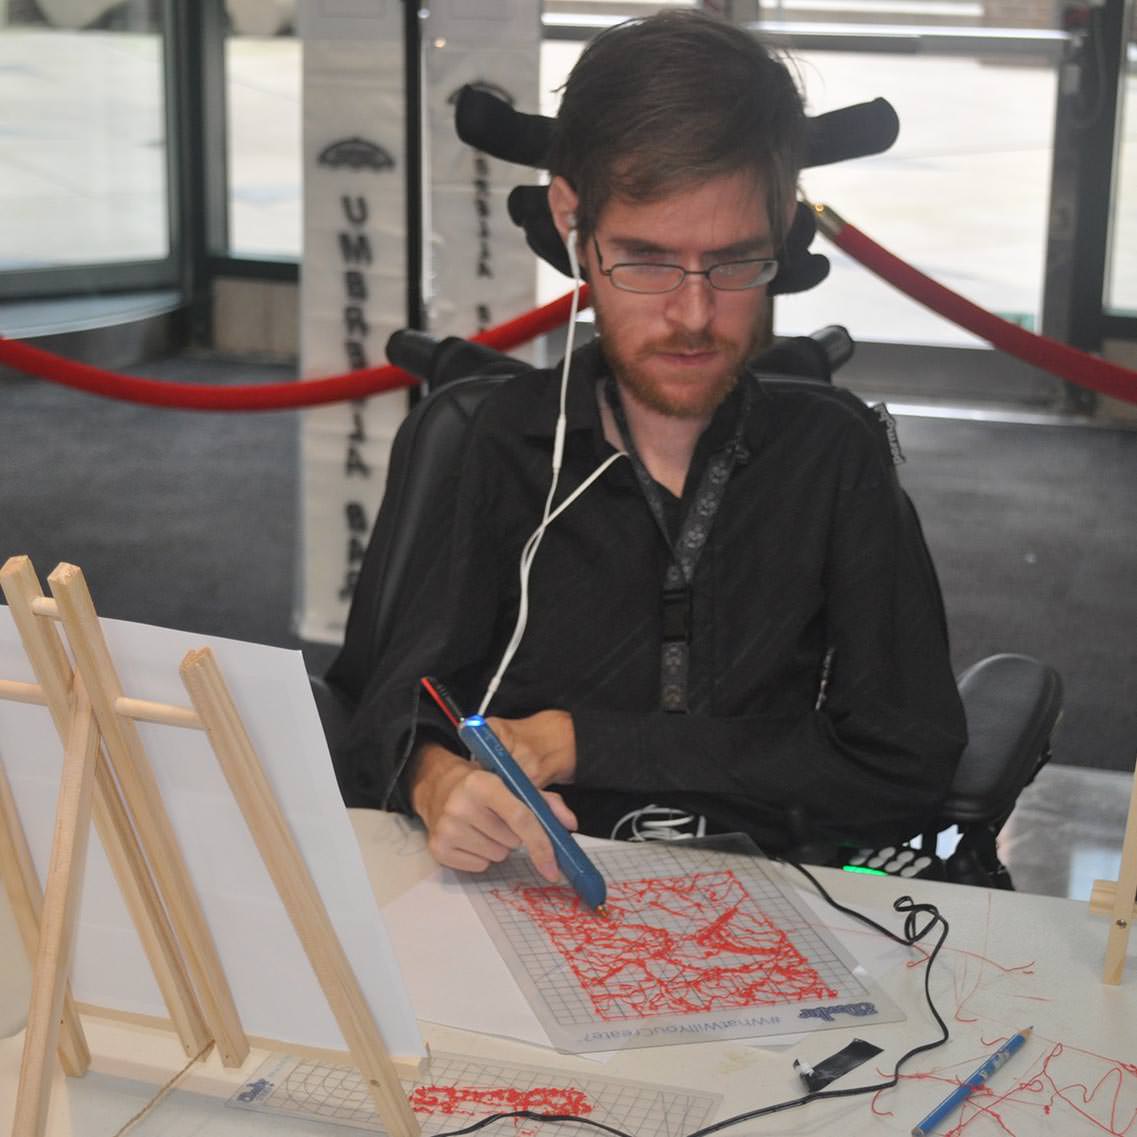
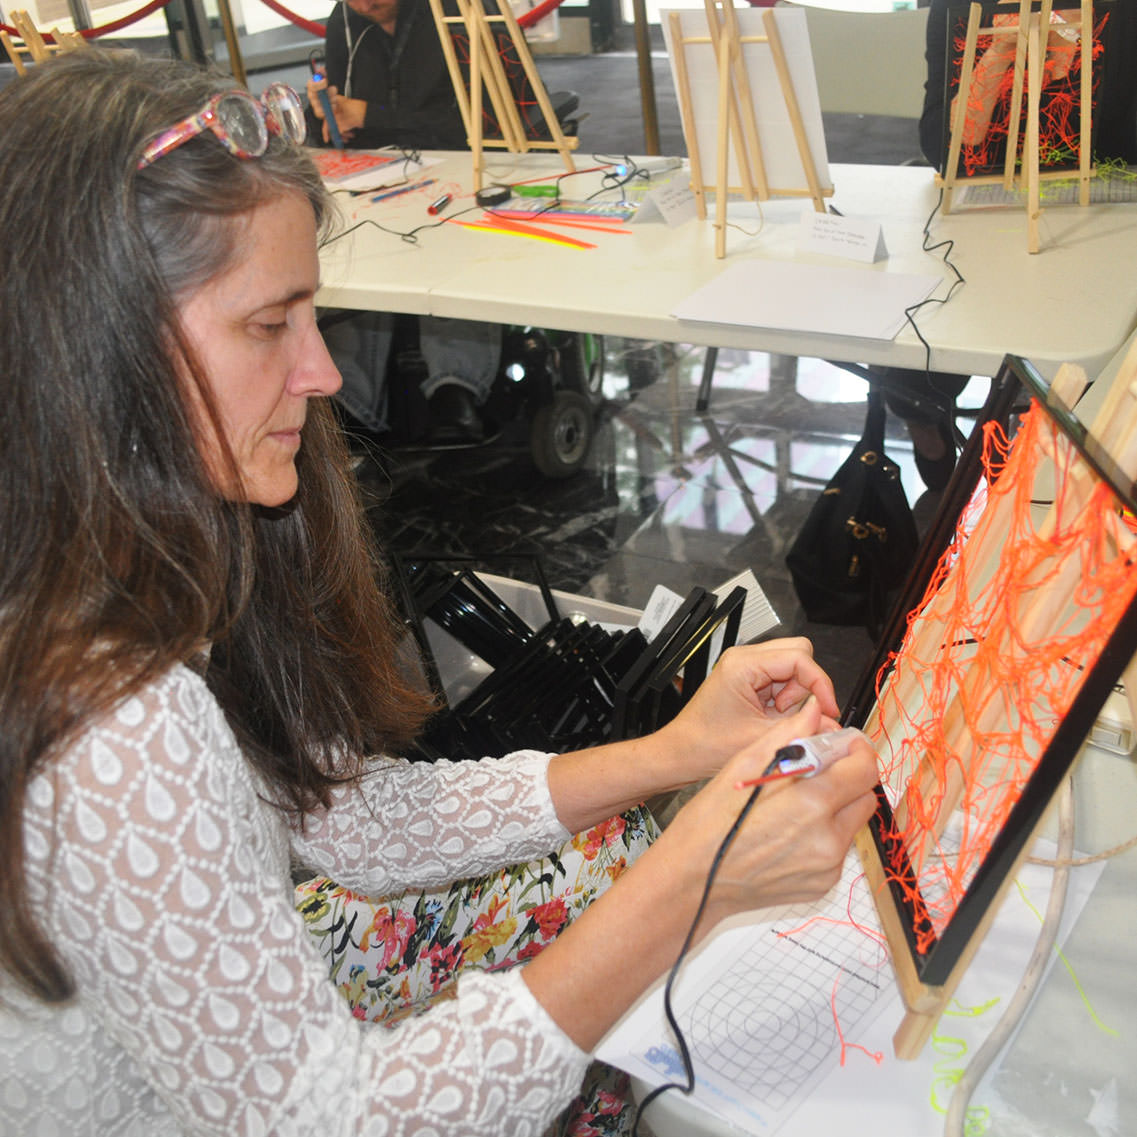
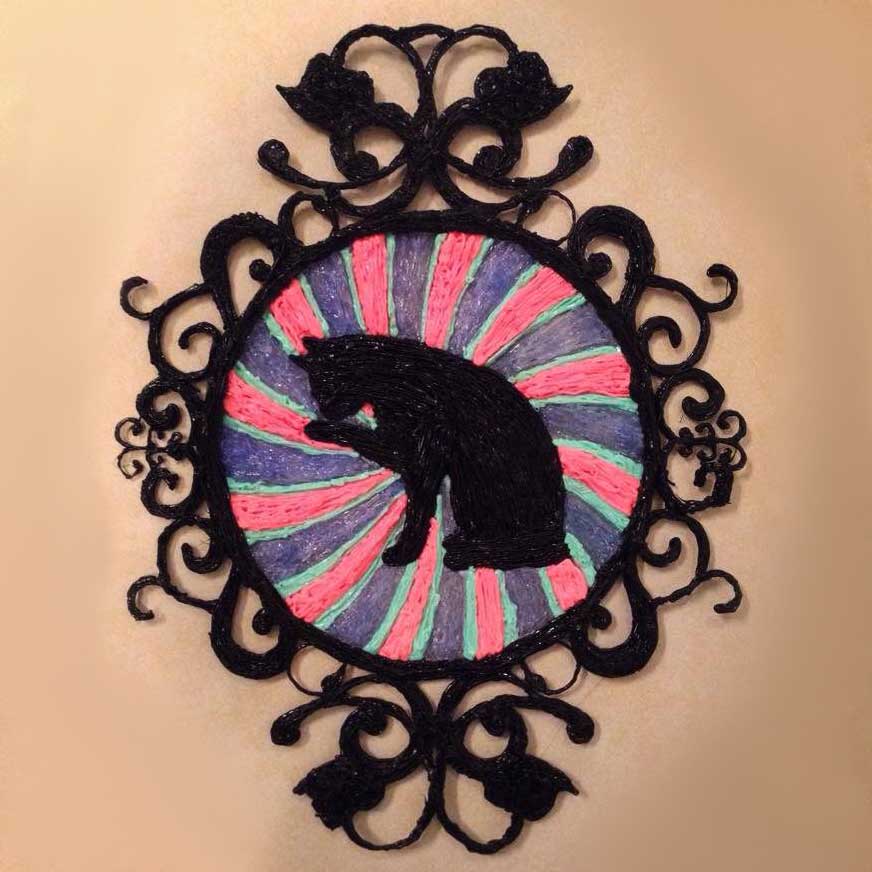
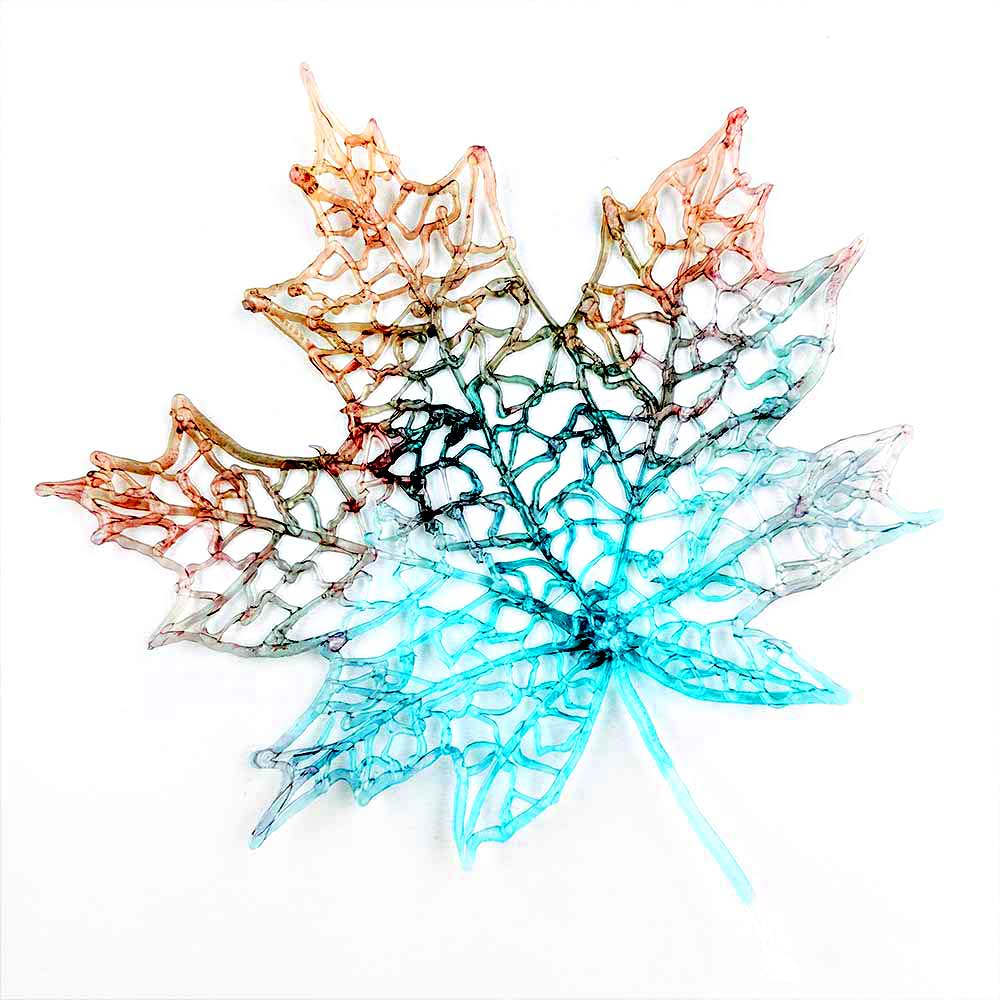
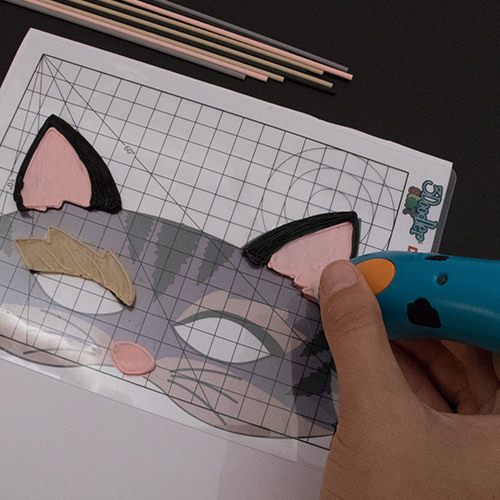
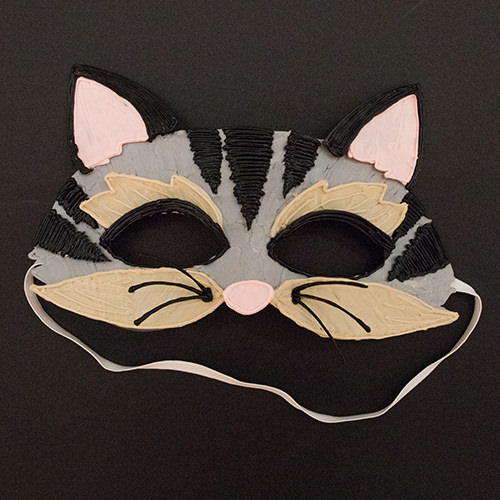
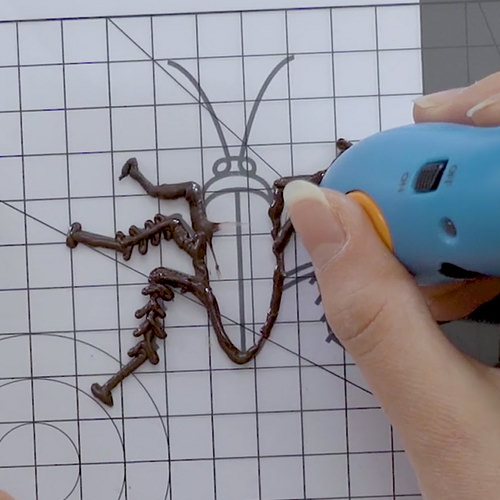
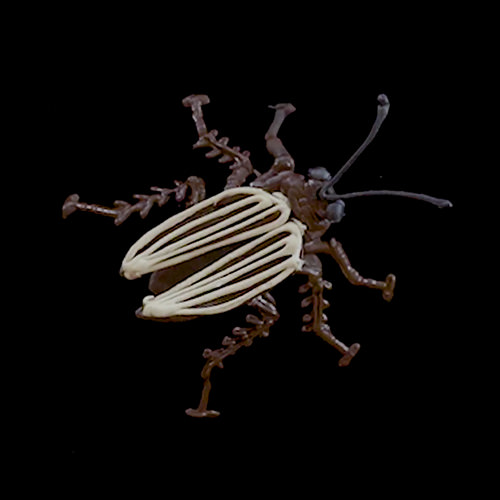
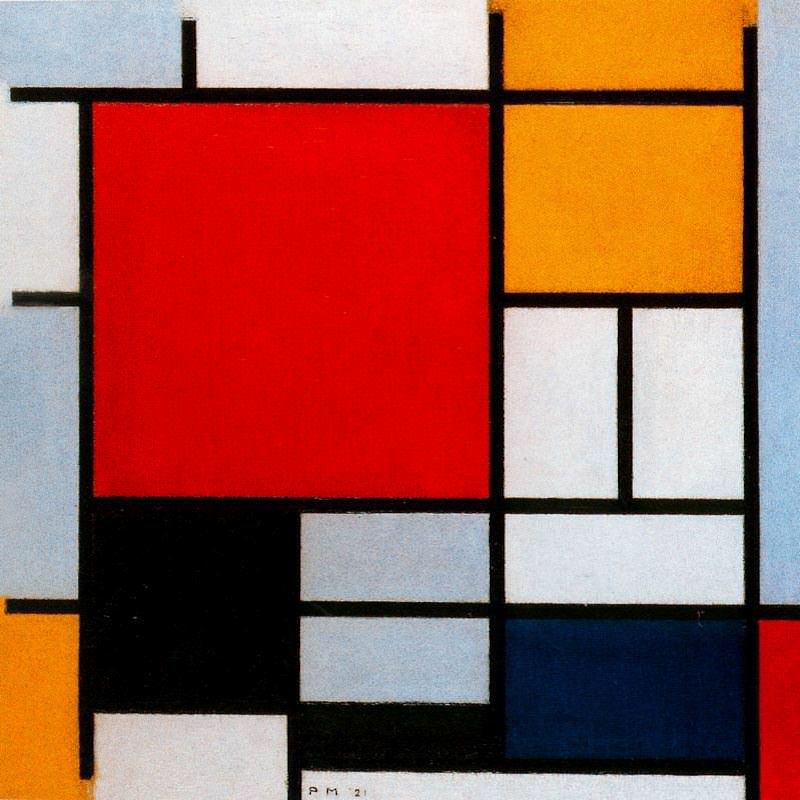
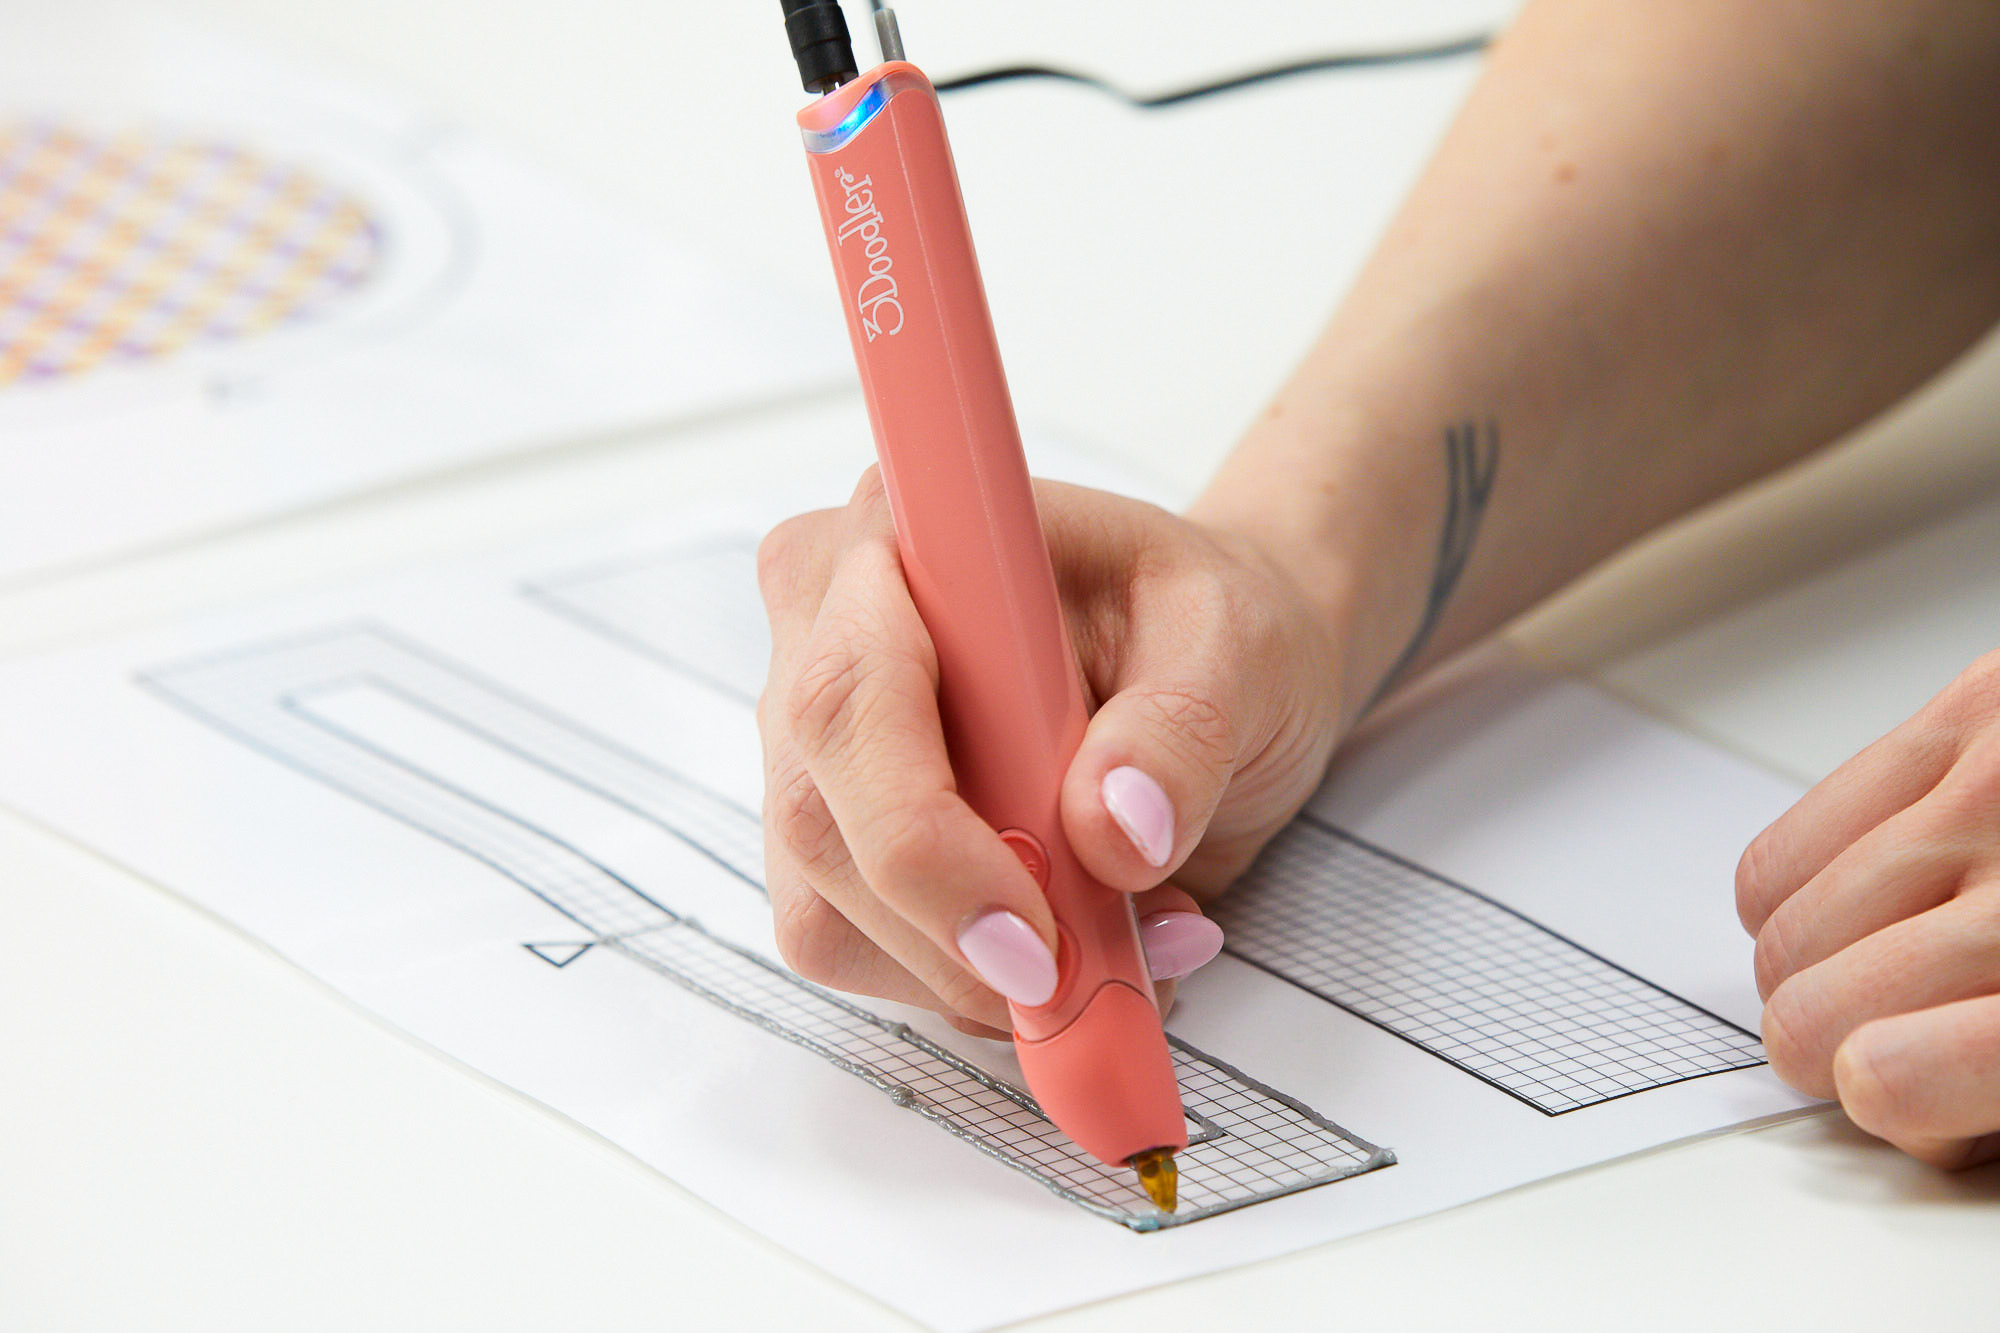
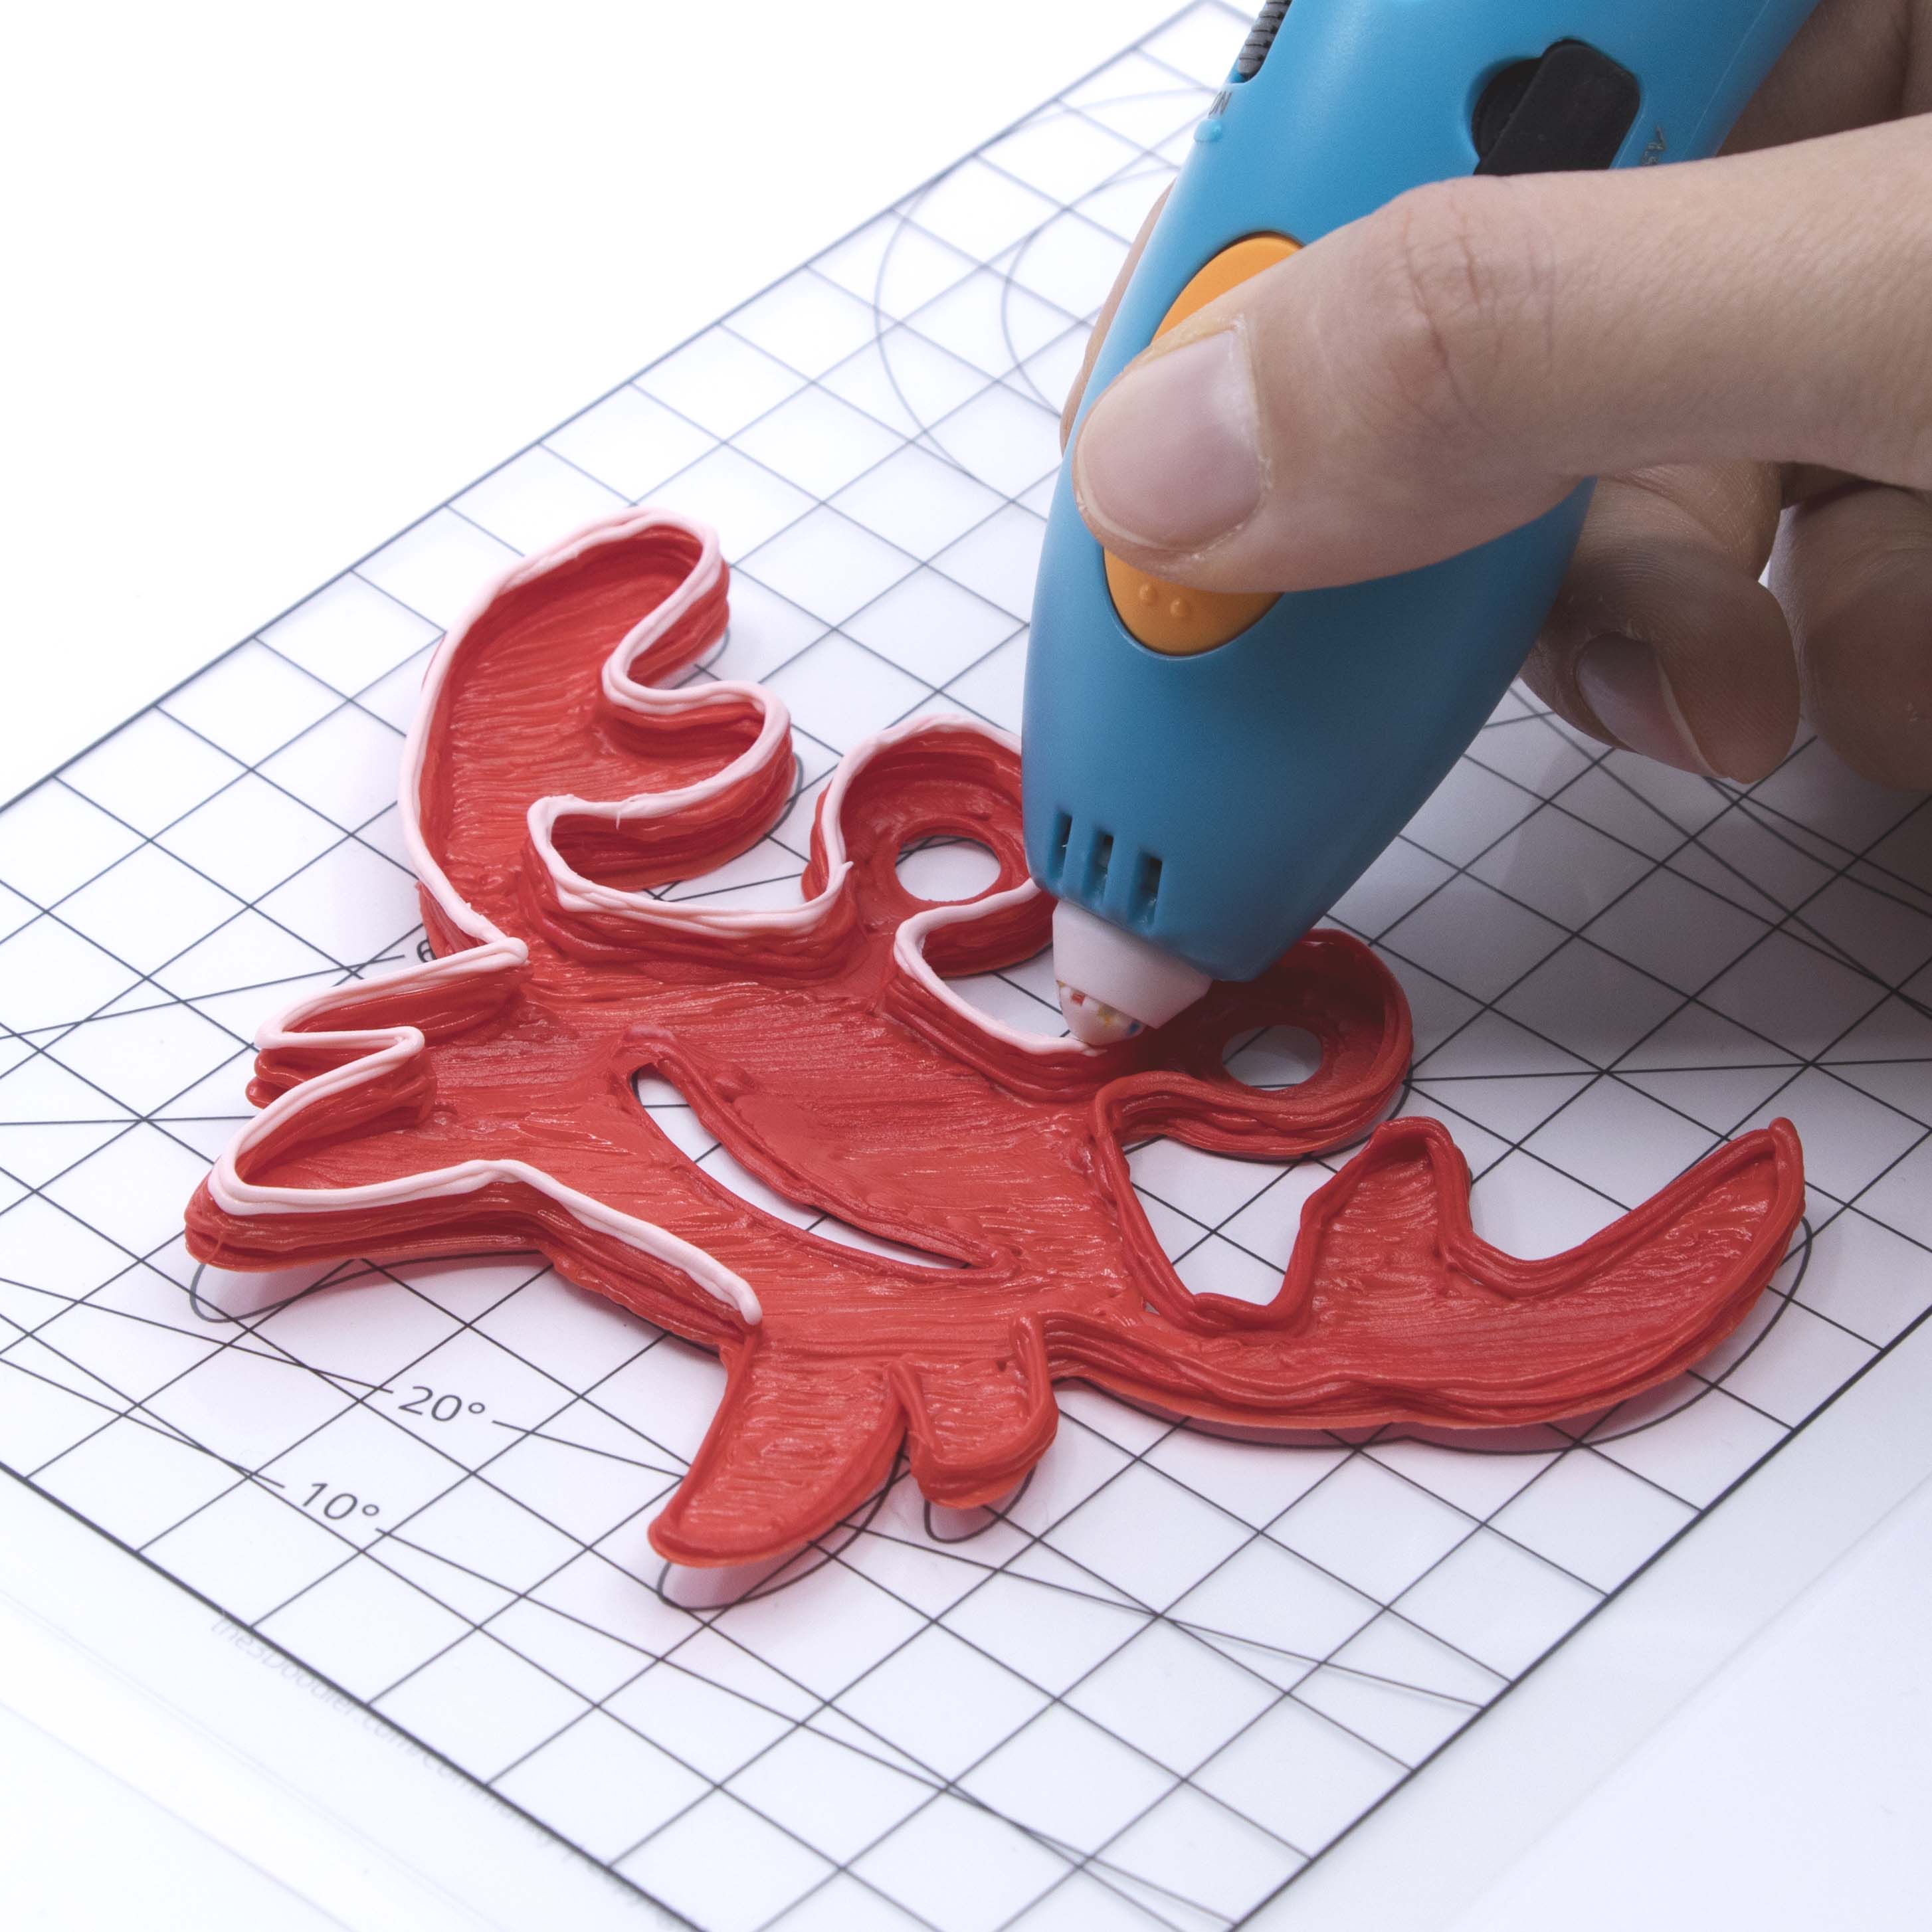
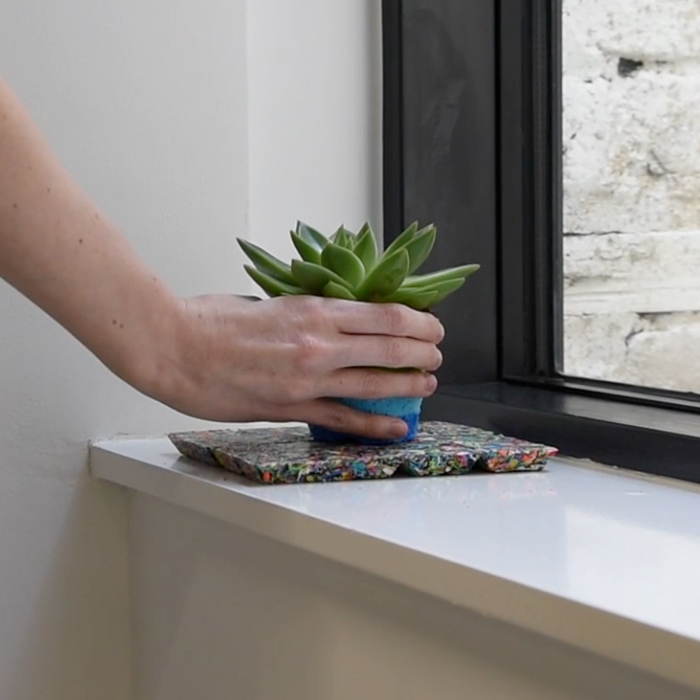
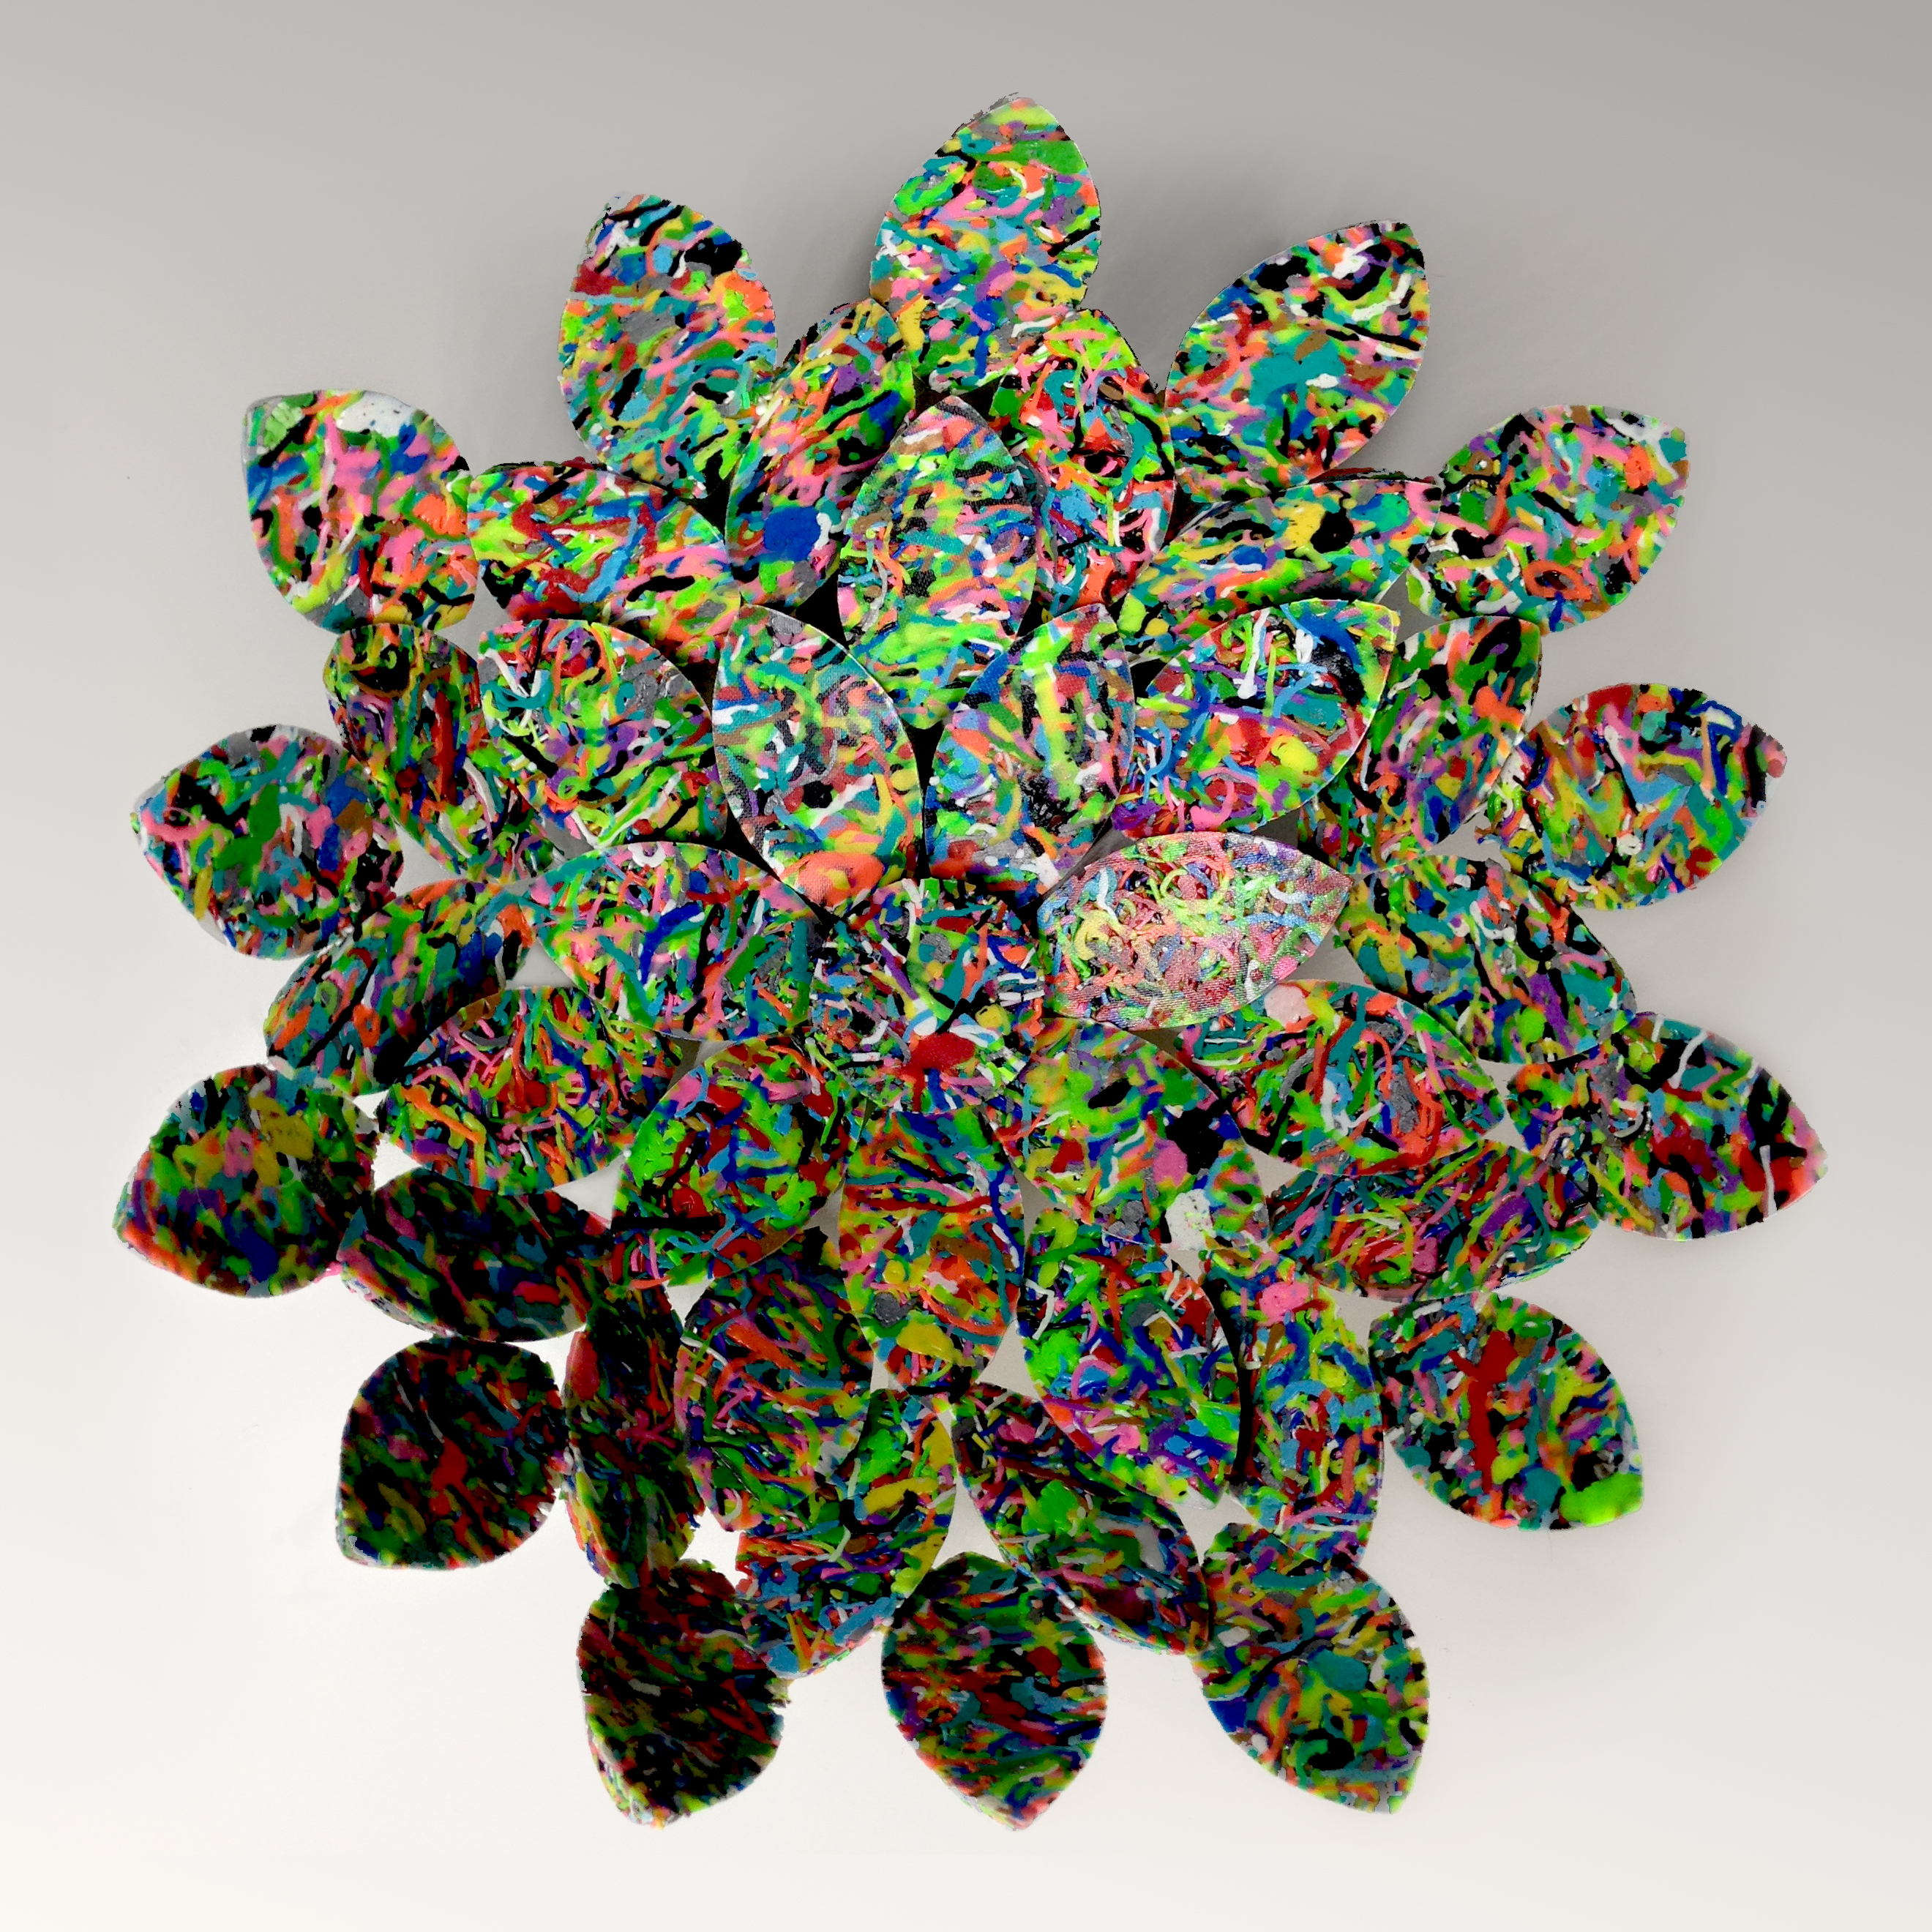
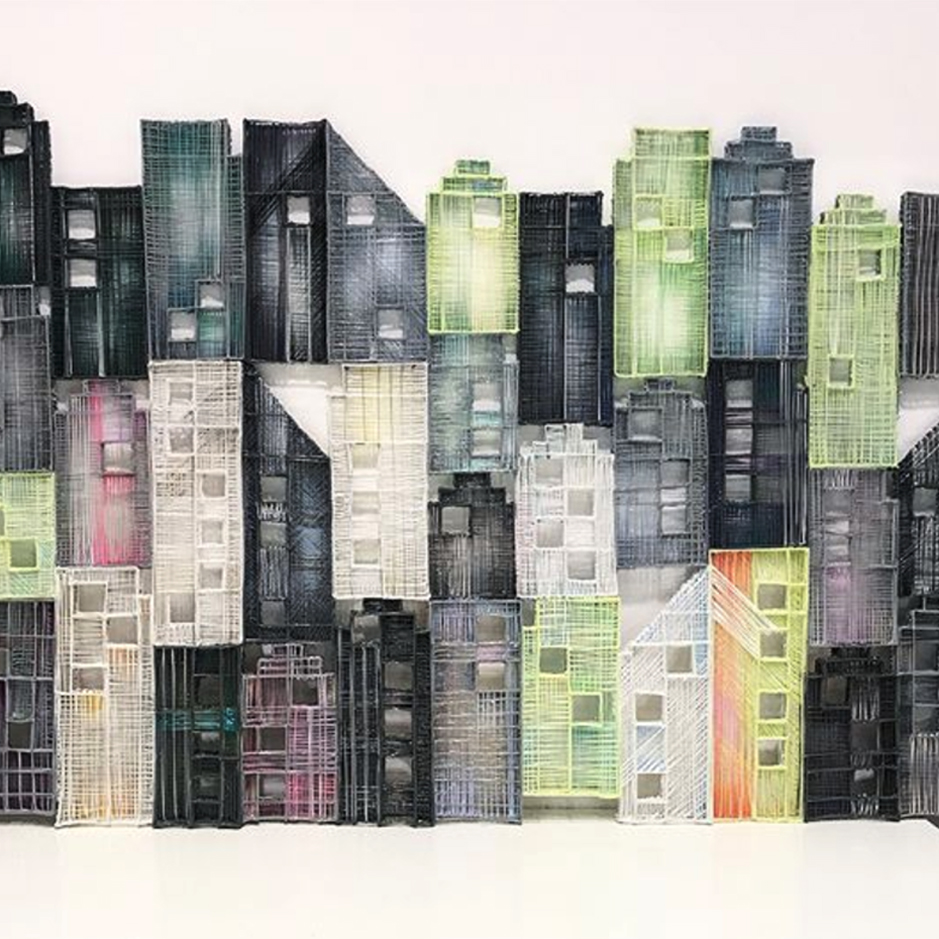
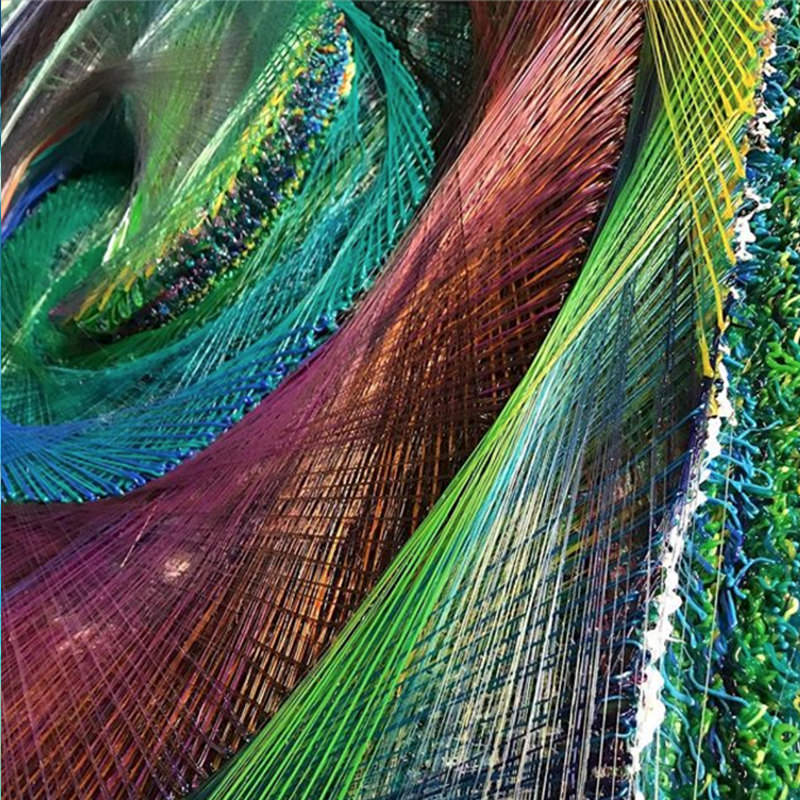
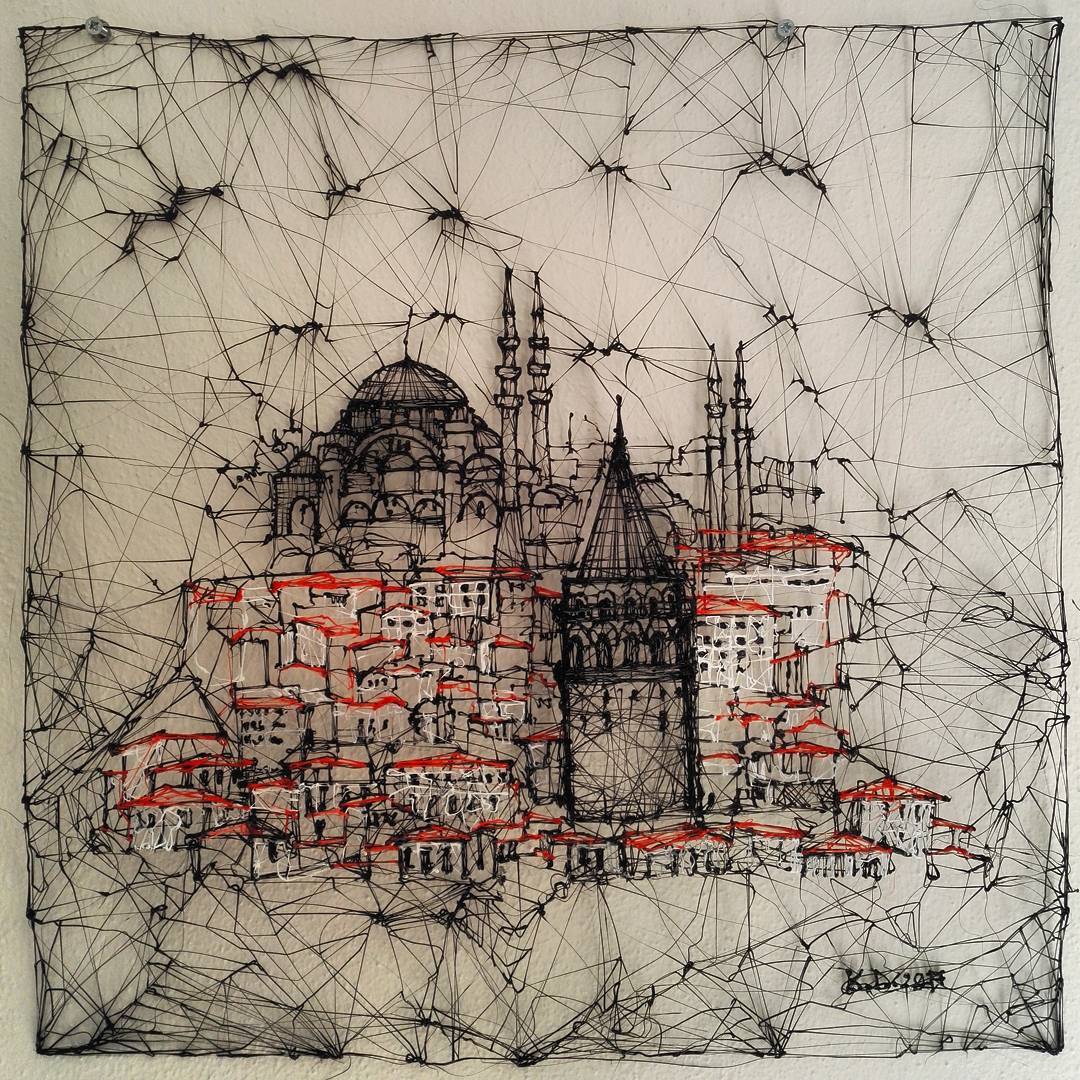
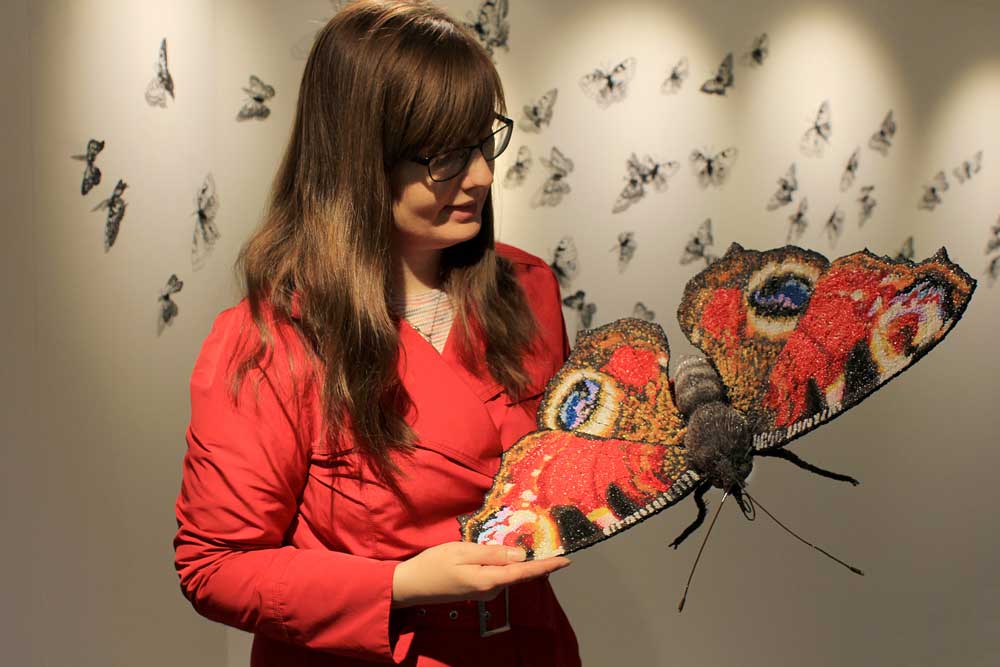
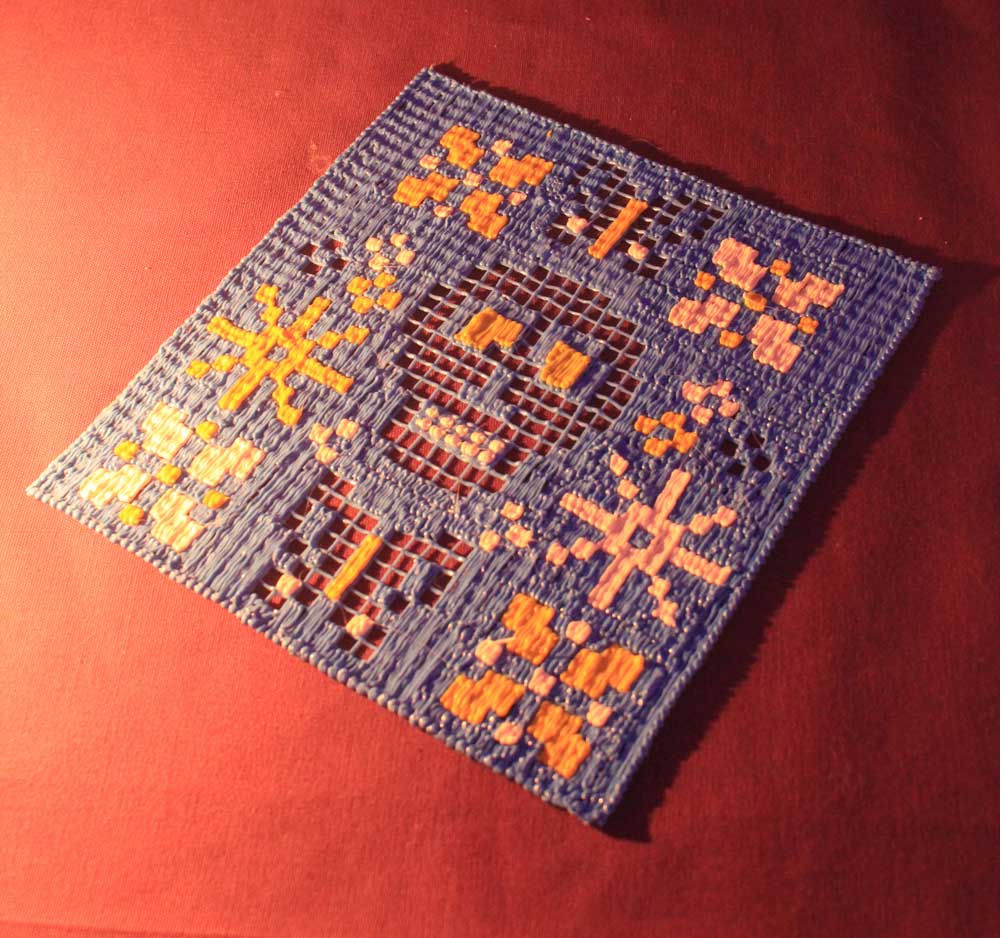
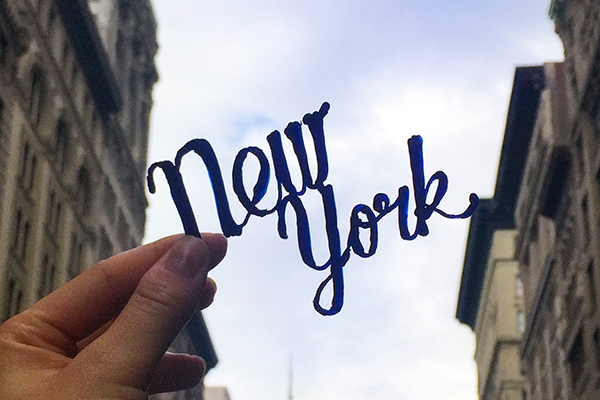
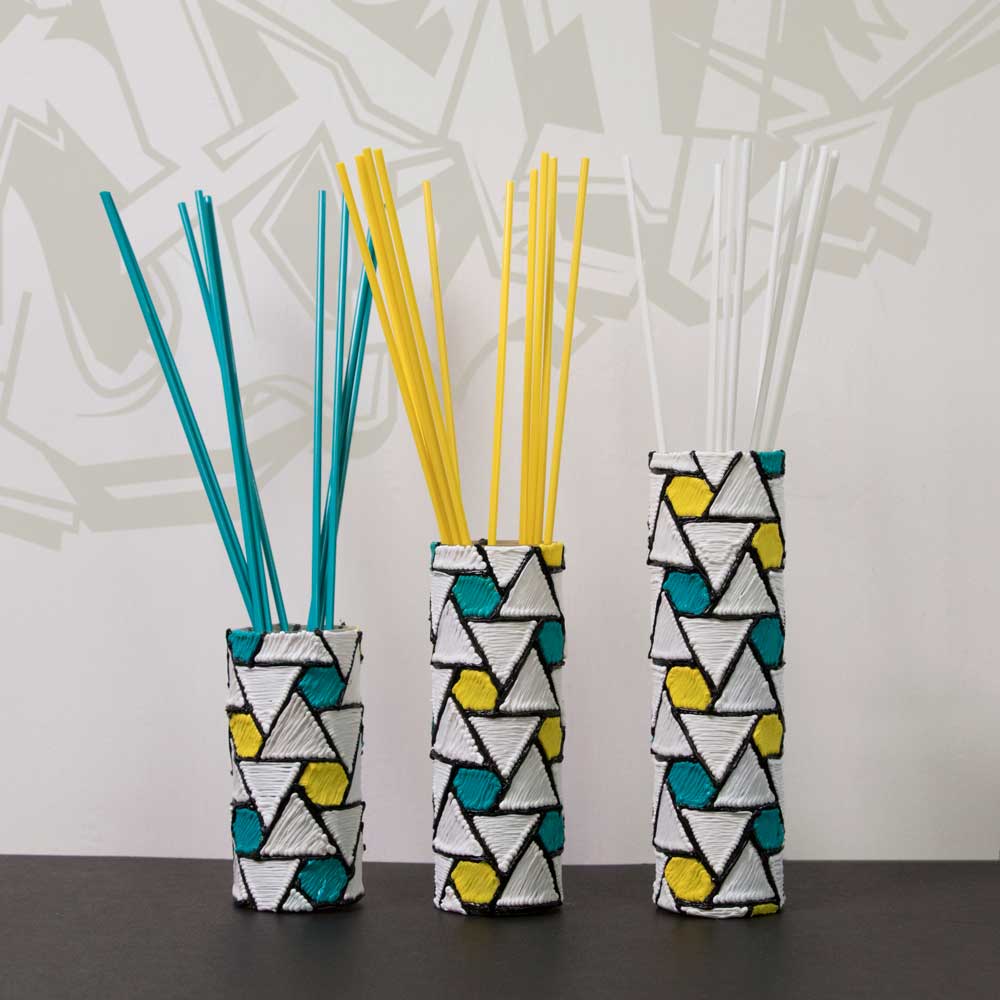
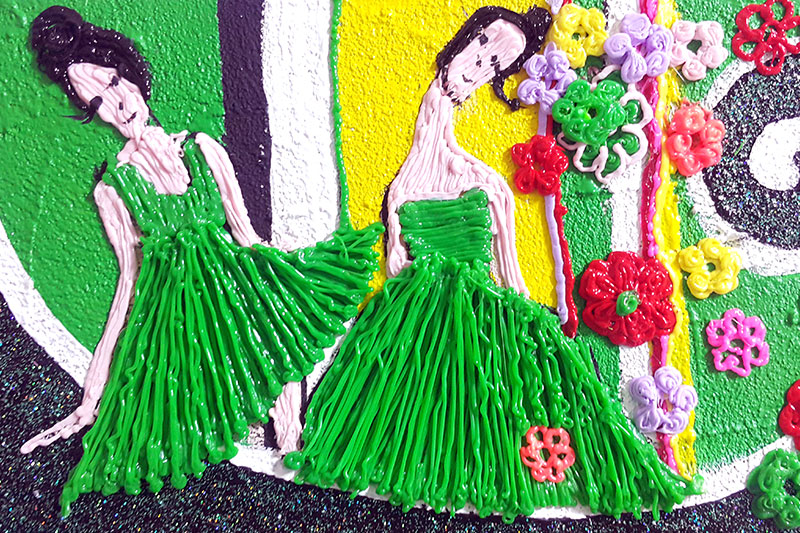
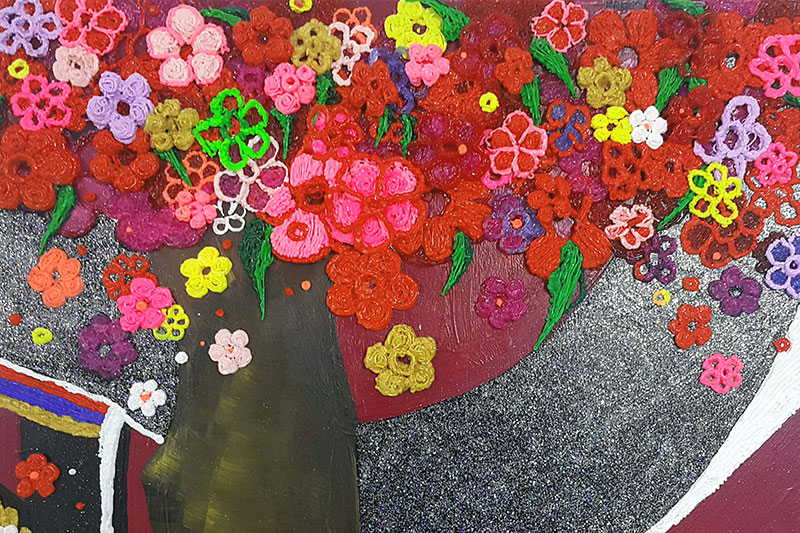
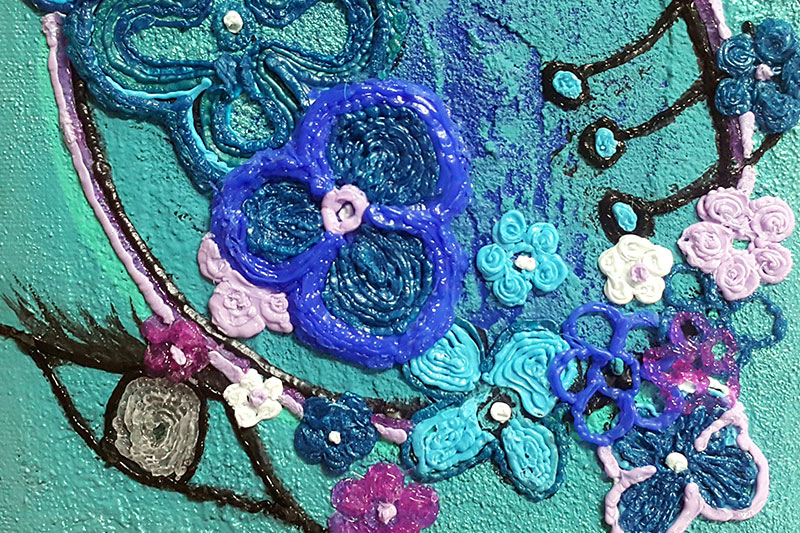
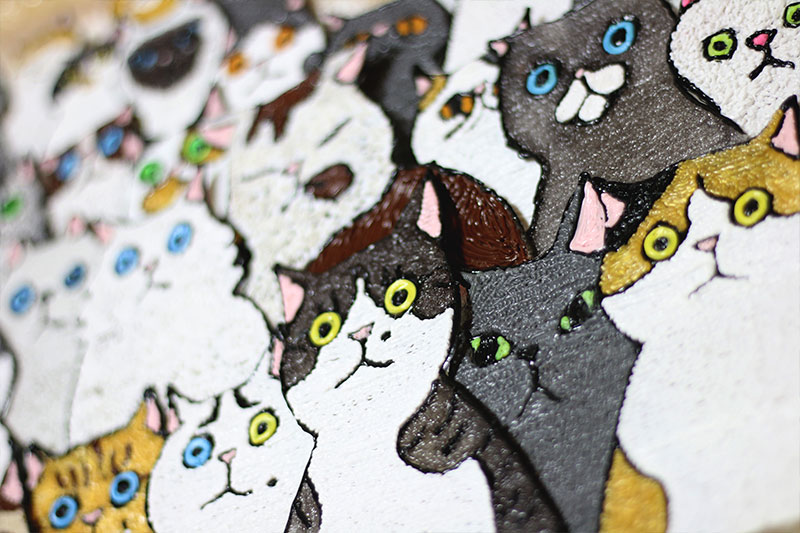
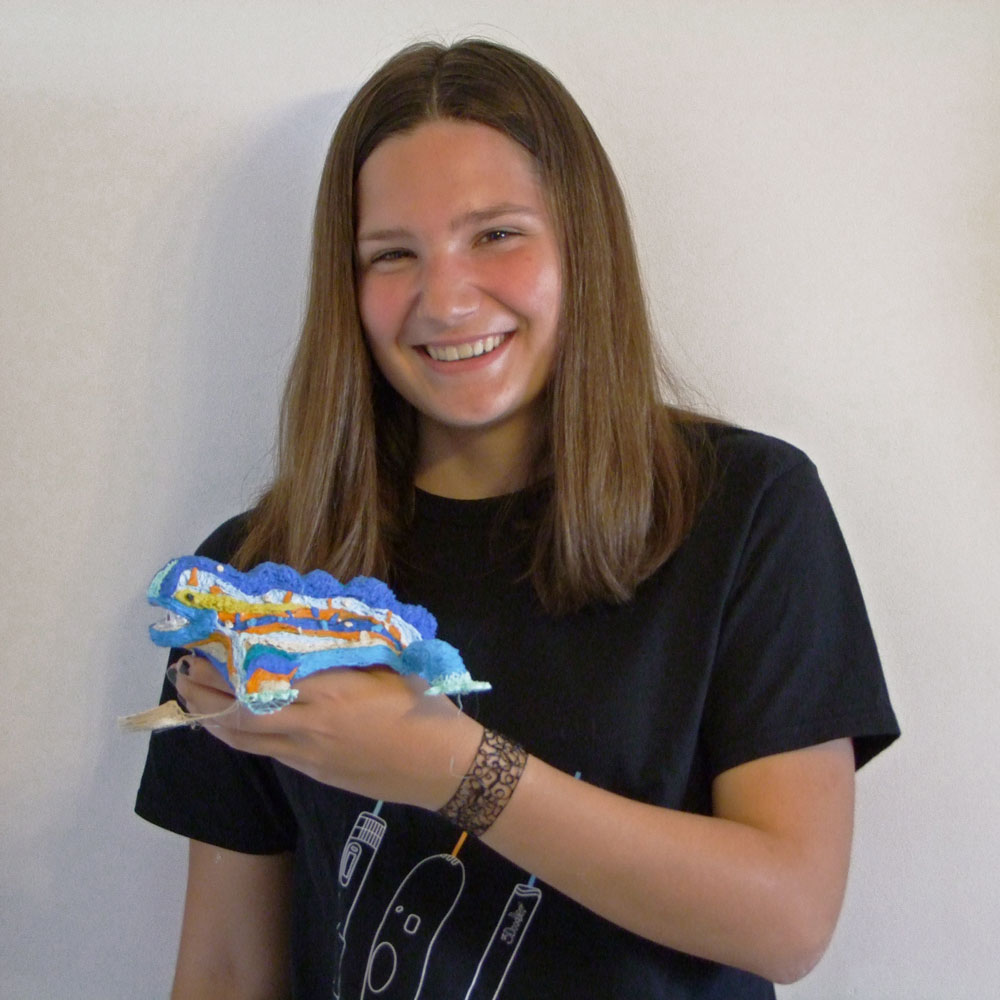
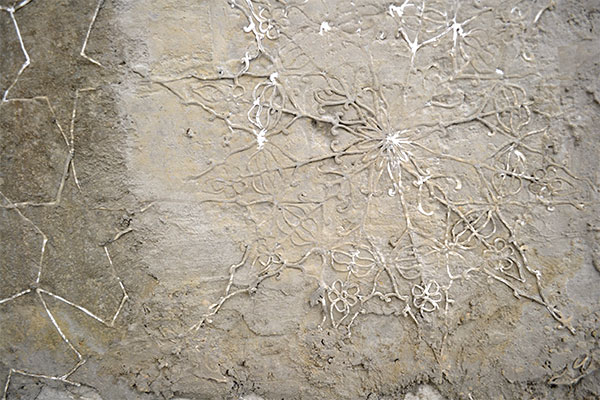
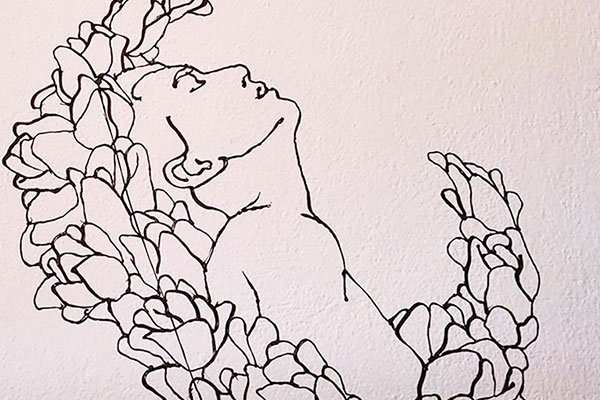
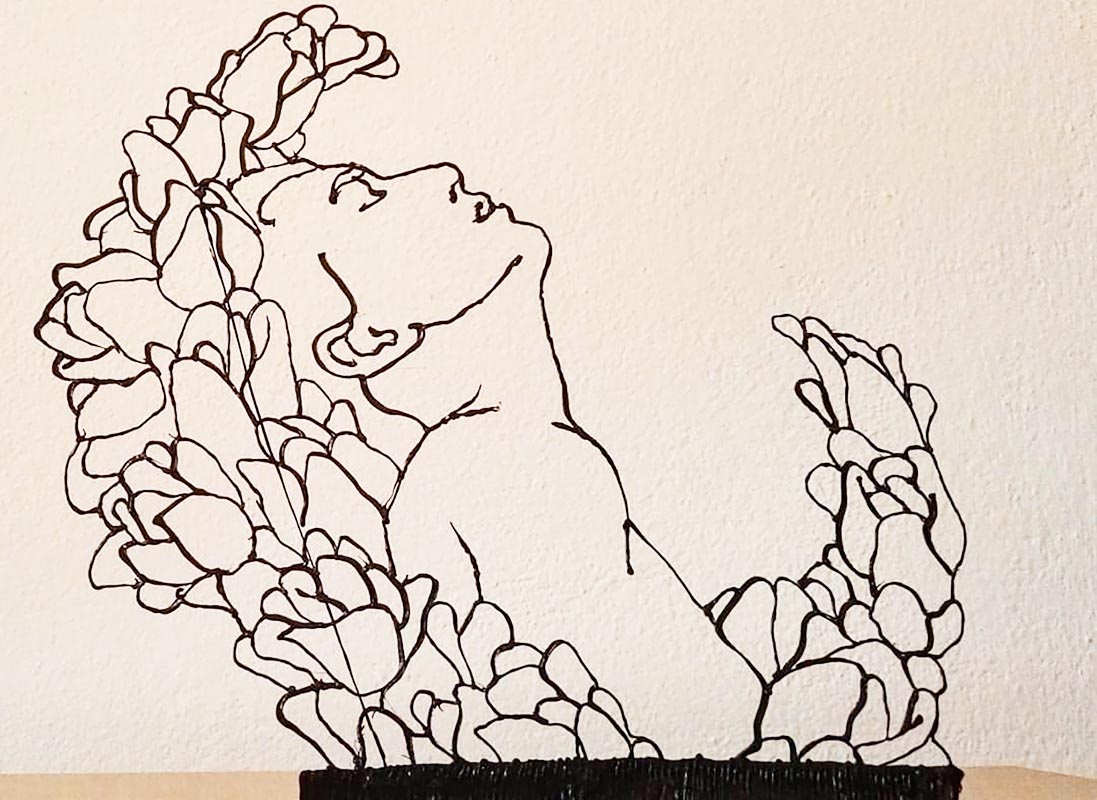
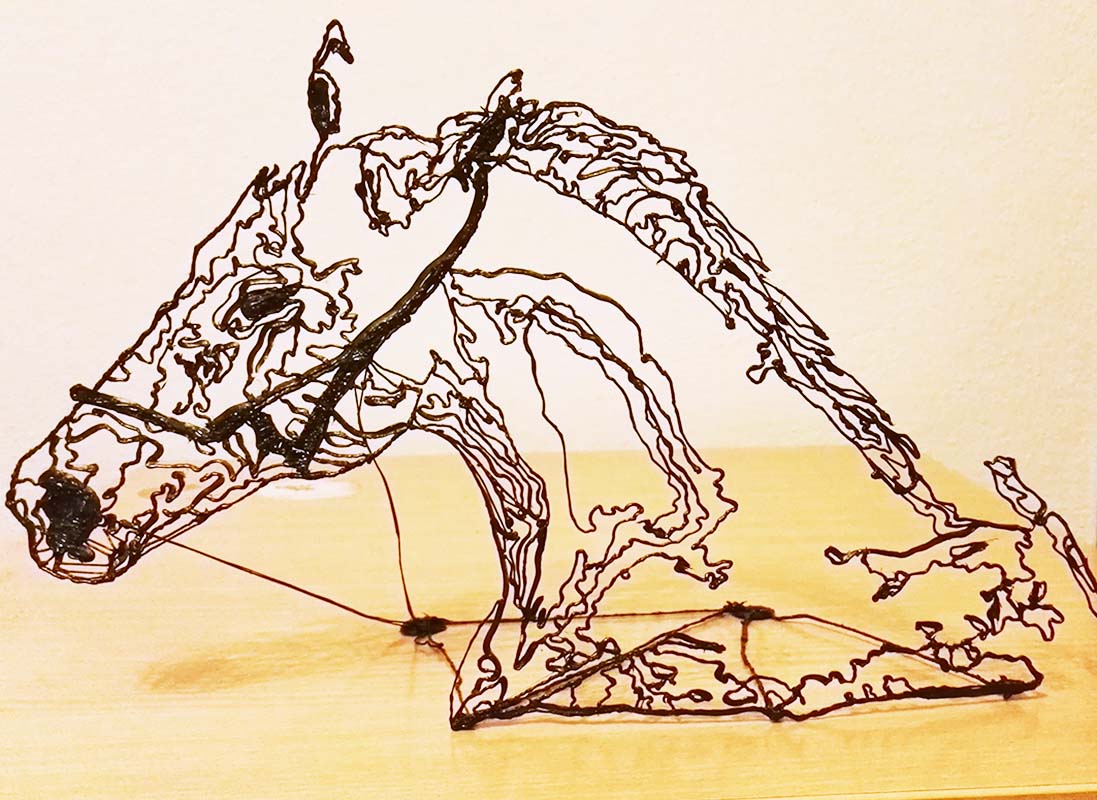
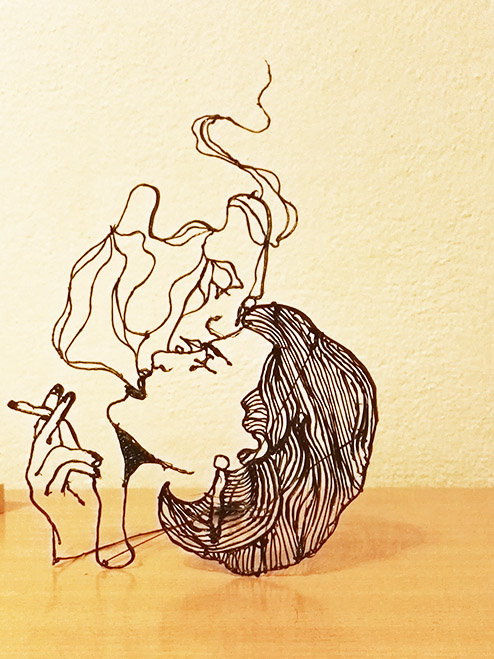
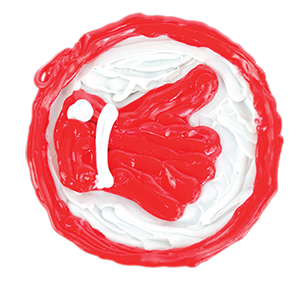
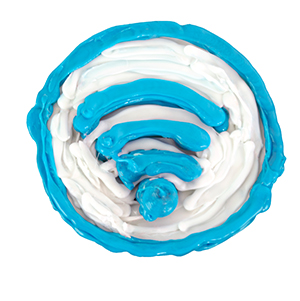
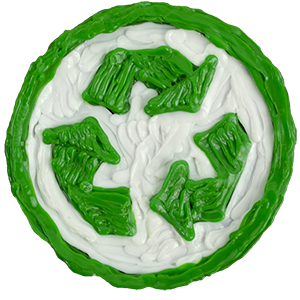
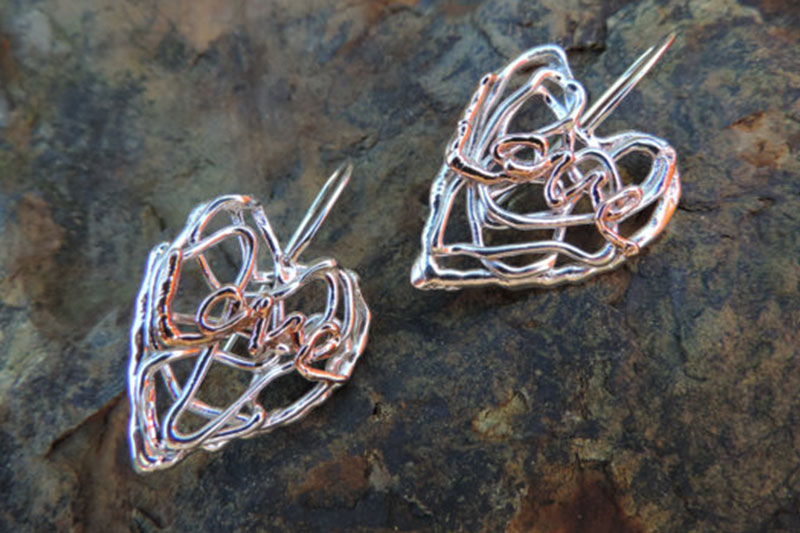
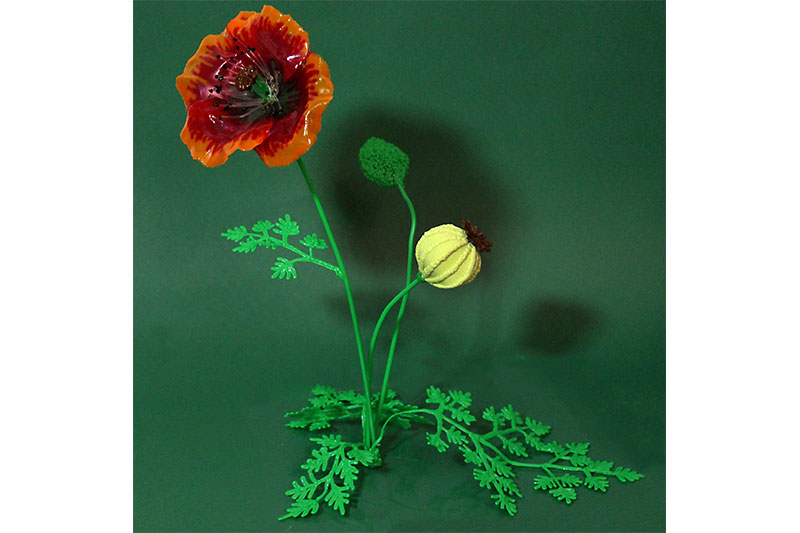
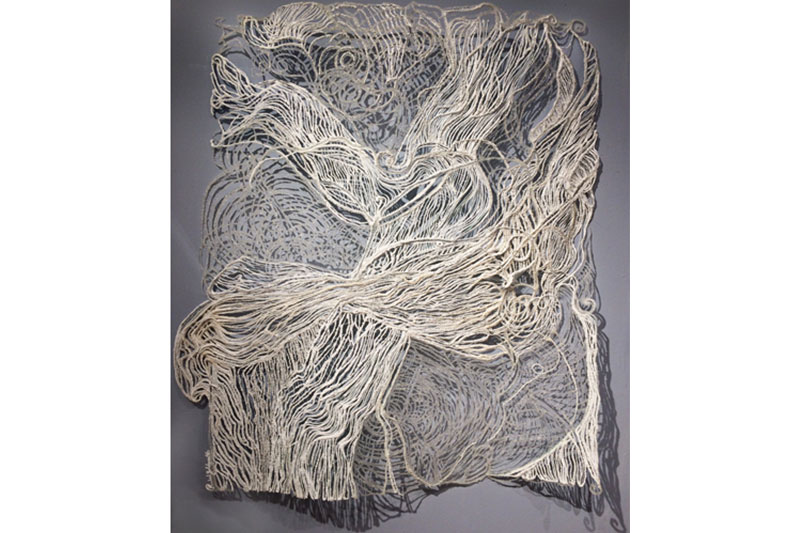
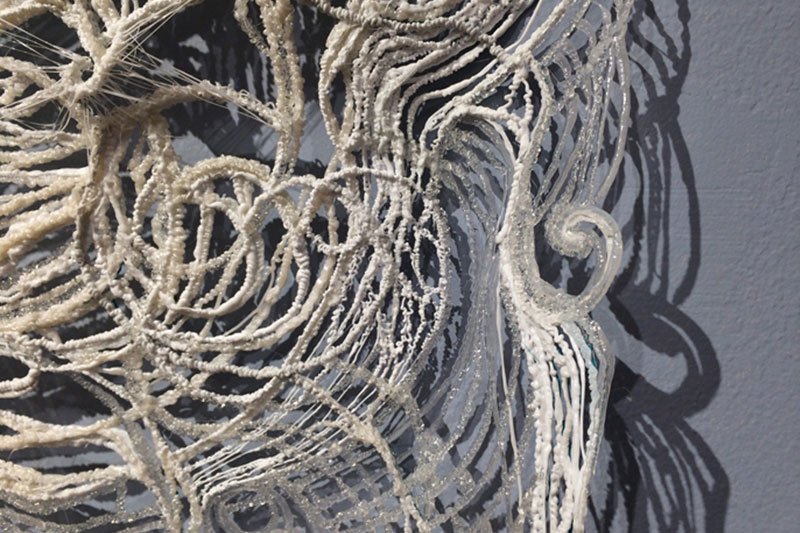
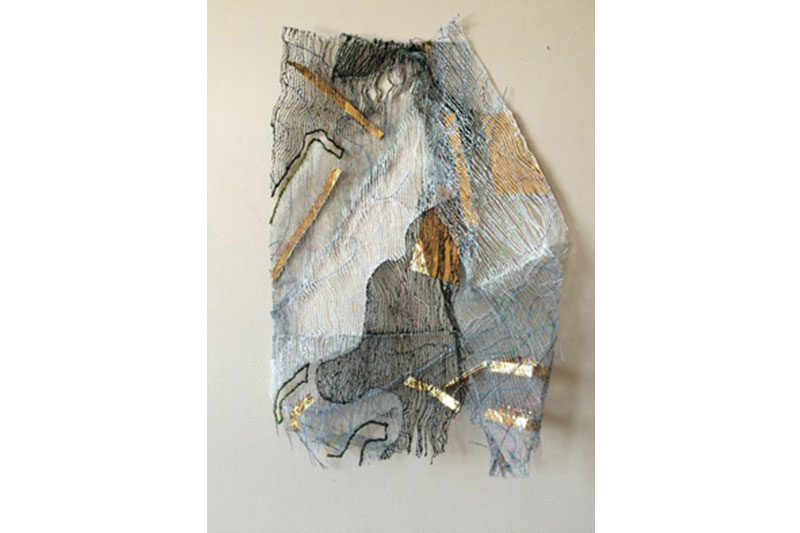
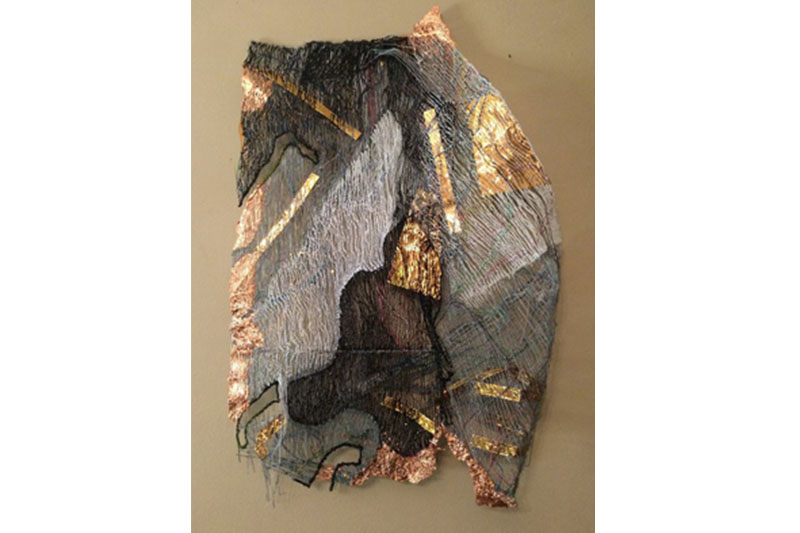
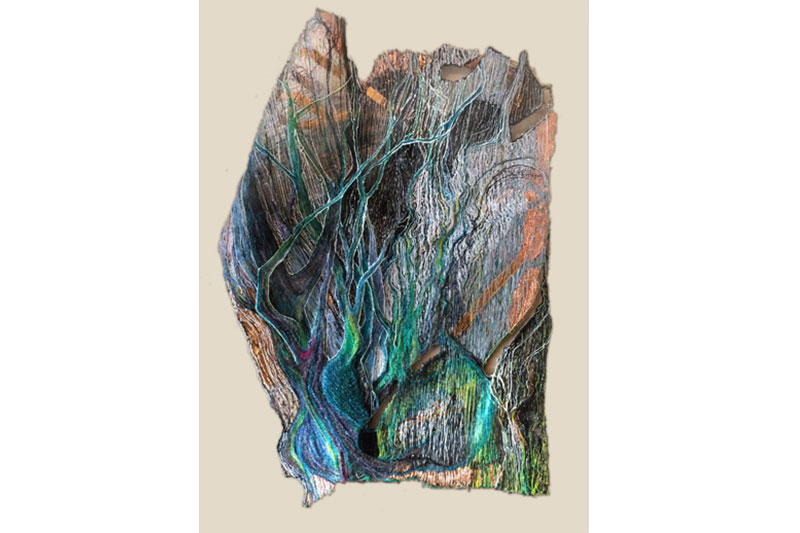
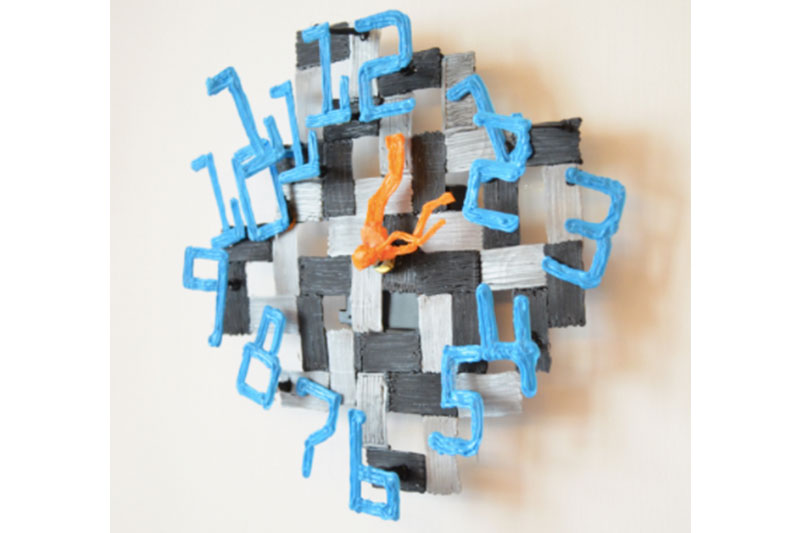
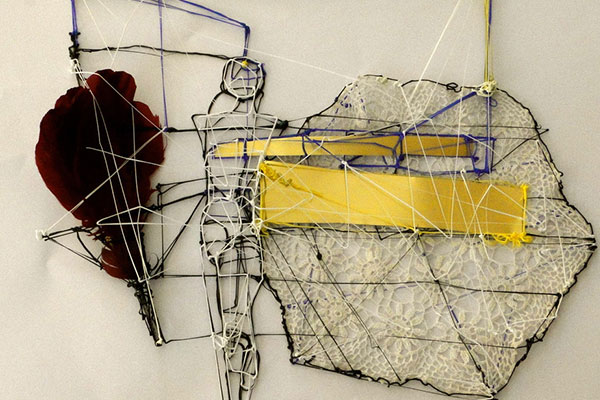
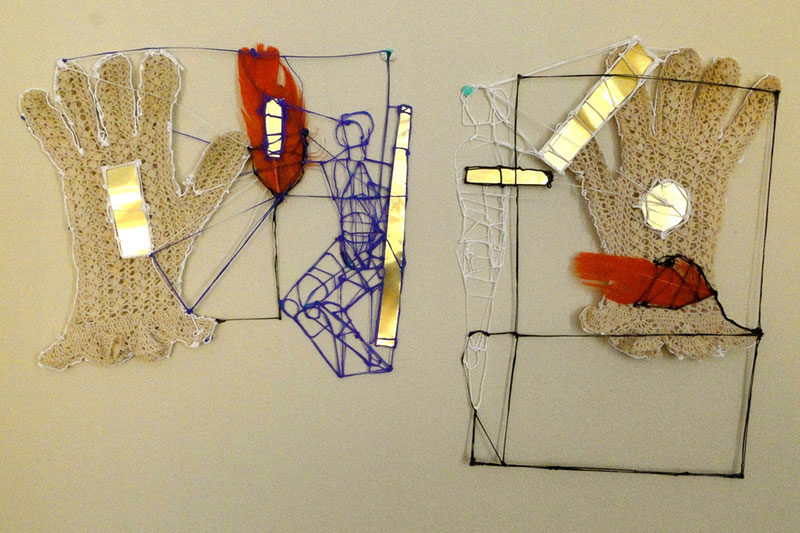
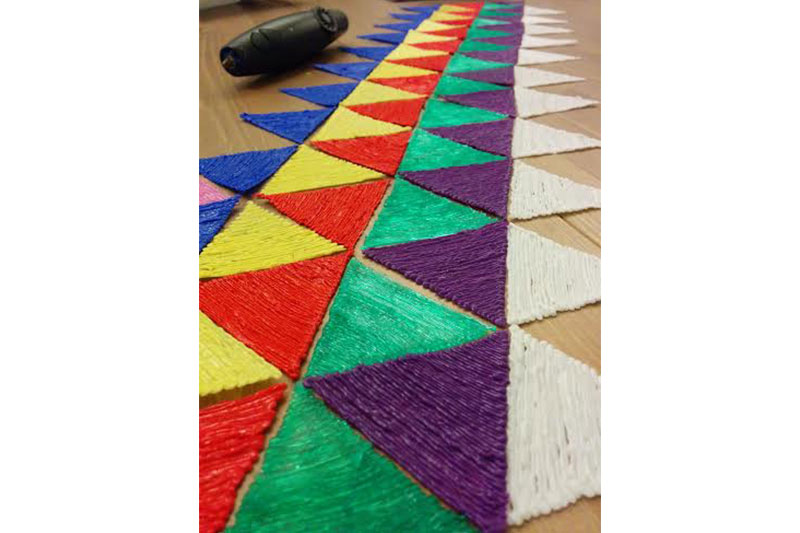
1. Create personalized wall decorations!

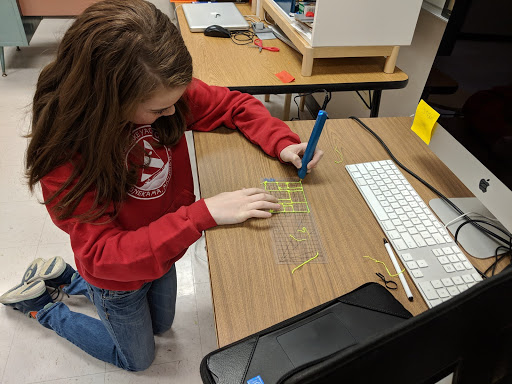
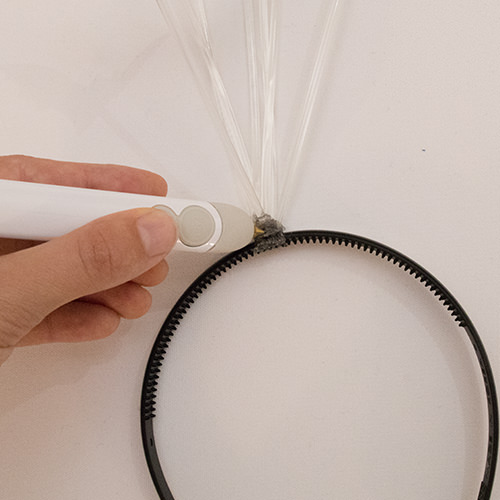
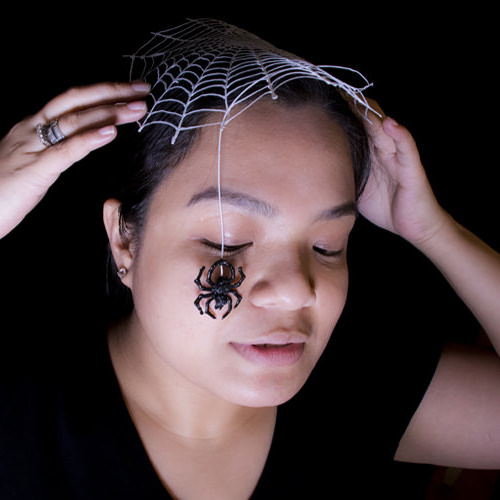
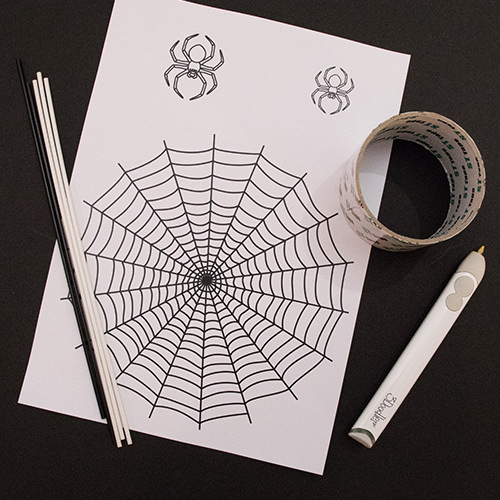
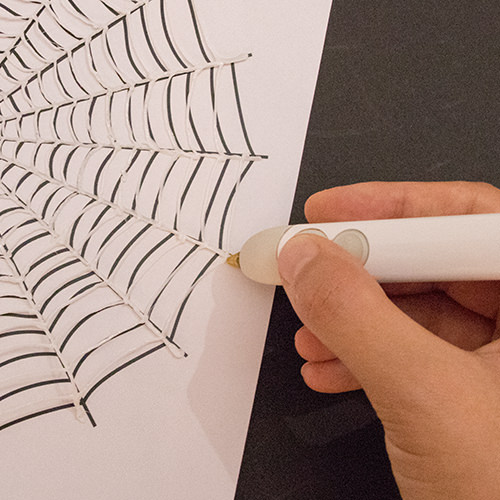
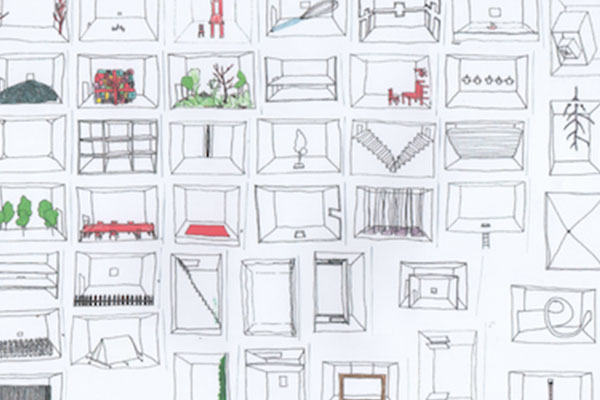
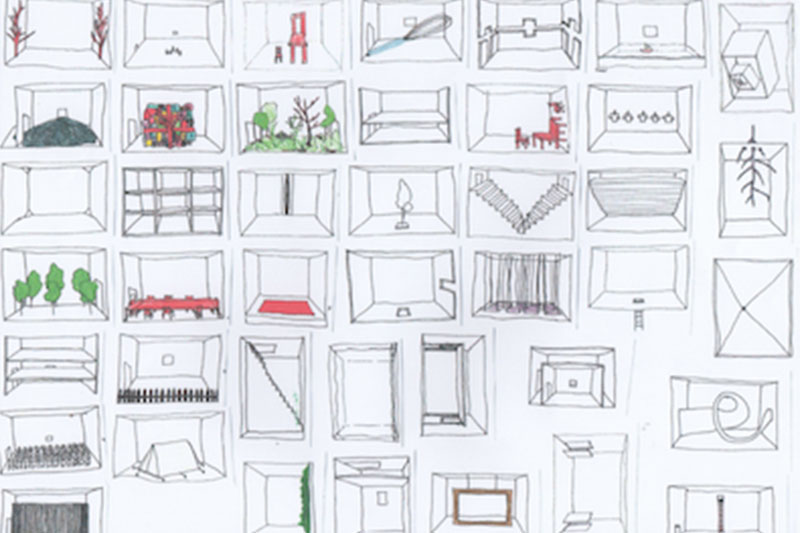
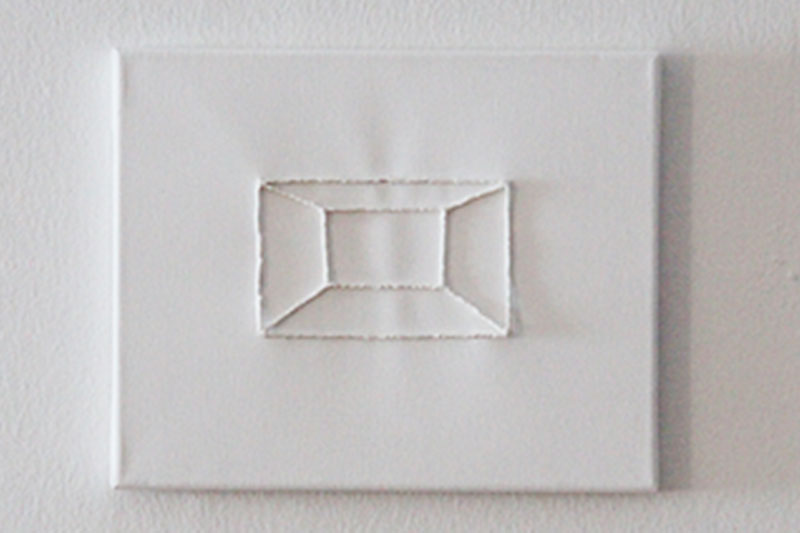
Chances are you’ll have plenty of bare wall space. This is where you could buy an expensive wall tapestry. Or you can use your 3D pen and our free stencil and Doodle your own!
You can download a free stencil for this project here. Check out the tutorial here
Cost of materials: $7.99 (1 25-pack of PLA filament)
Retail price: $39.00
Saved: $31 or 79%
Preferred filaments: PLA
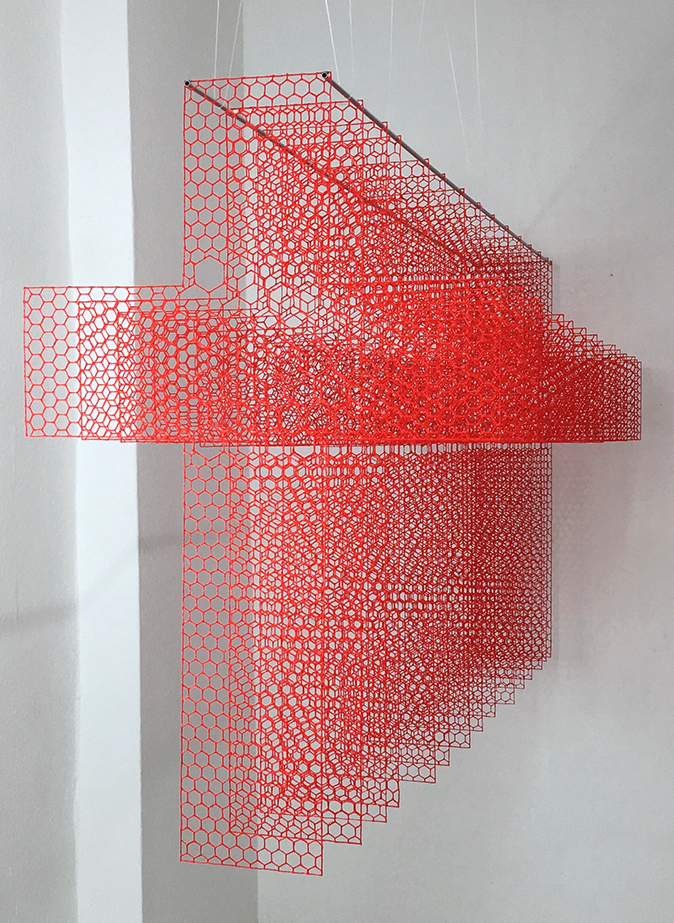
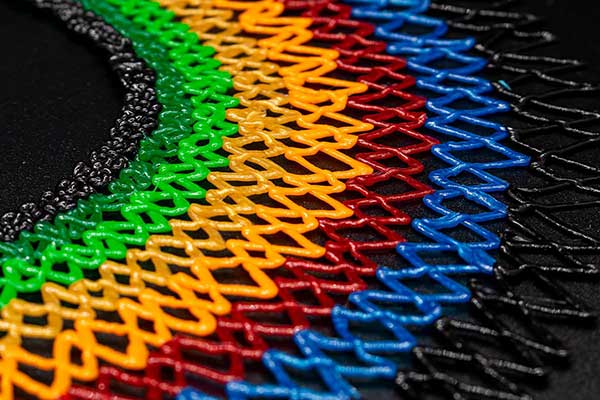
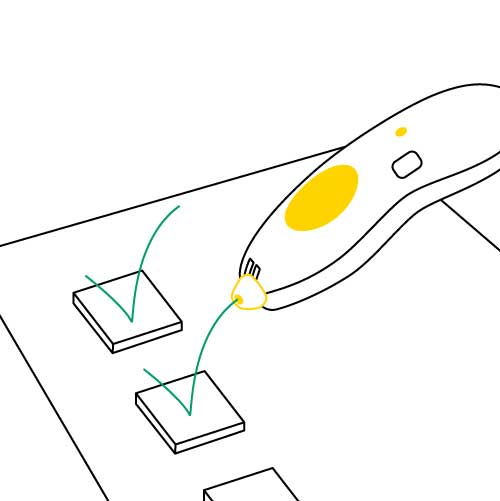
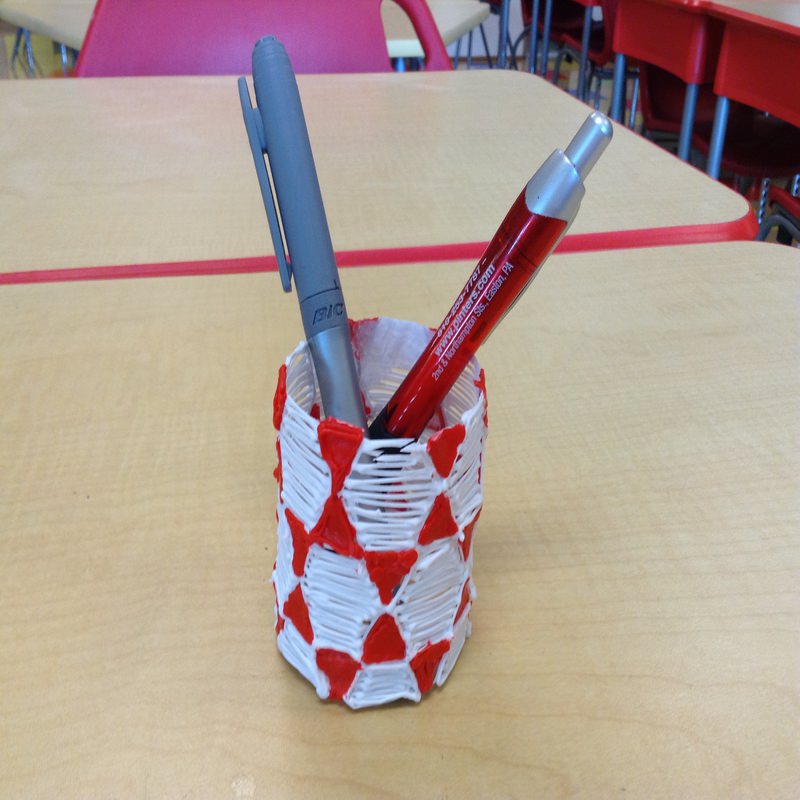
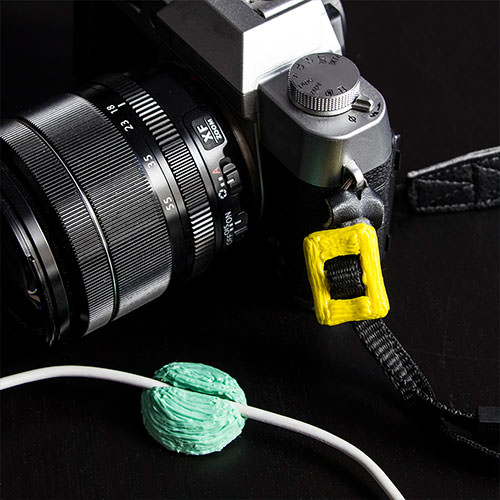
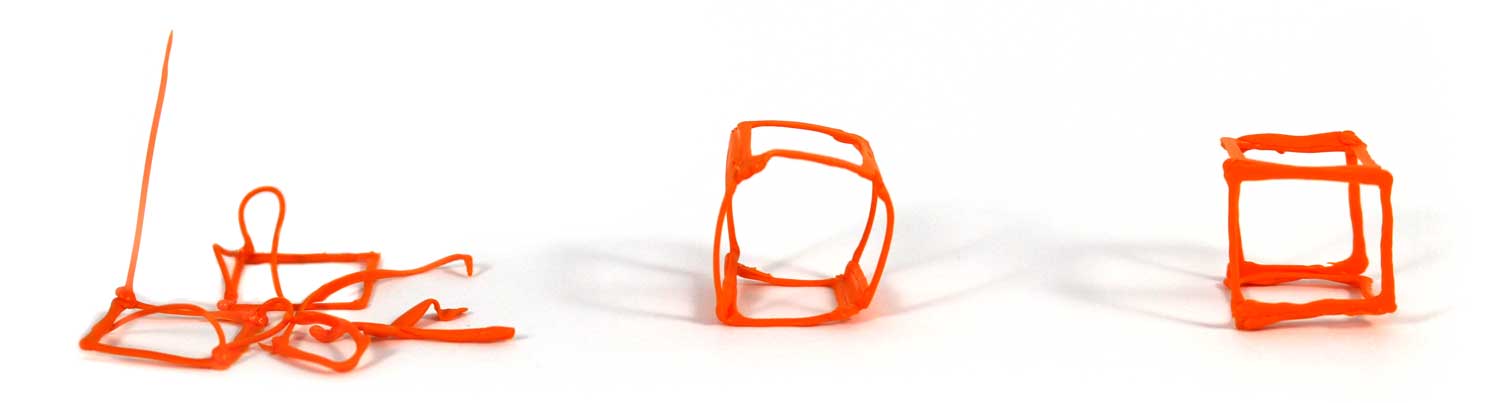
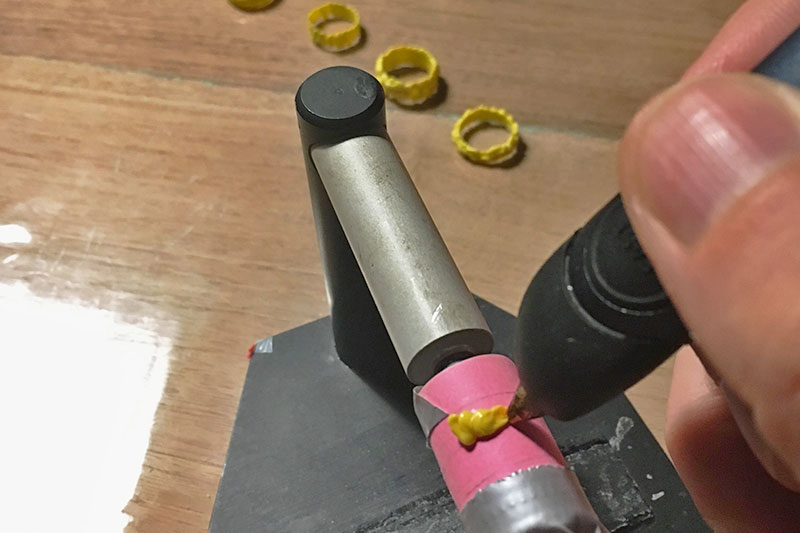
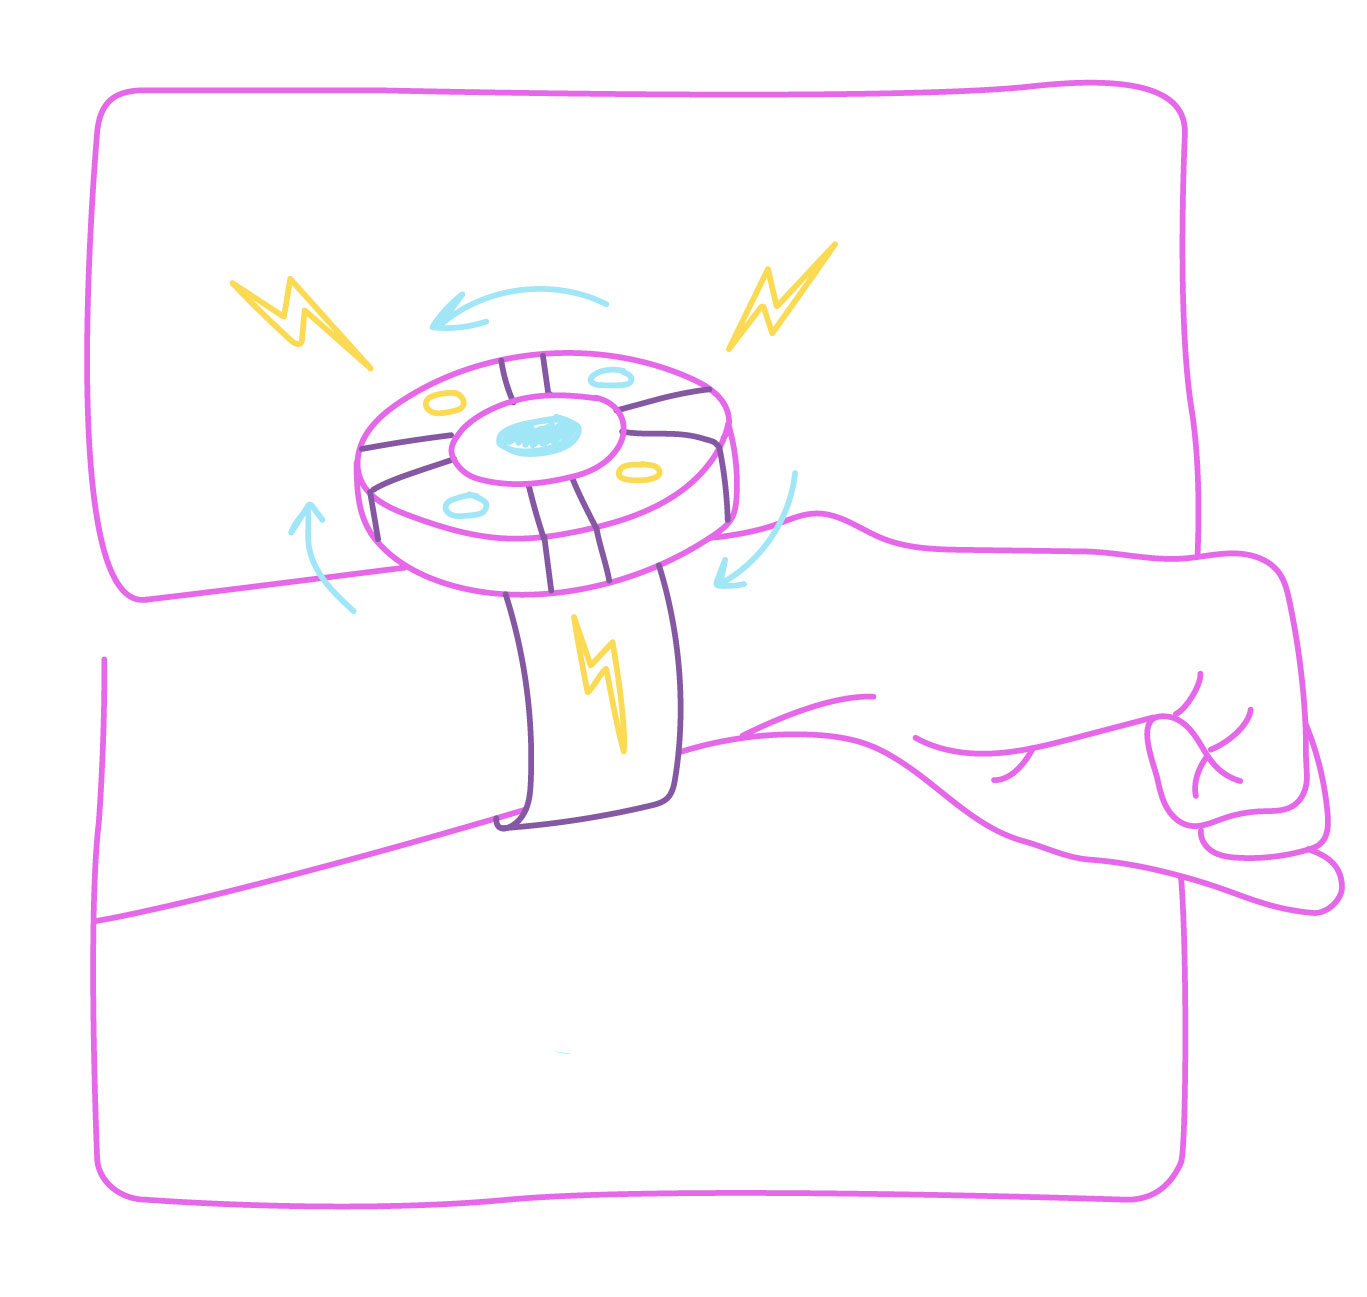
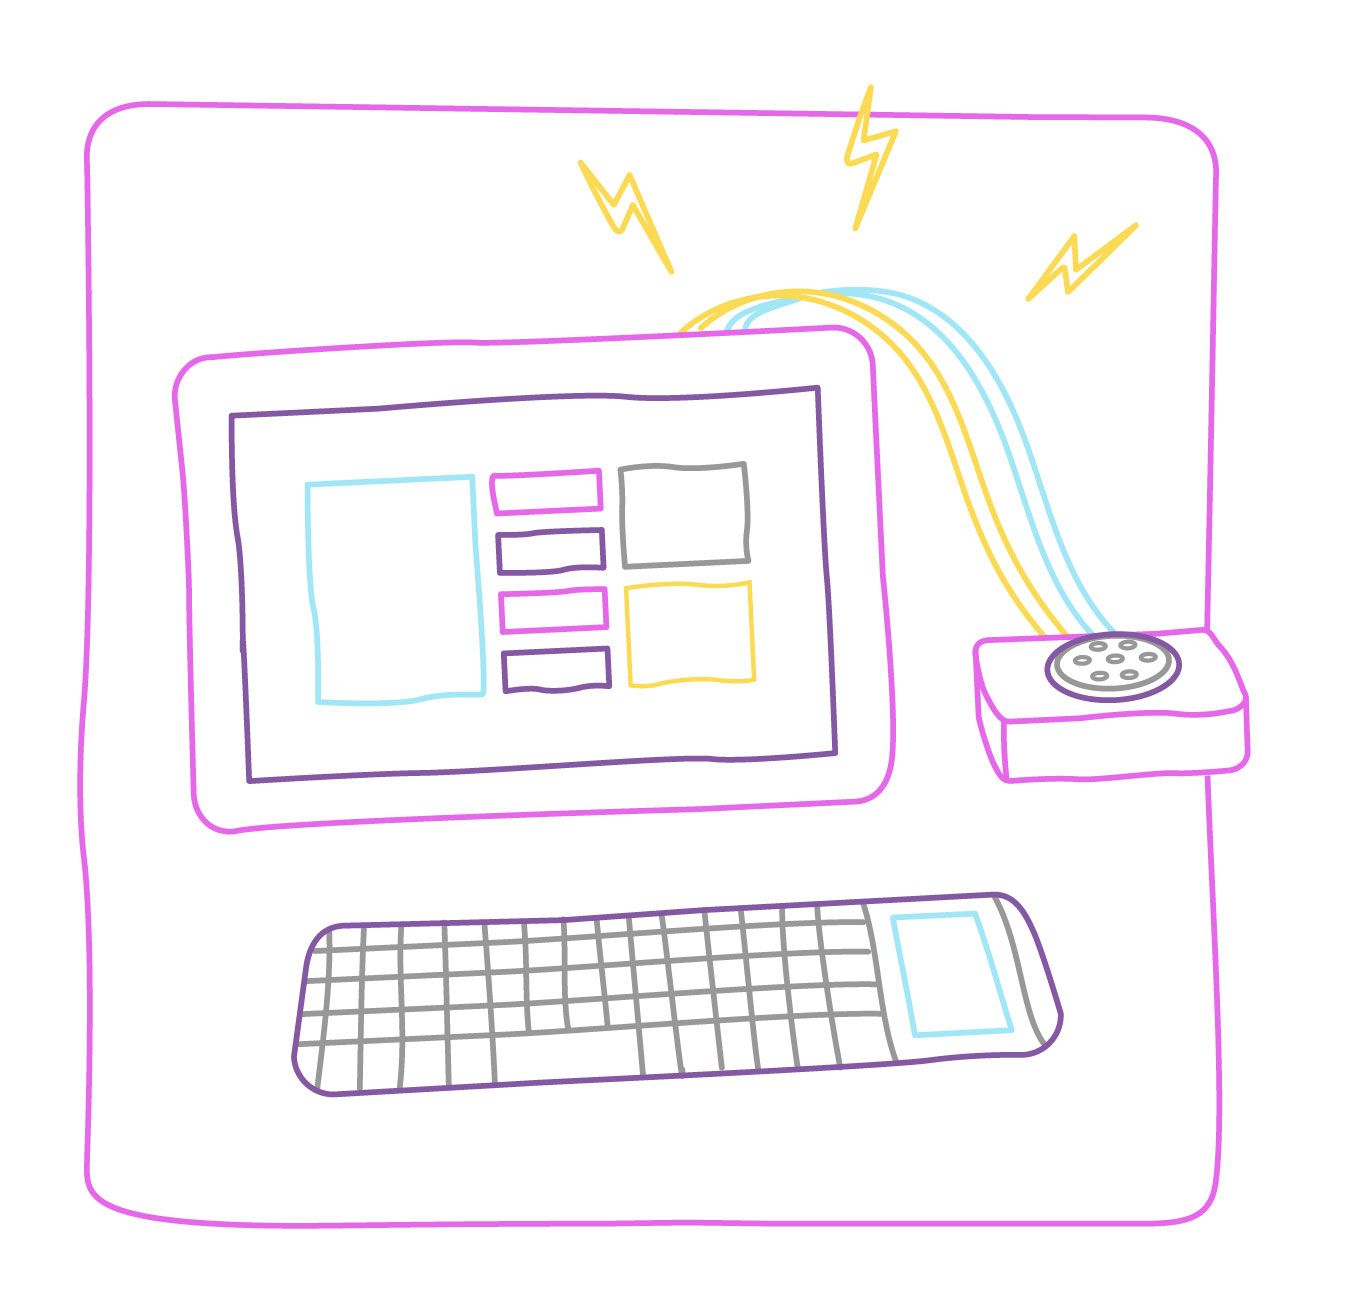
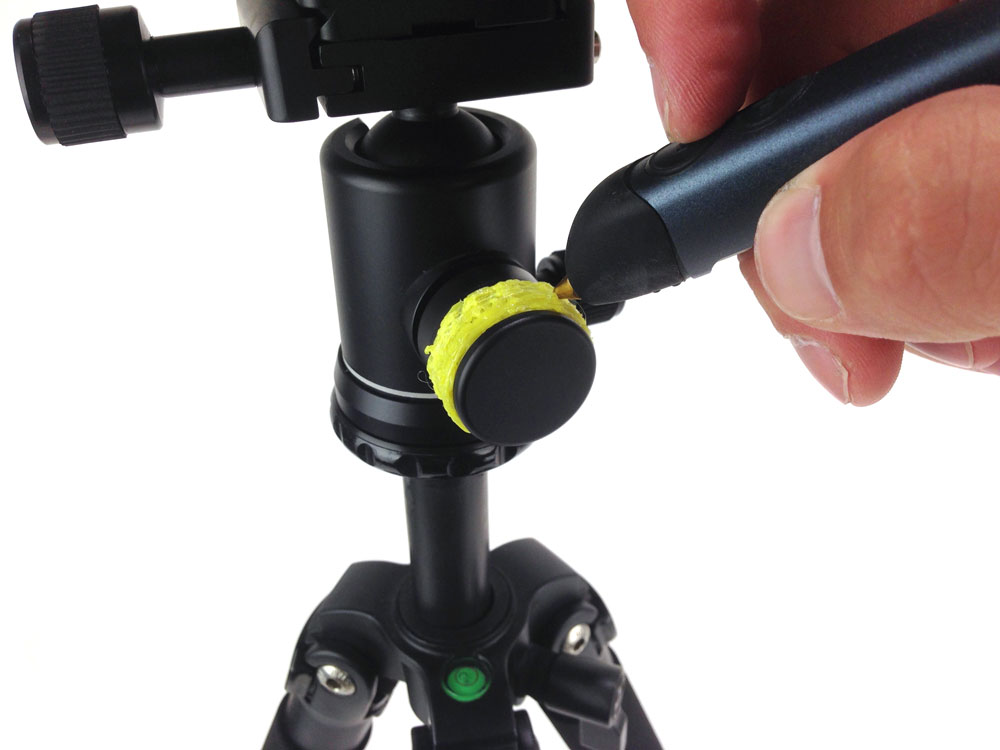
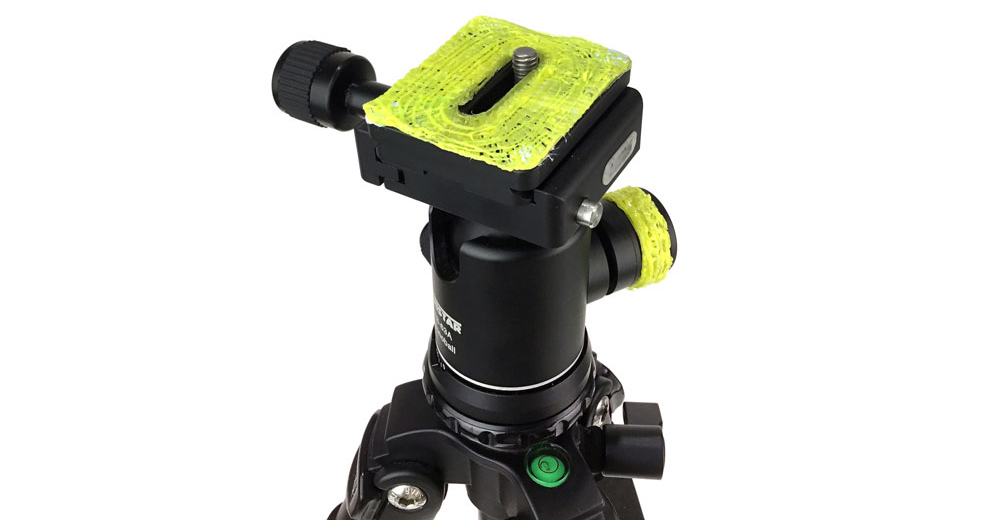
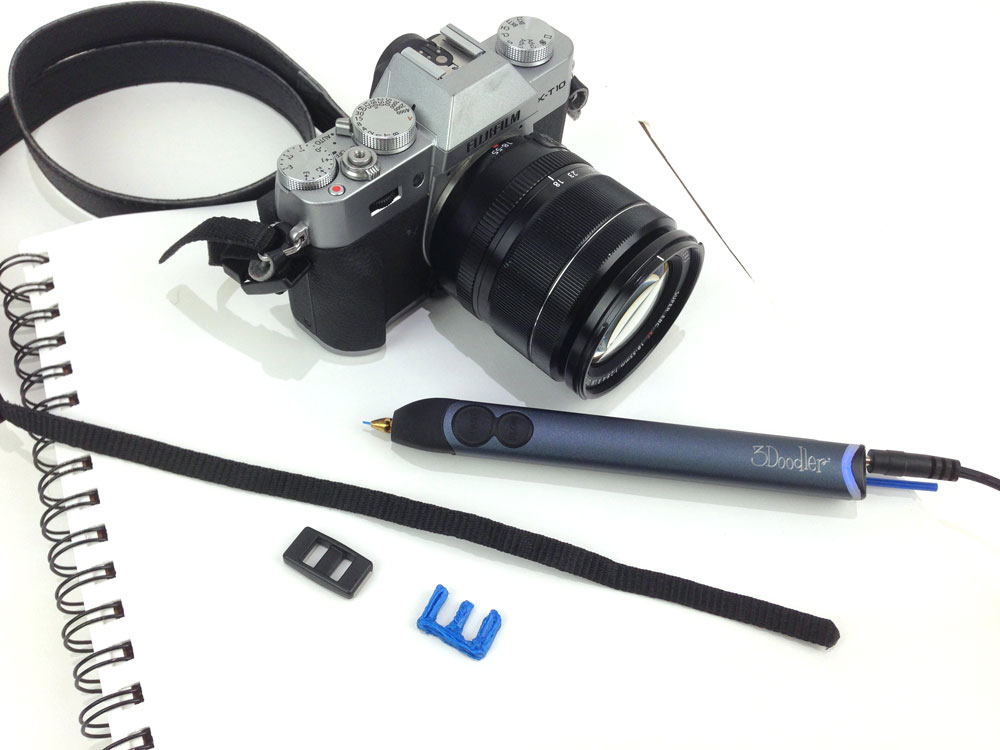
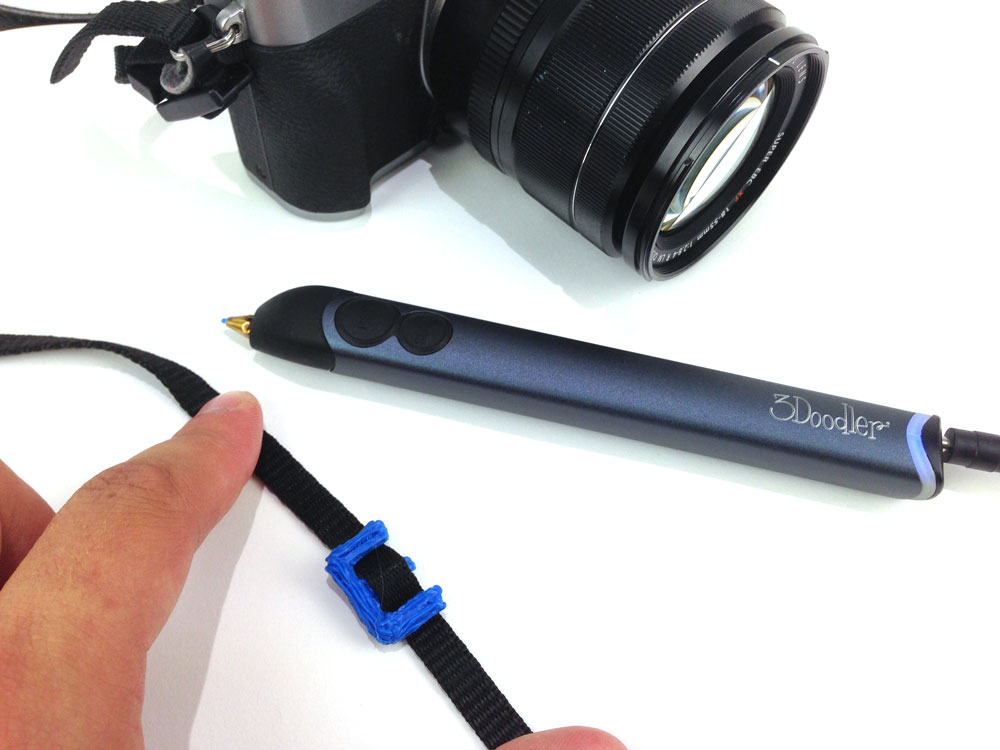
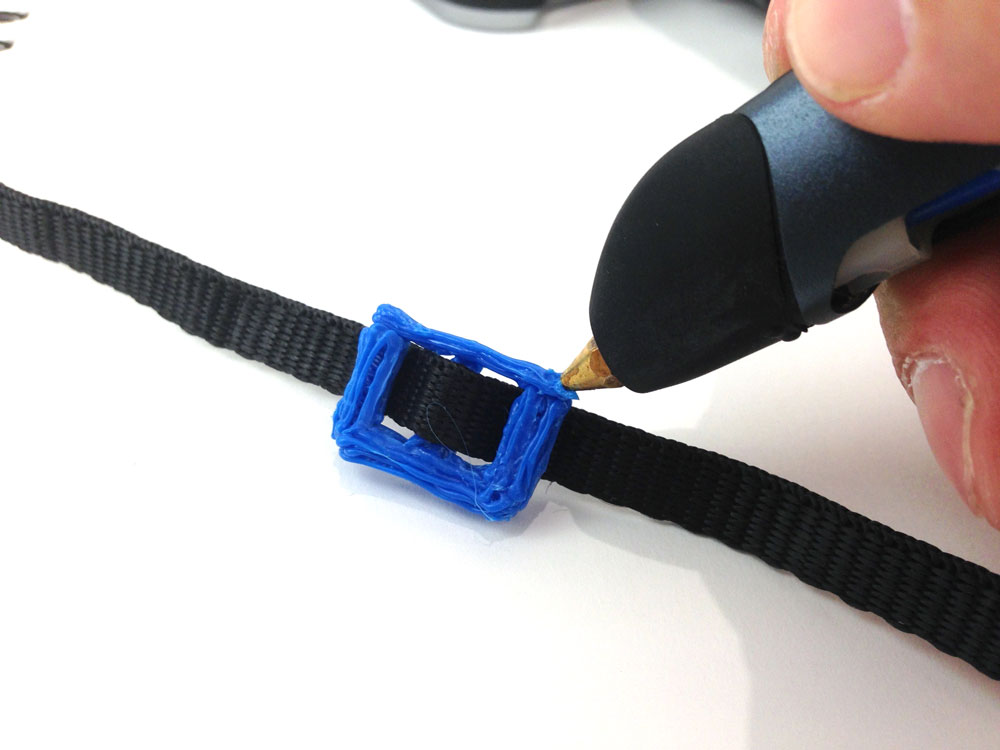
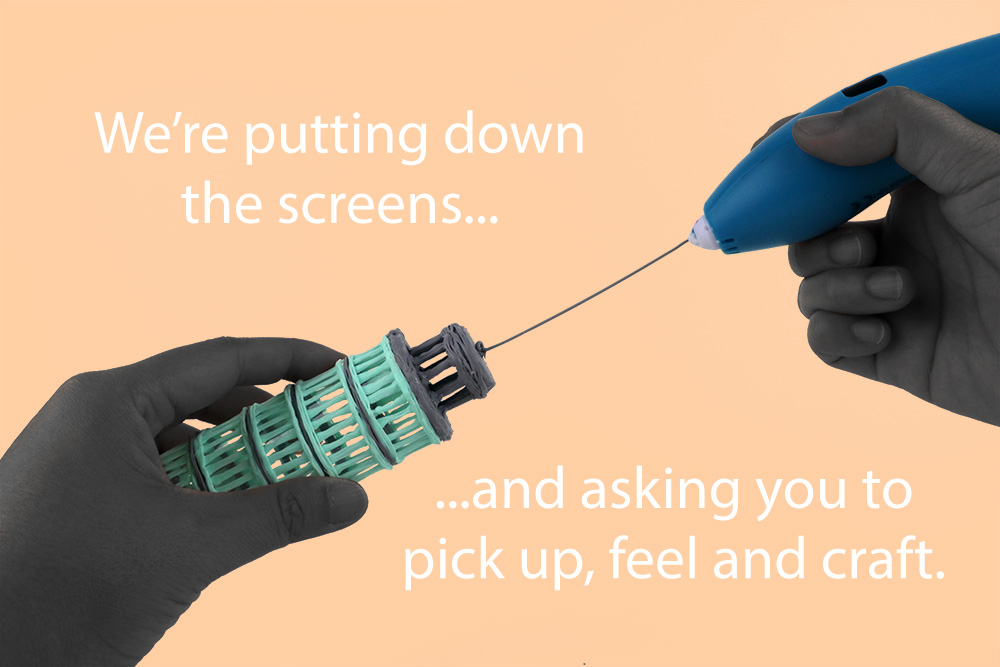
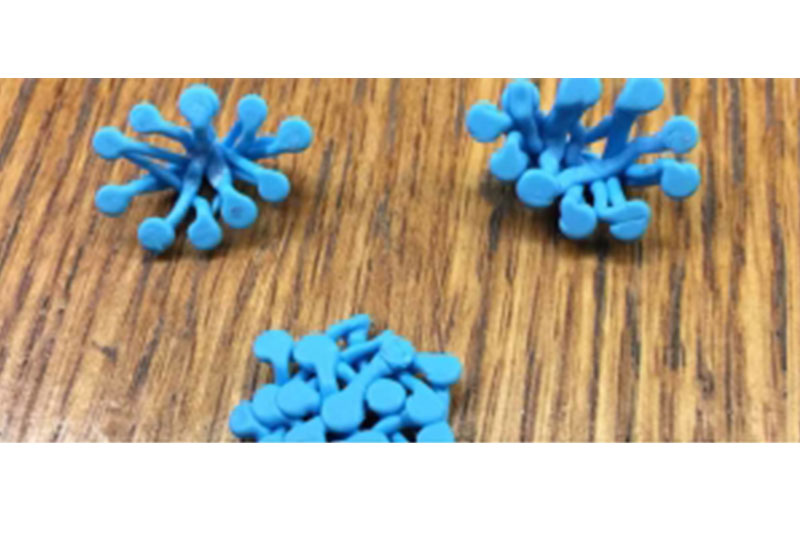
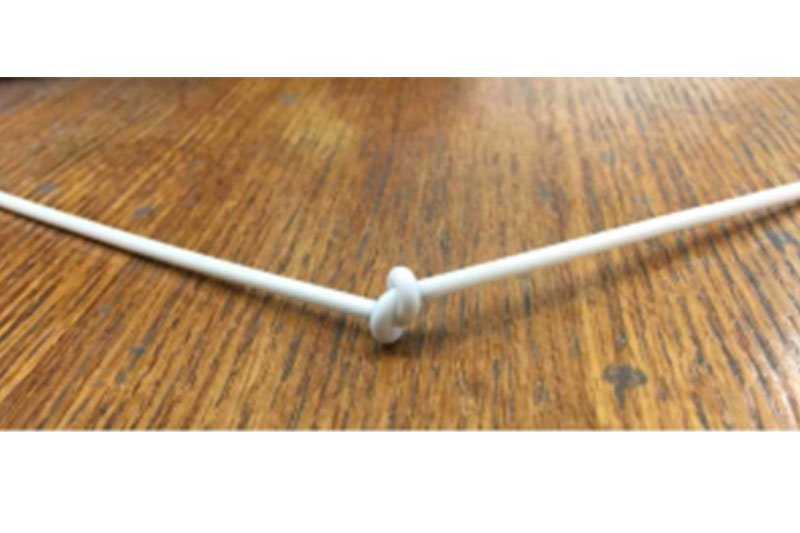
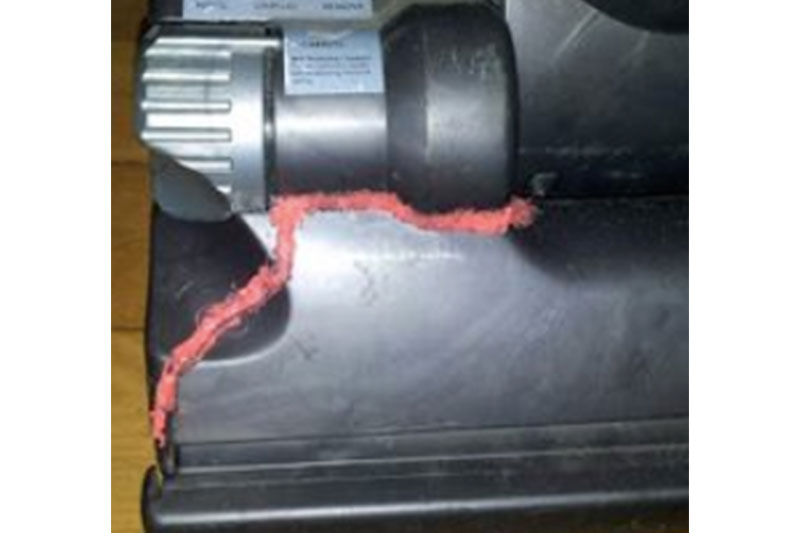
2. Easily organize all of your cords by creating your own cord holder!

Today everything needs a cord, especially at your desk. If you’re anything like us, they tend to get tangled up in one another and can clutter up your space pretty quickly. It’s easy to Doodle your own cord holders similar to these with your 3D pen, and stick them anywhere you want!
You can download a free stencil for this project here.
Cost of materials: $0.32 each (1 strand of filament)
Retail price: $4.99 each
Saved: $4.67 or 86%
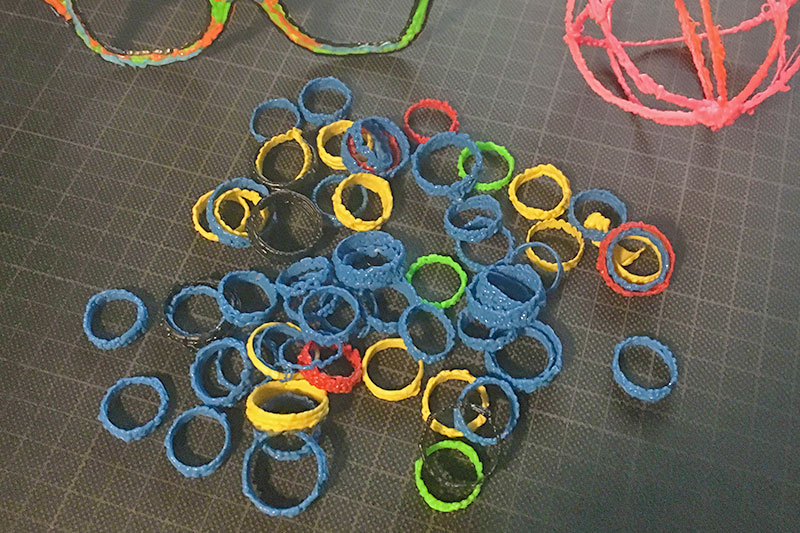
Color code your cord holders by using different colors of filament.
Preferred filaments: ABS or FLEXY
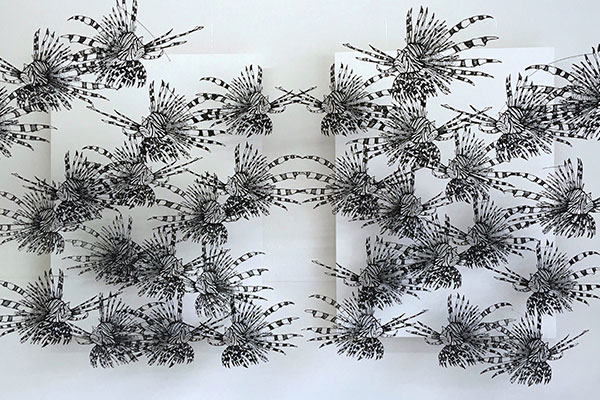
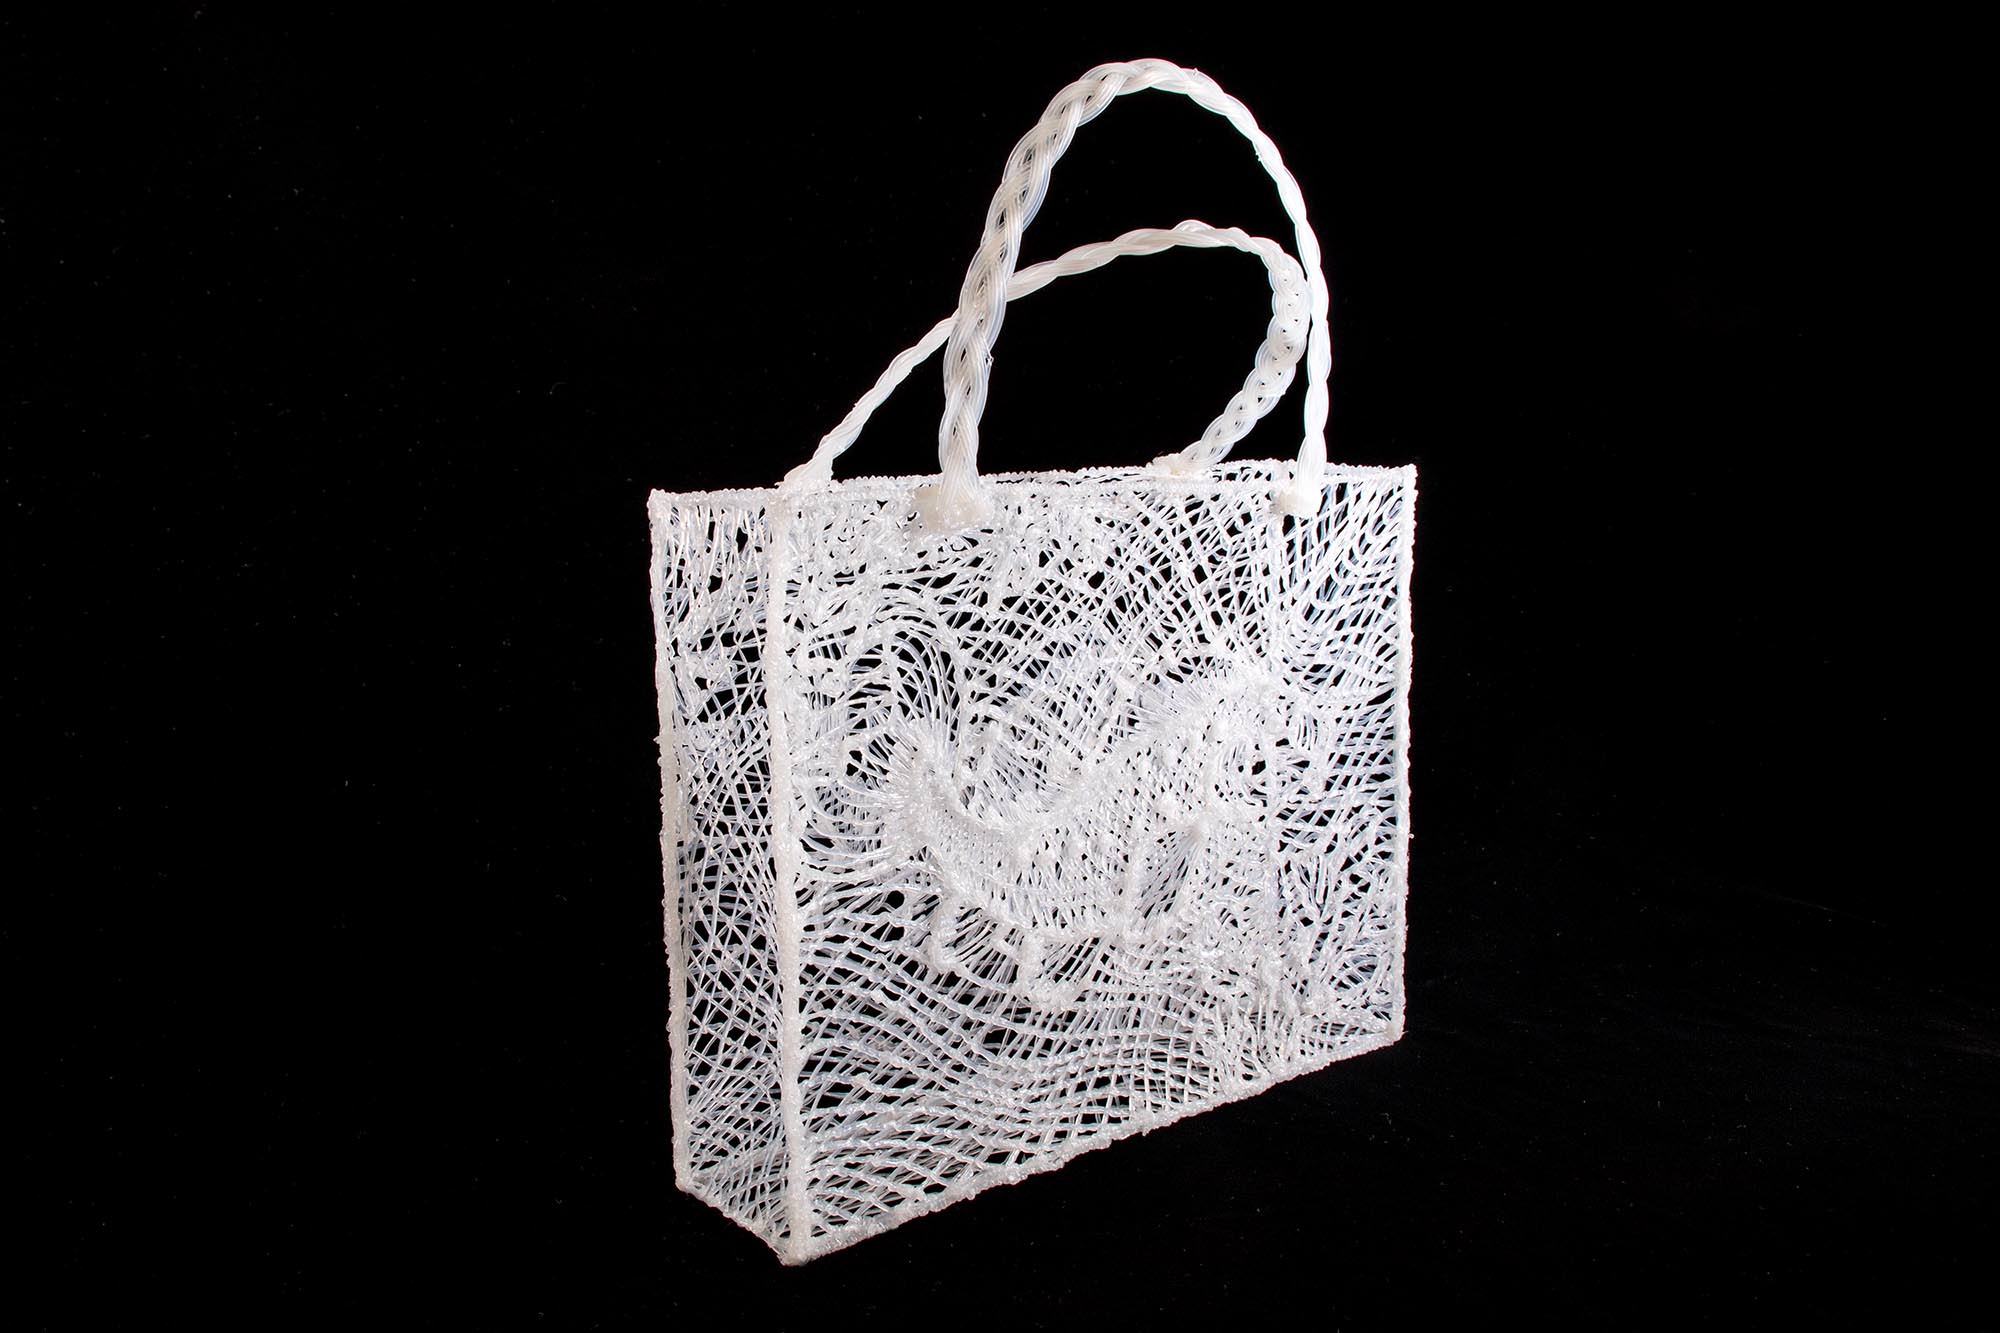
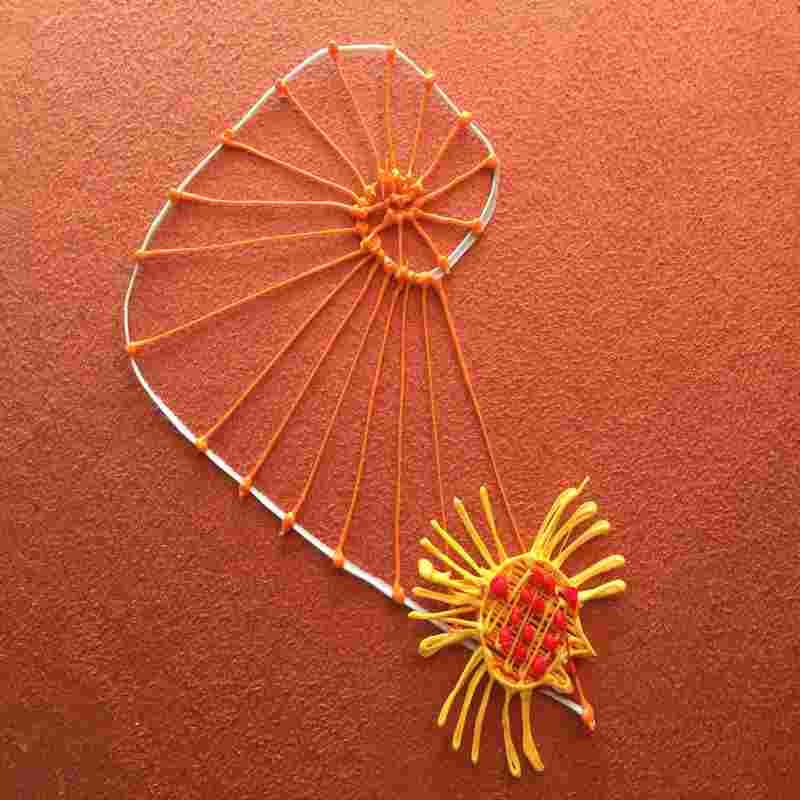
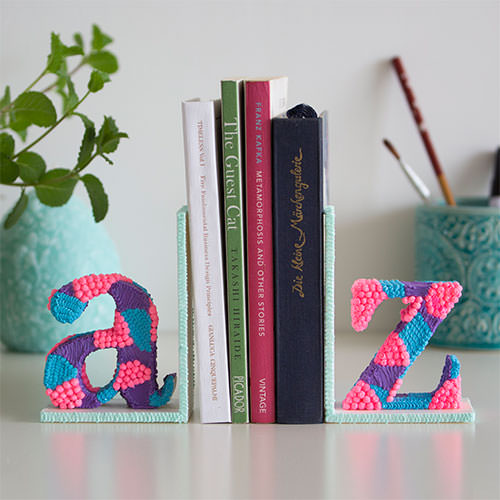
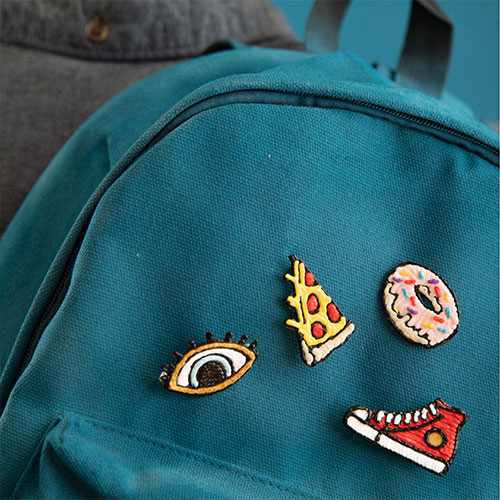
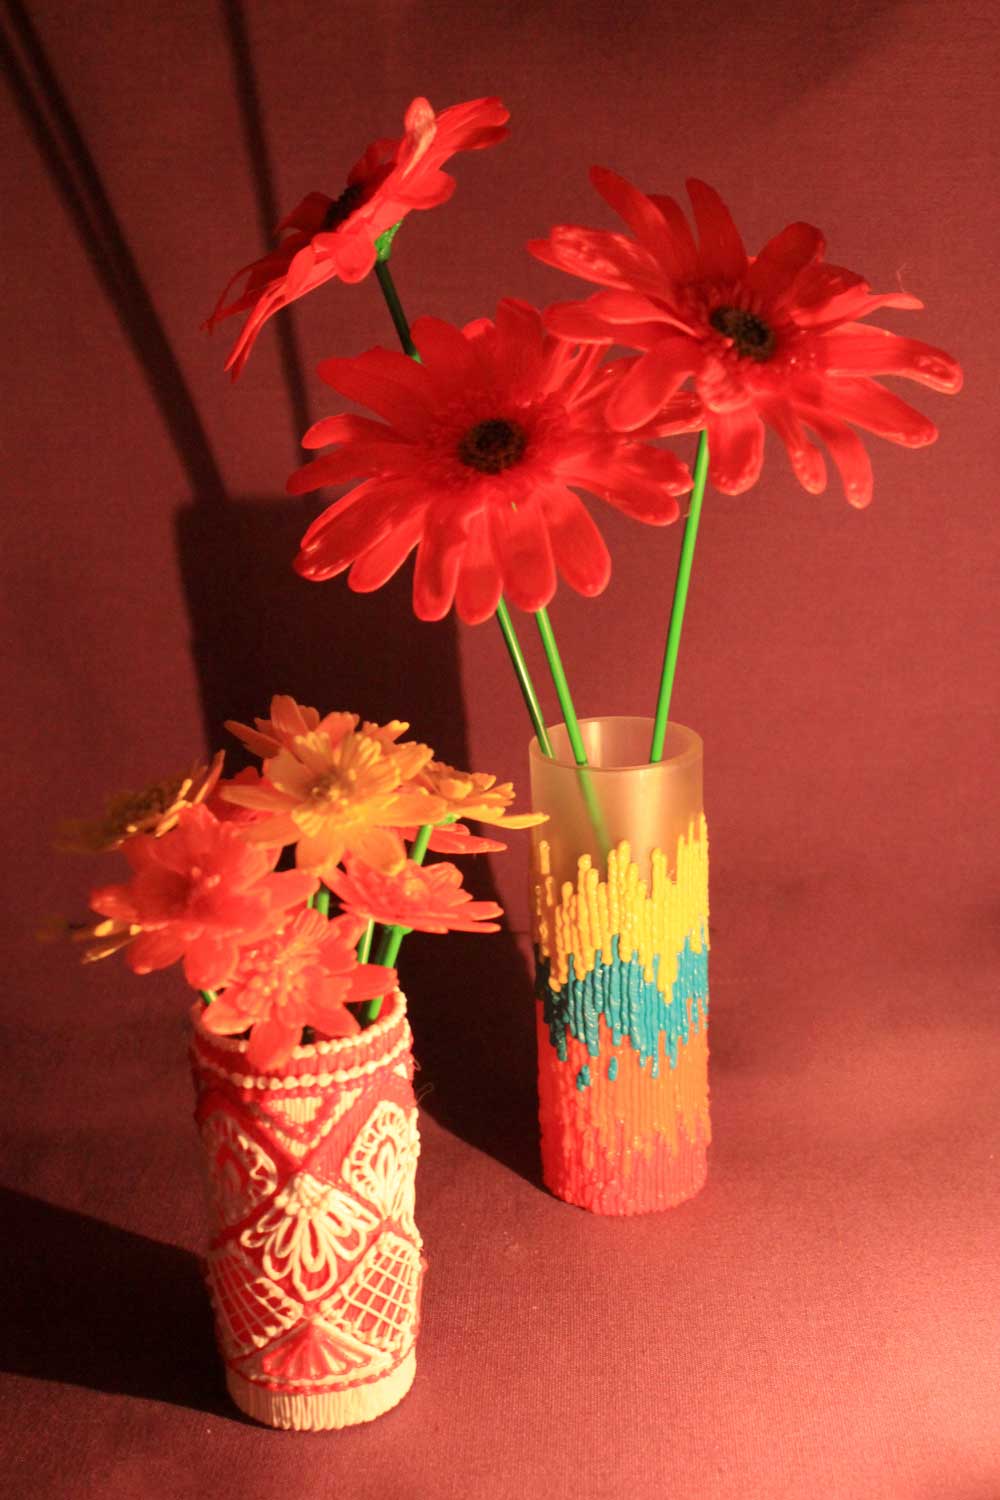
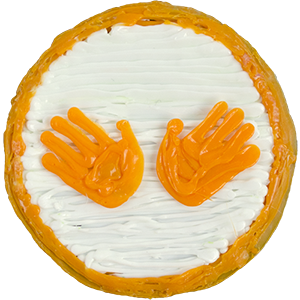
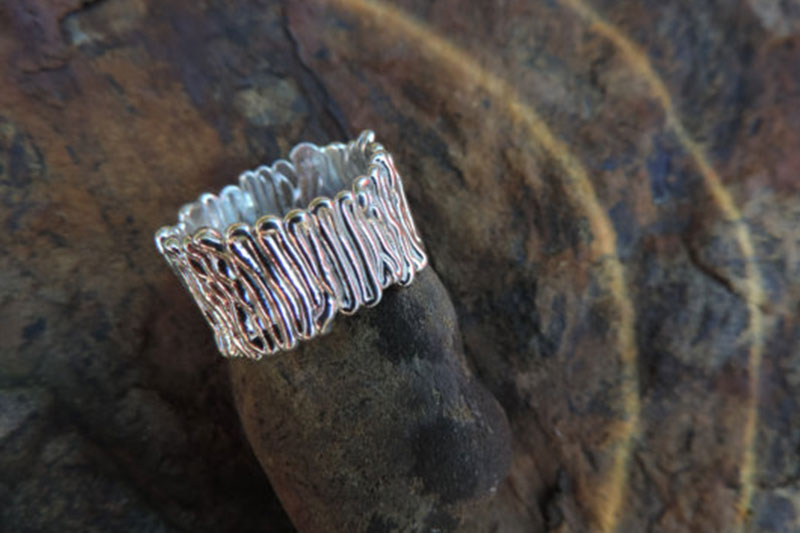
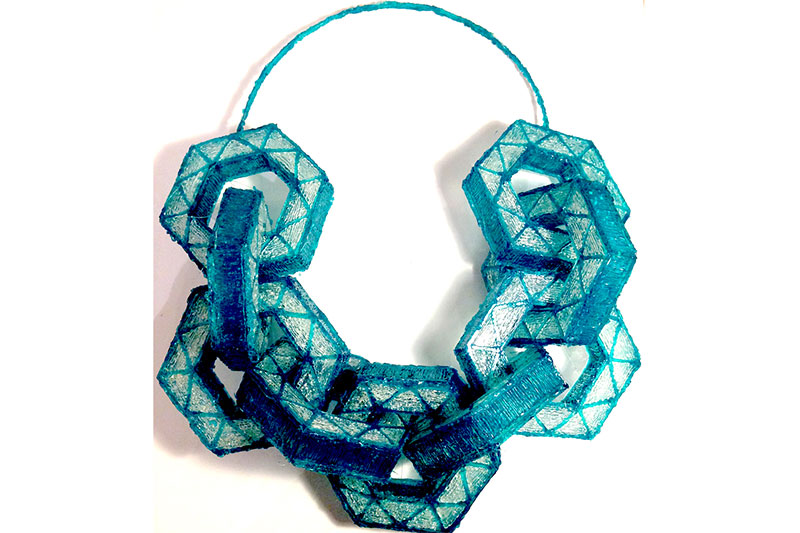
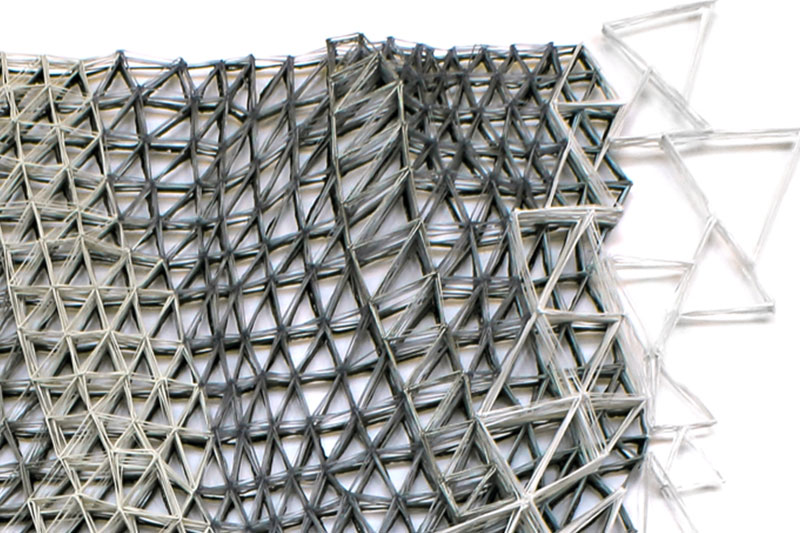
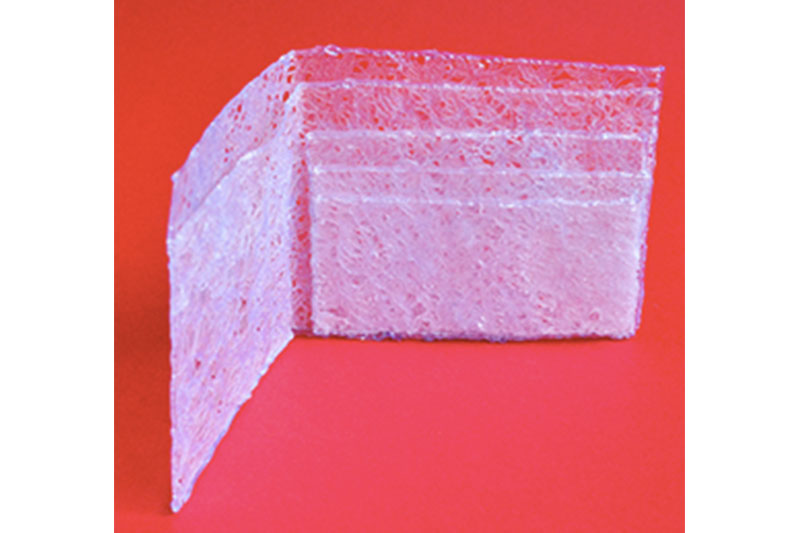
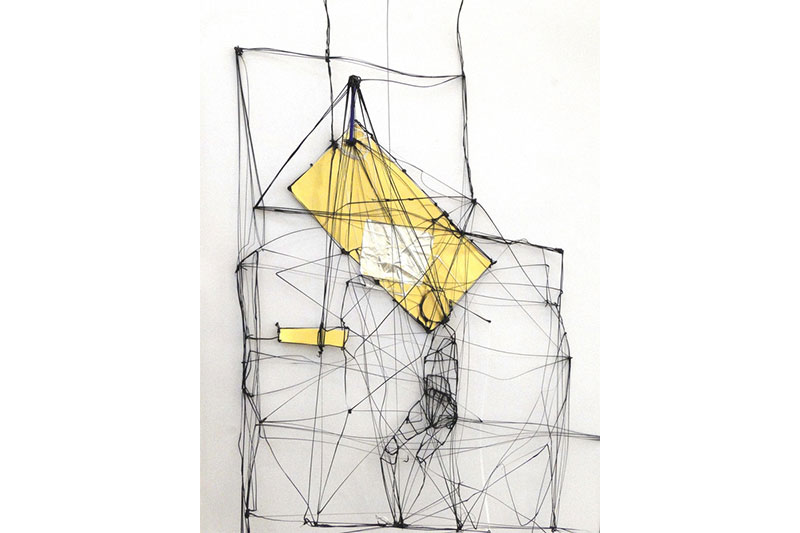
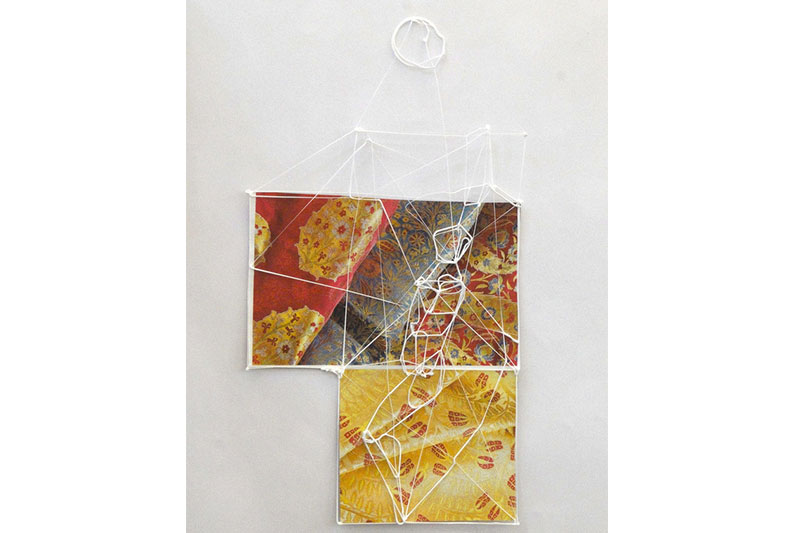
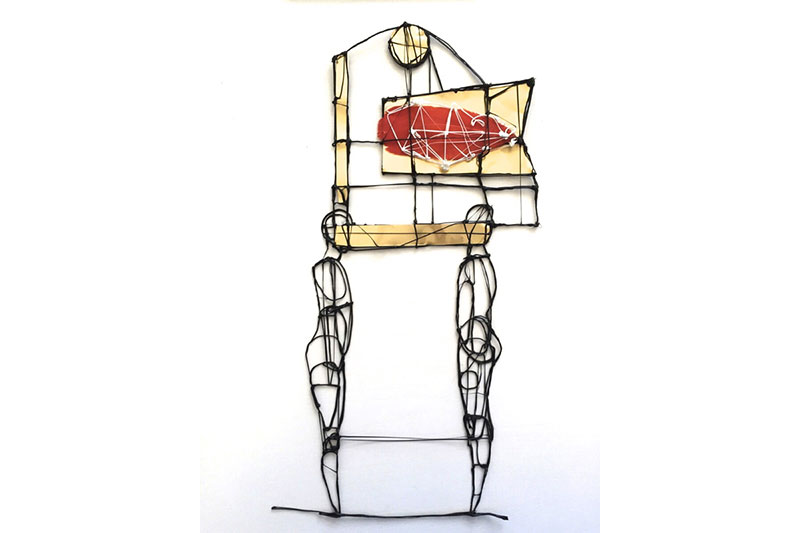
3. Create the perfect accessory to hang all of your favorite photos!

Why buy an expensive photo hanger like this from the store, when you can create your own custom version that will reflect your personal style? This project will completely transform your dorm, and we love using it to store all of our favorite photos and memorabilia!
You can download a free stencil for this project here.
Cost of materials: $7.99 (1 25-strand pack of PLA or ABS)
Retail price: $21.51
Saved: $13.52 or 63%
Simply retrace the outer frame to add more sturdiness.
Use the holes on the corners to hang it onto the wall!
Recommended filaments: ABS
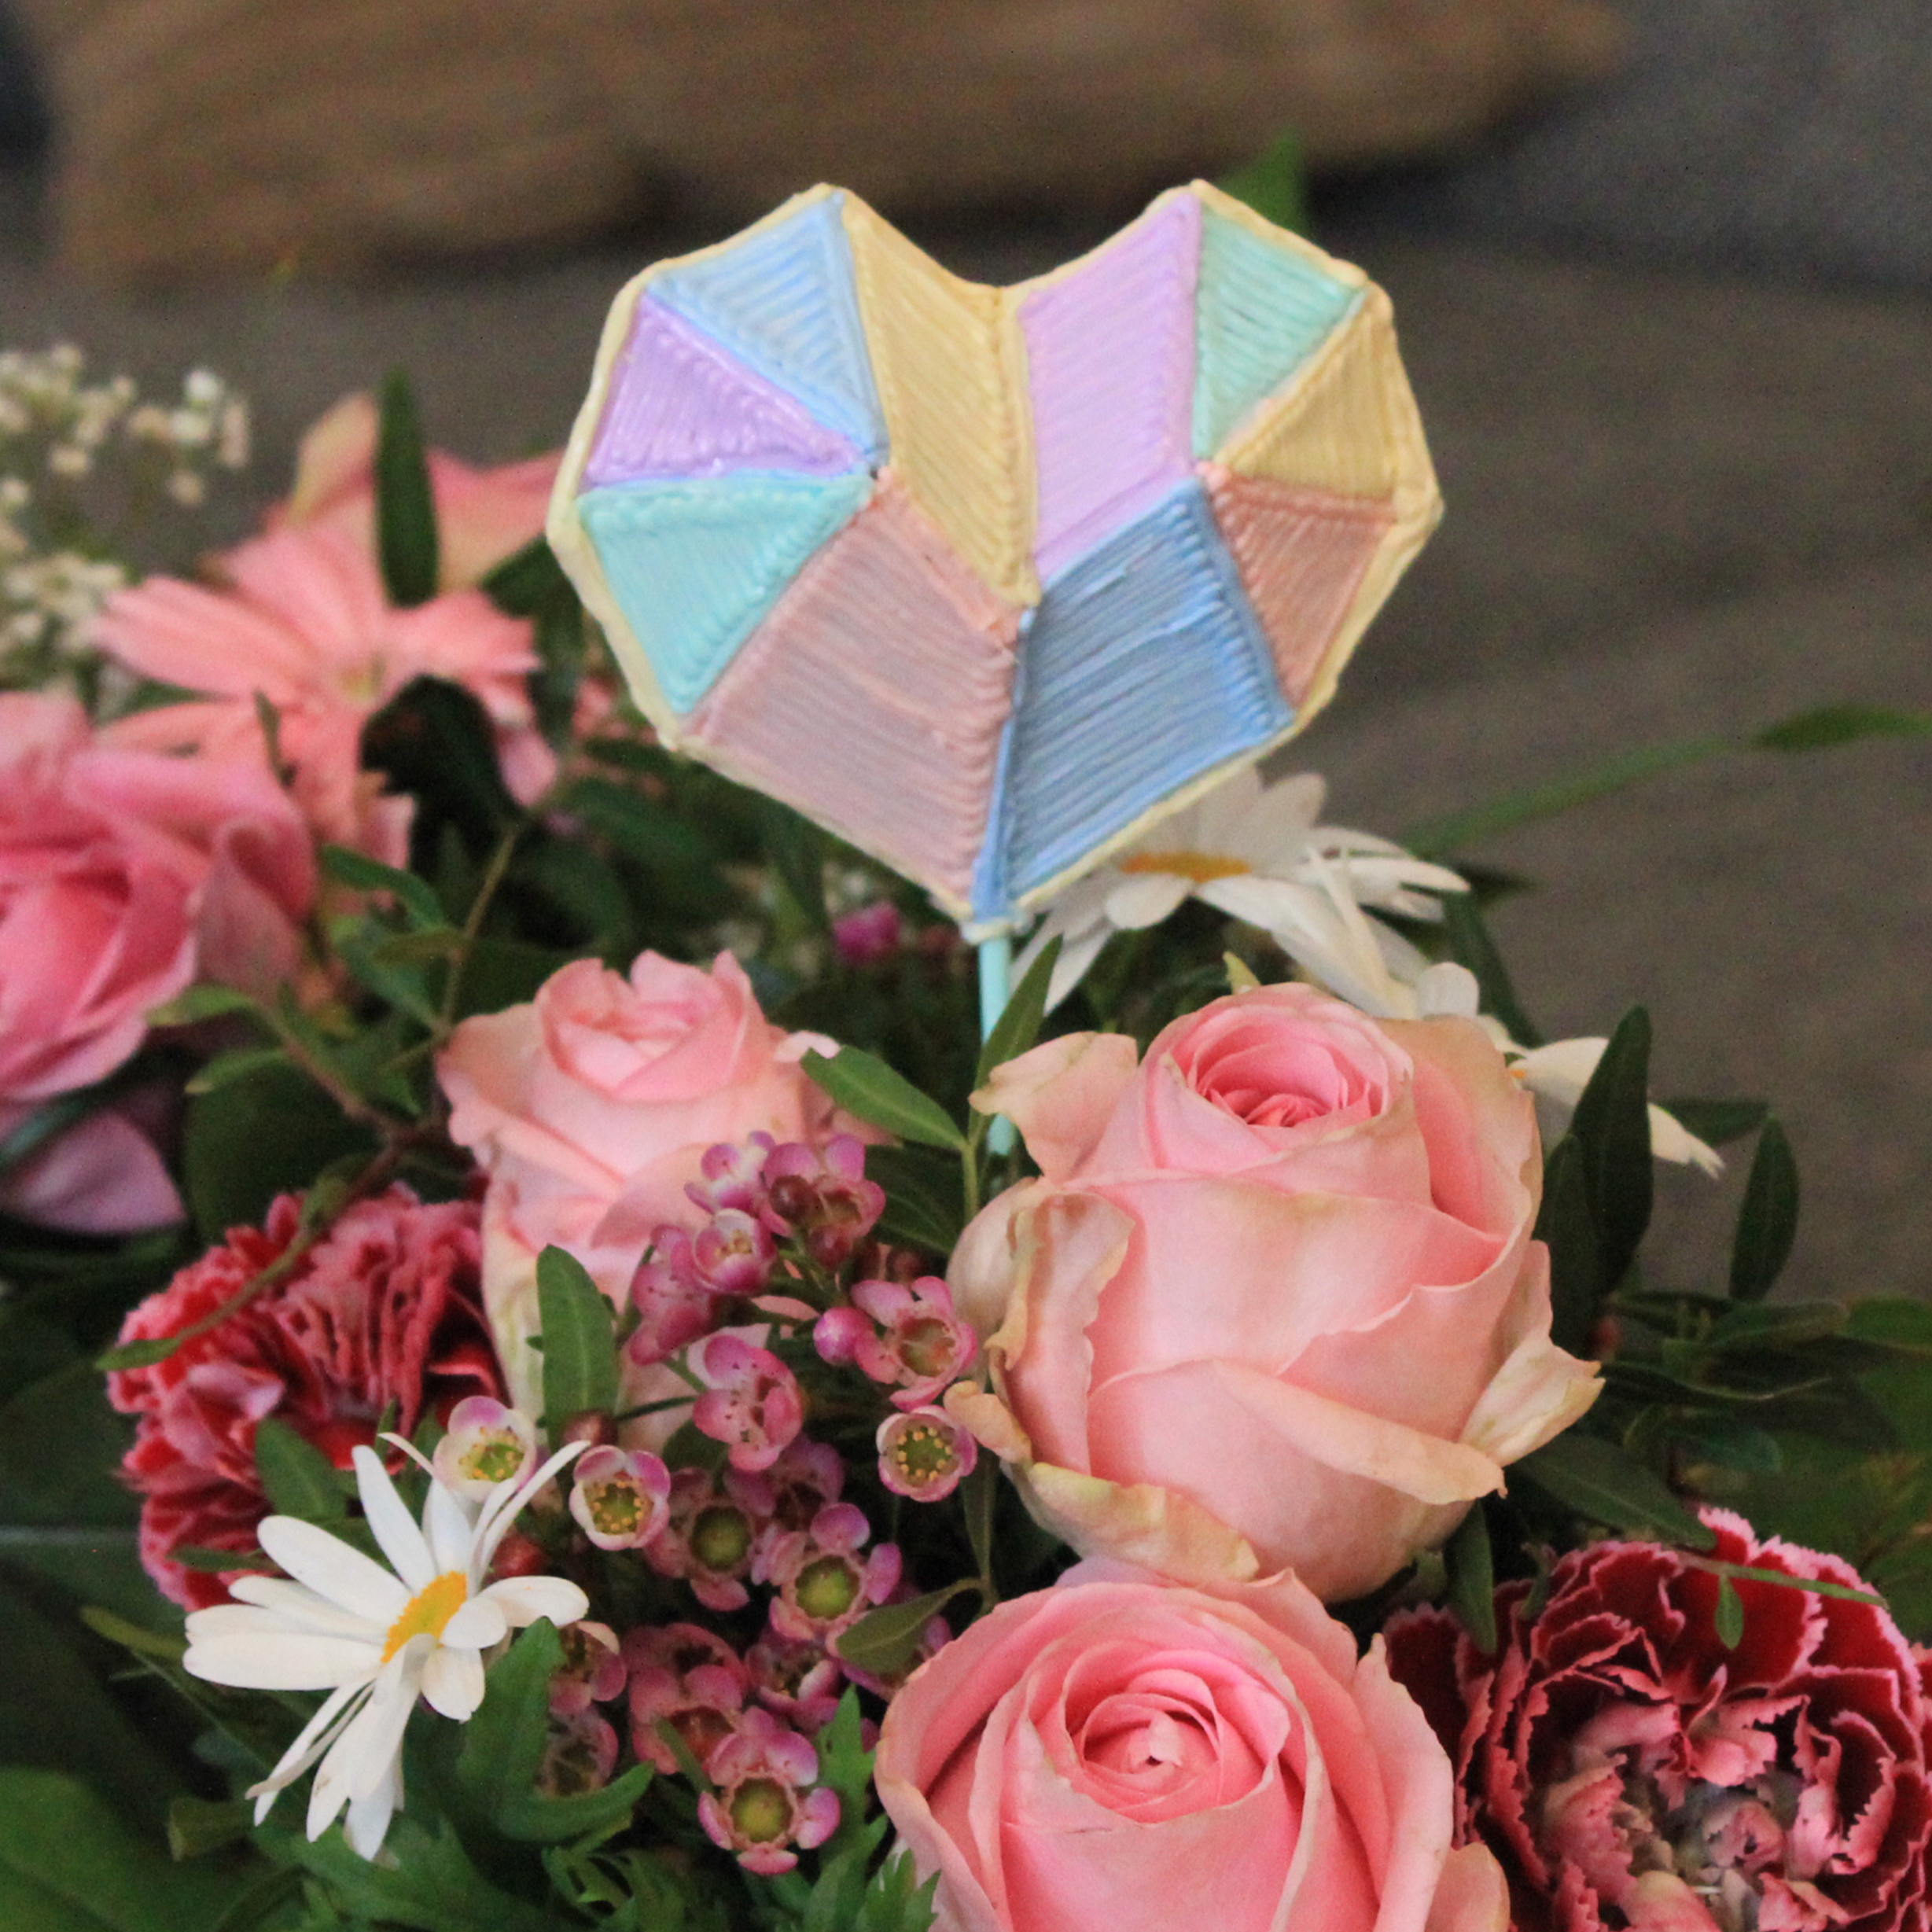
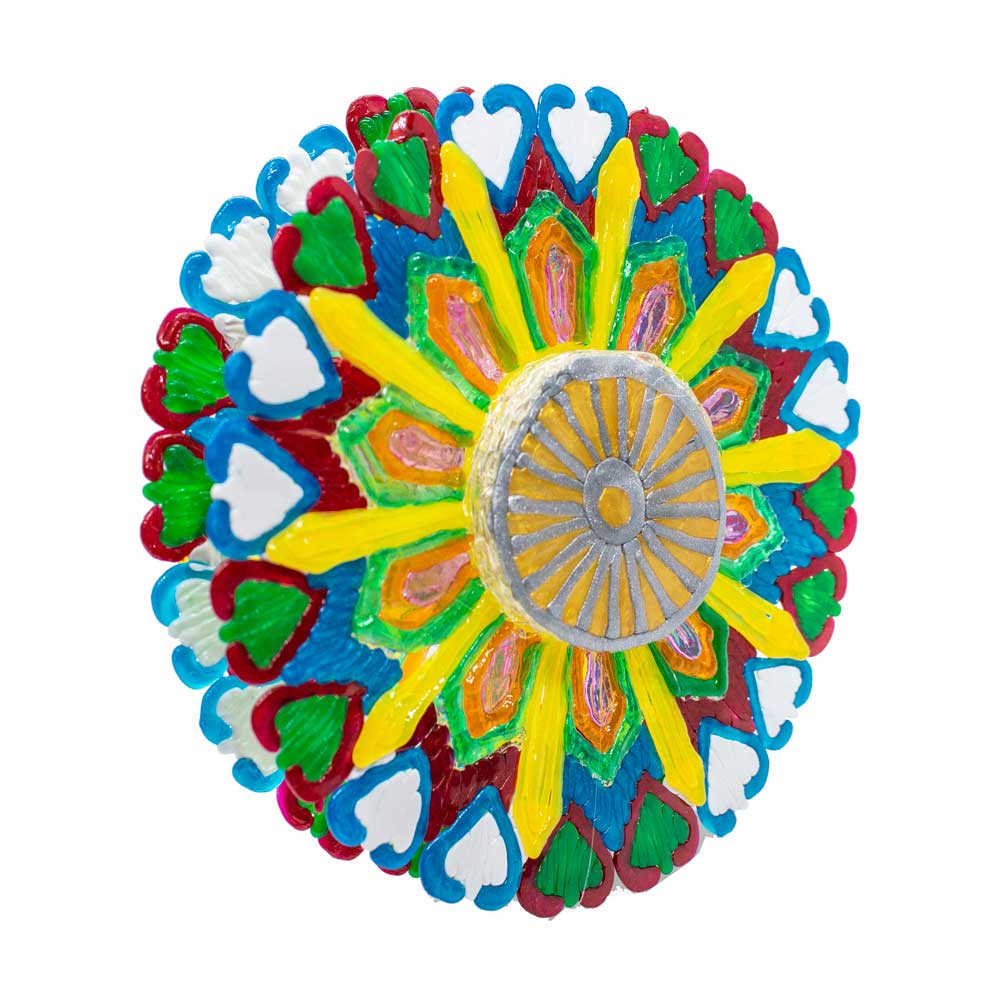
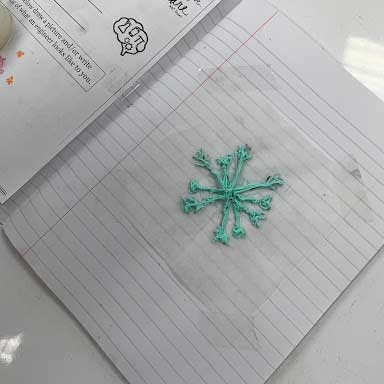
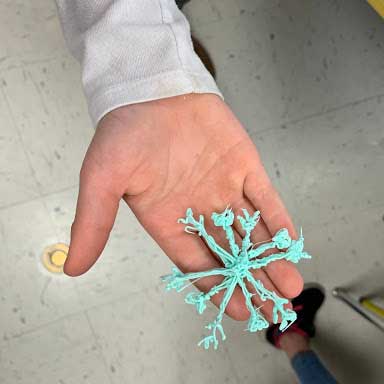
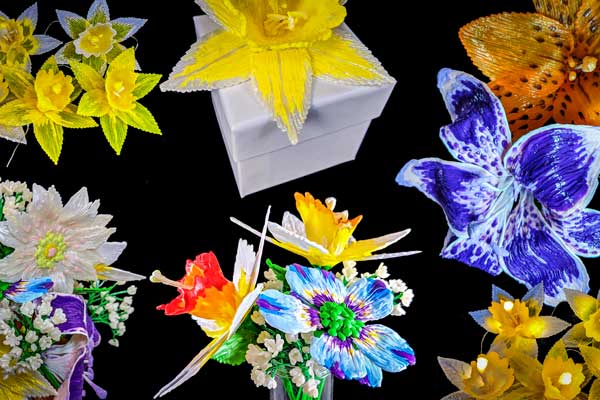
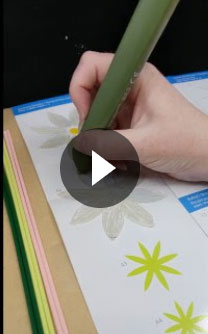
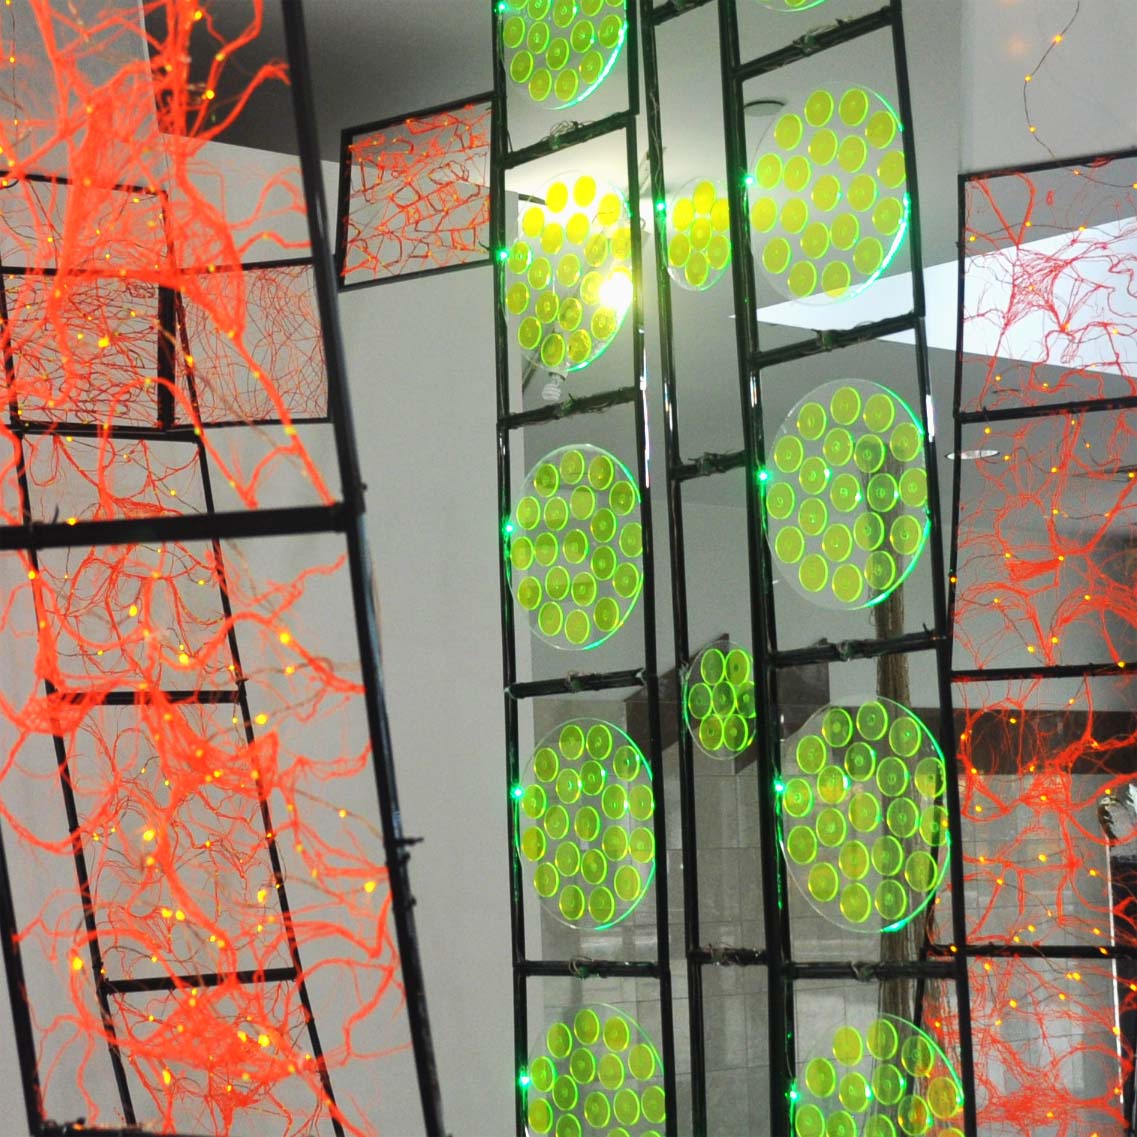
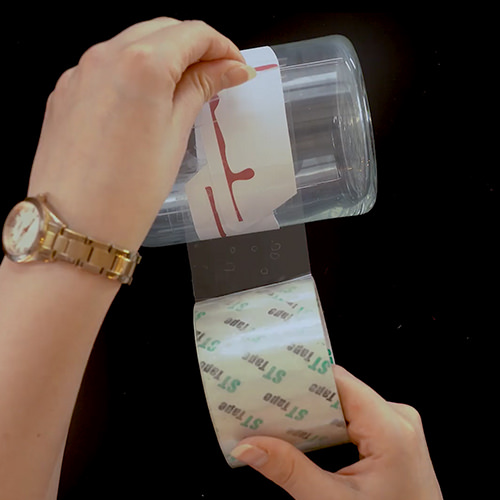
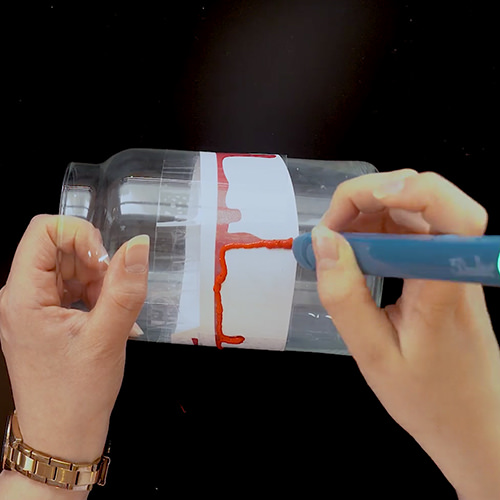
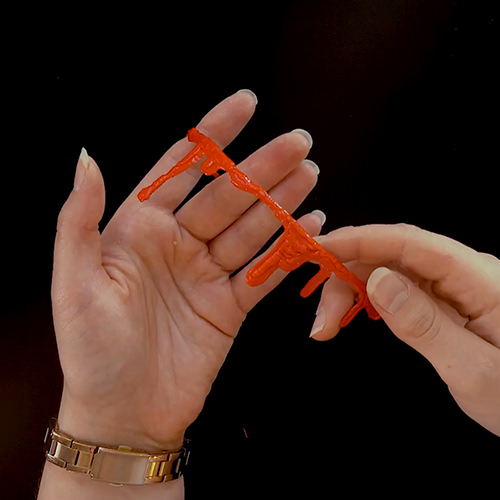
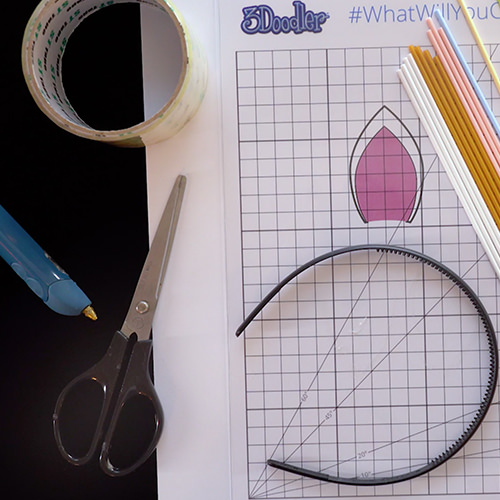
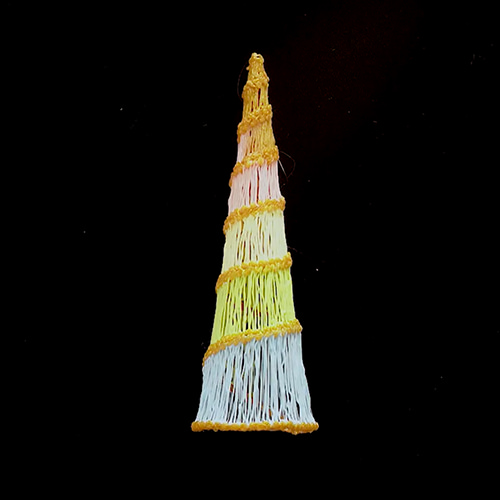
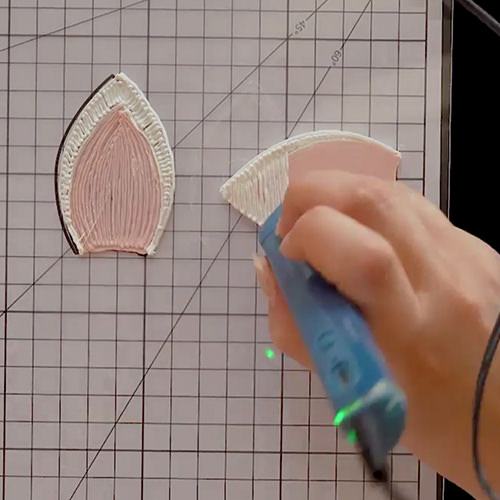
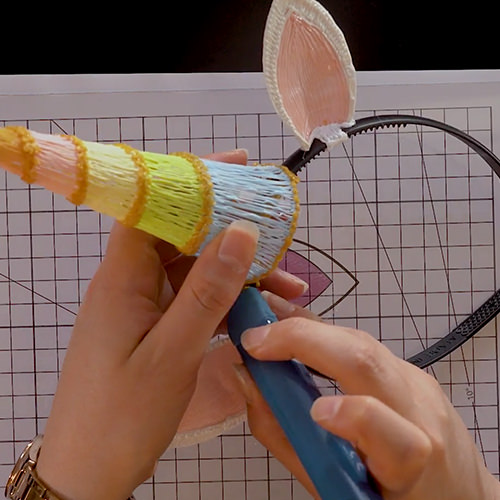
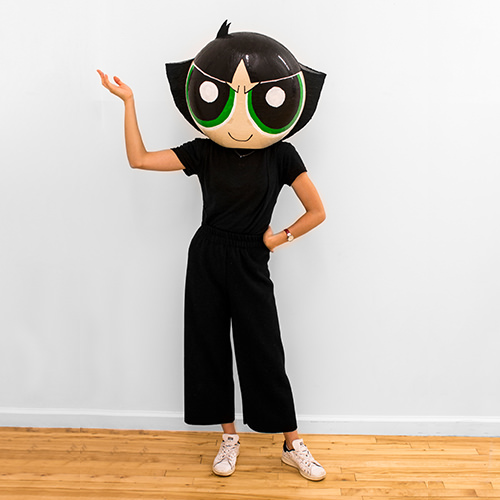
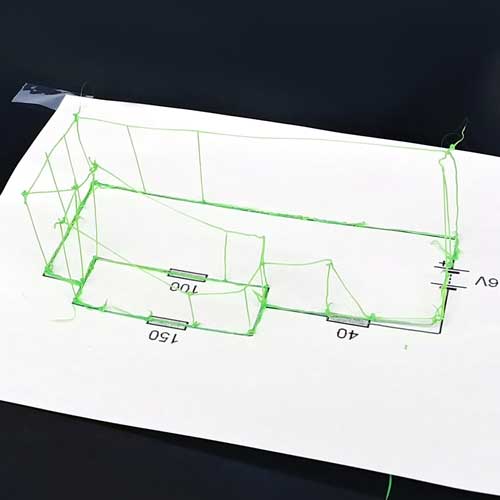
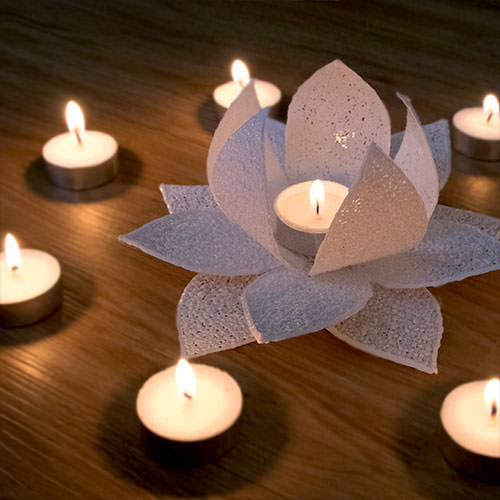
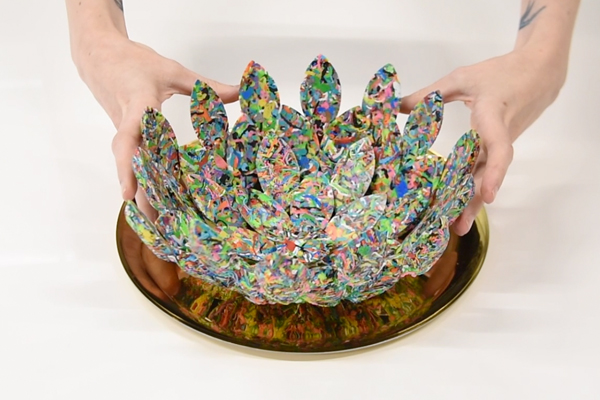
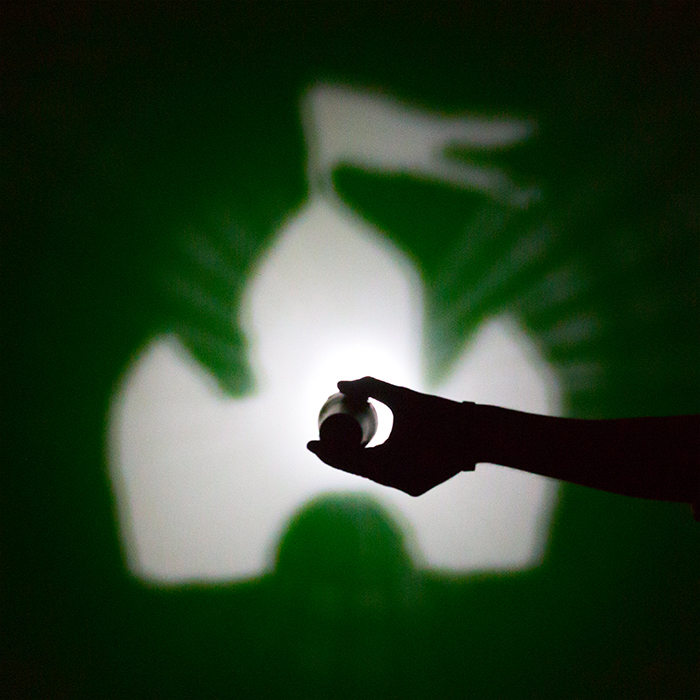
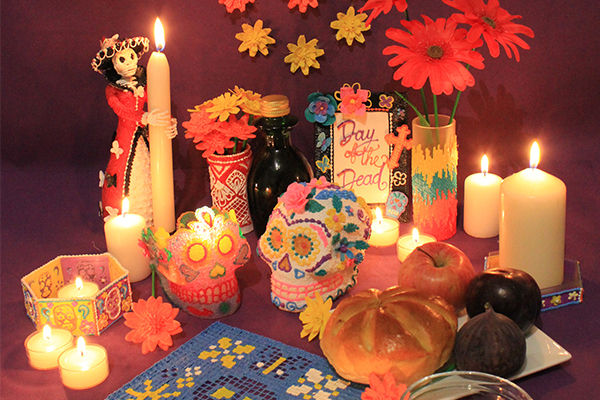
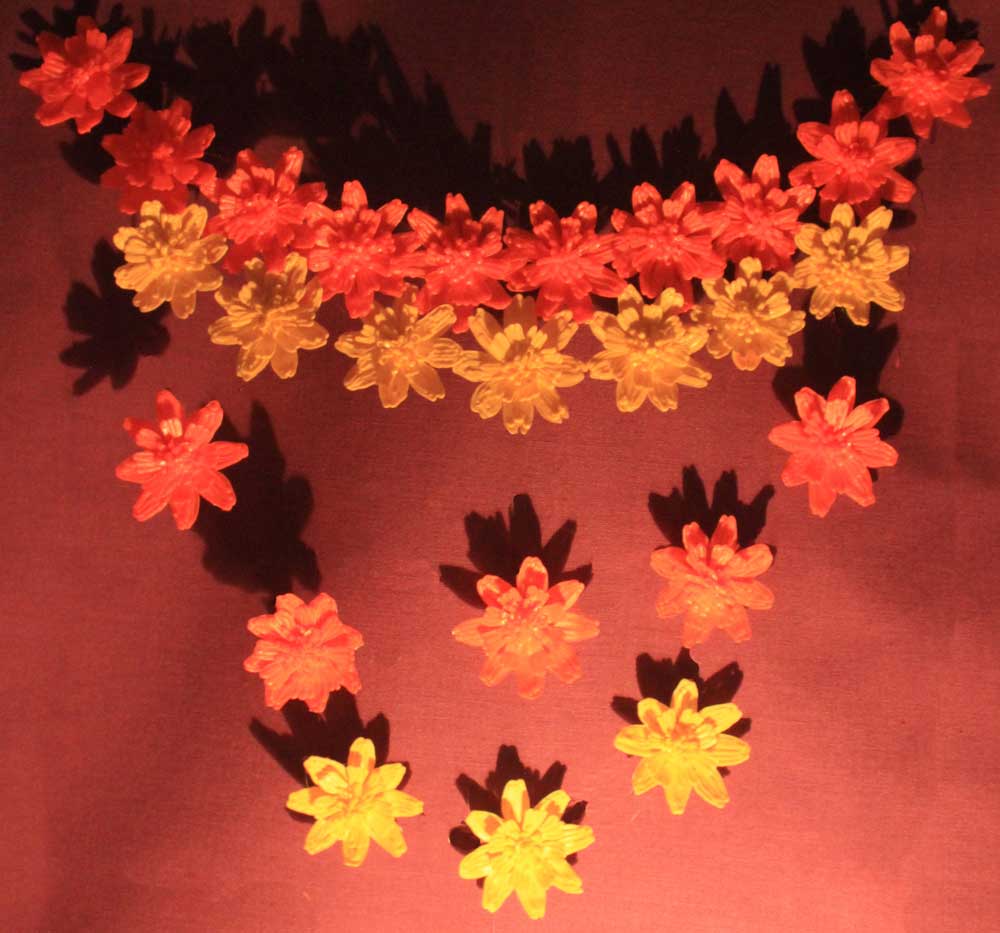
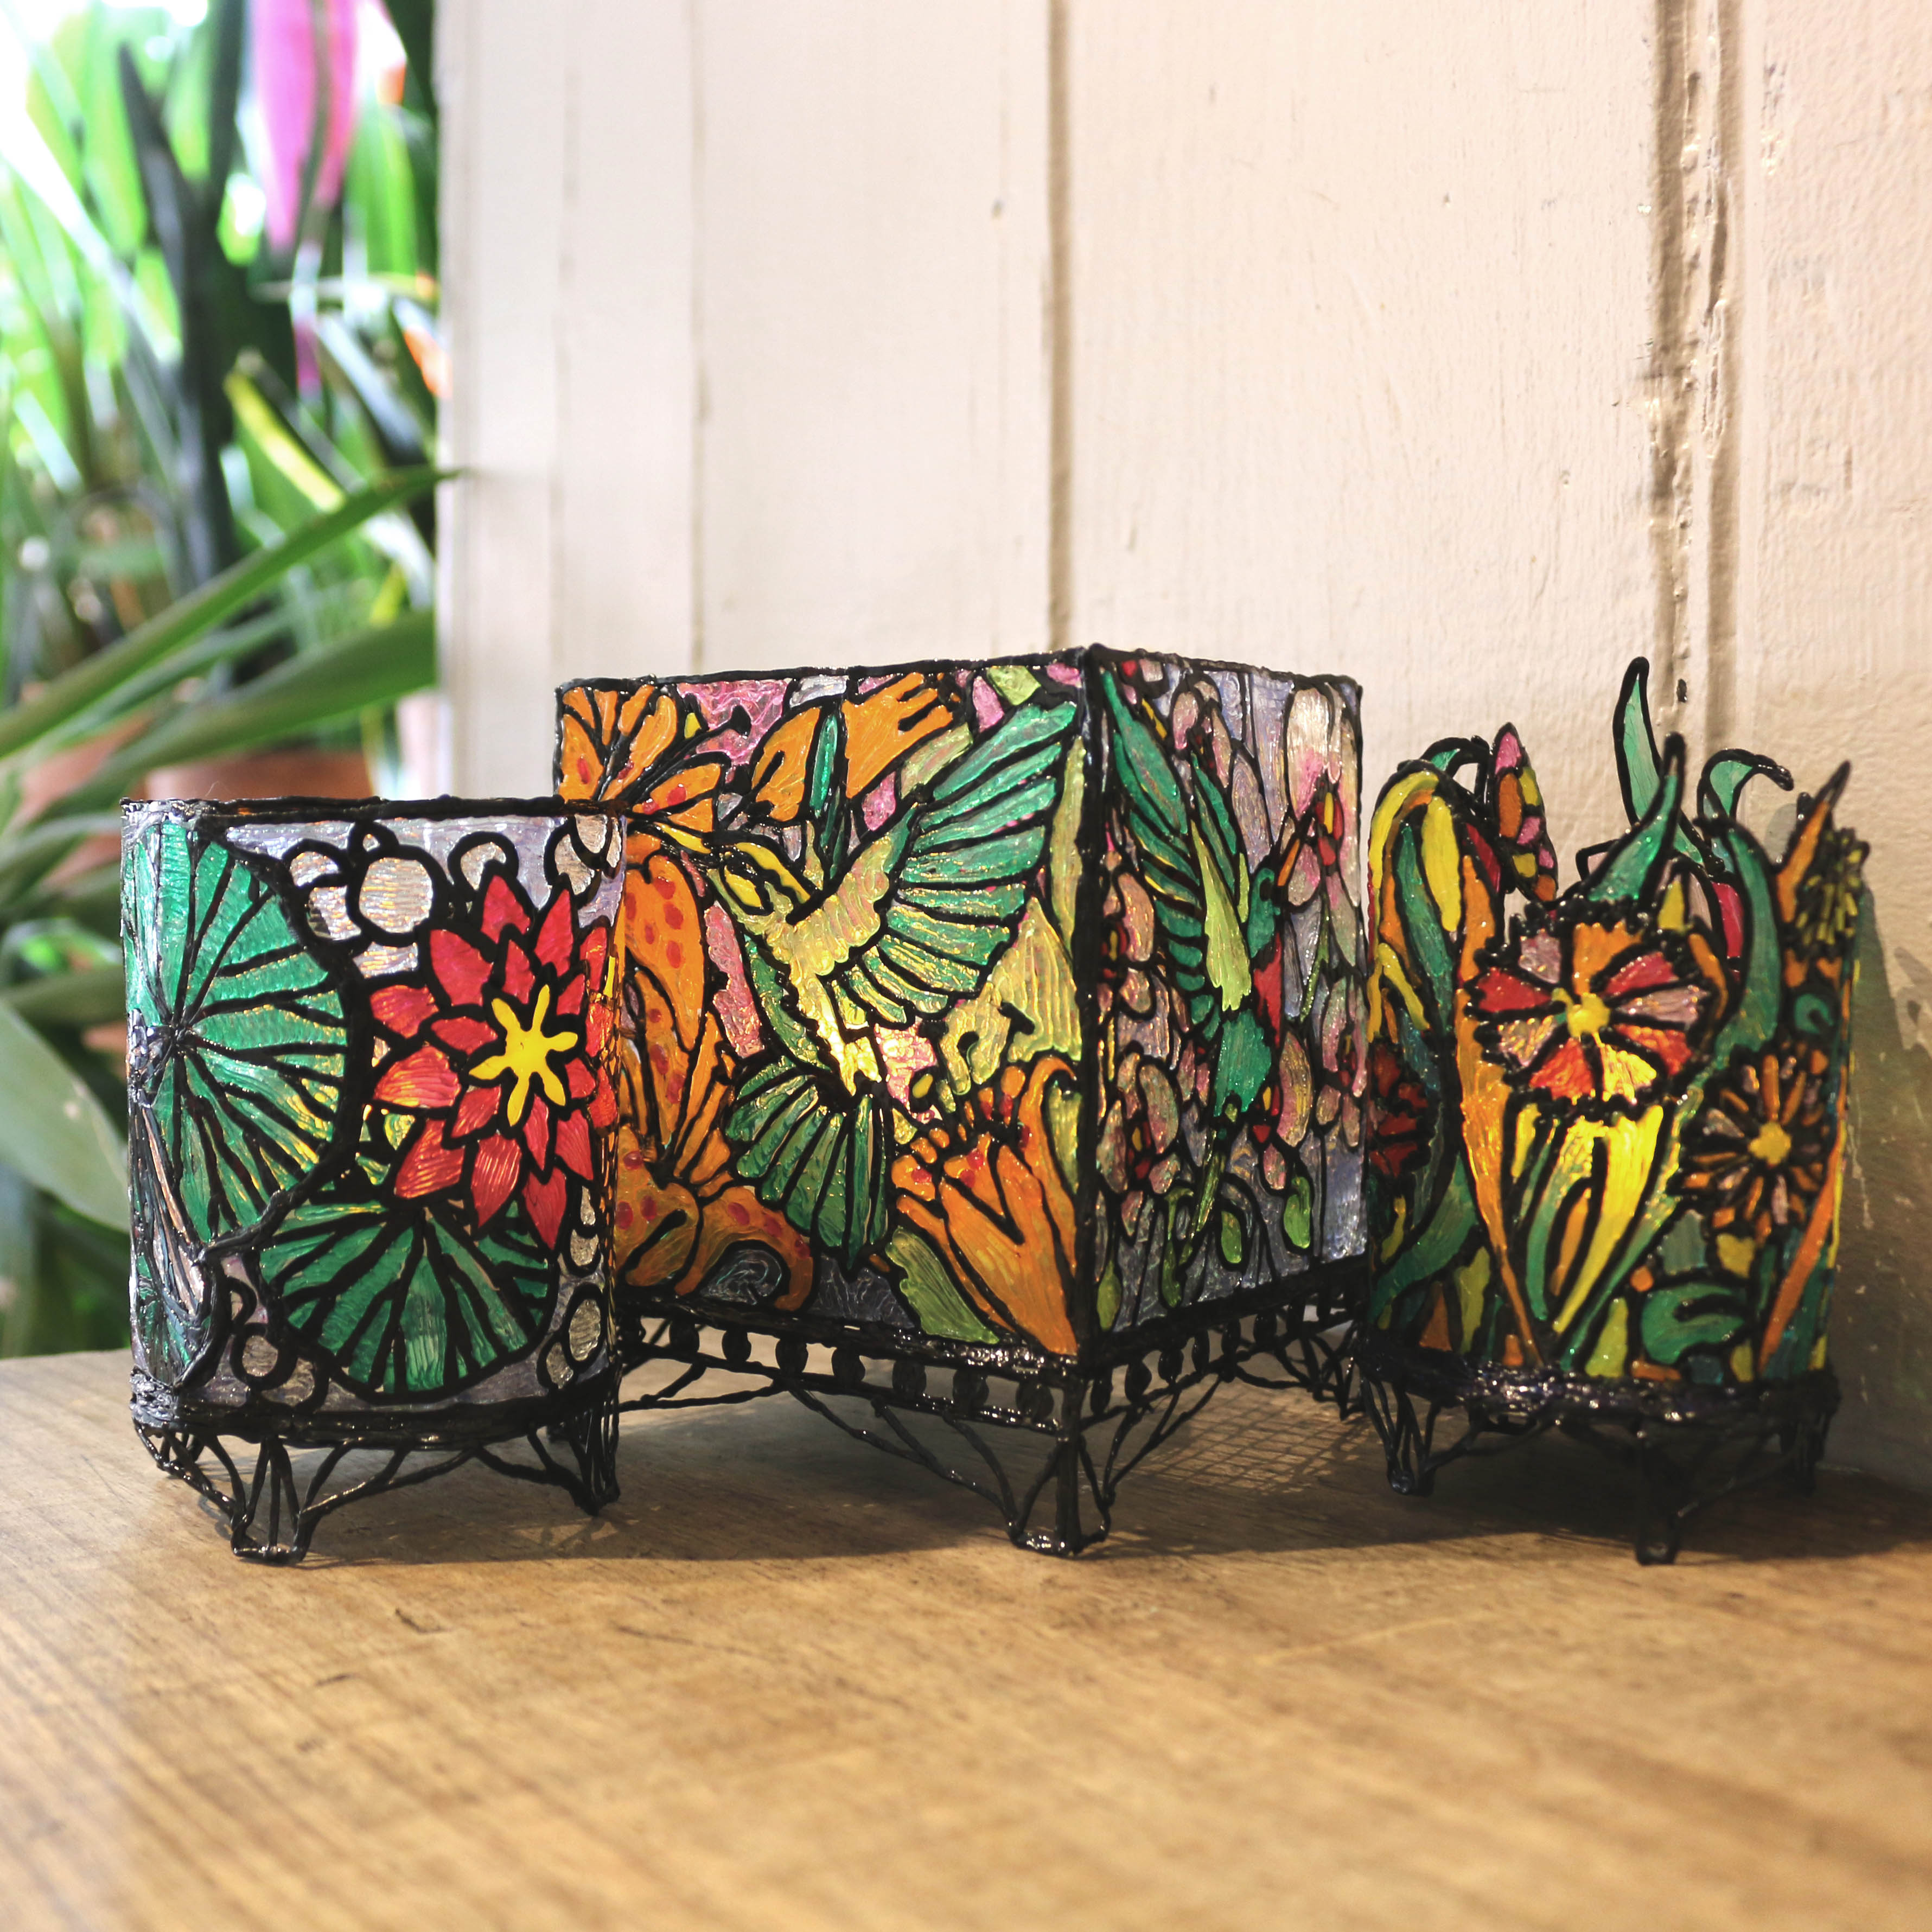
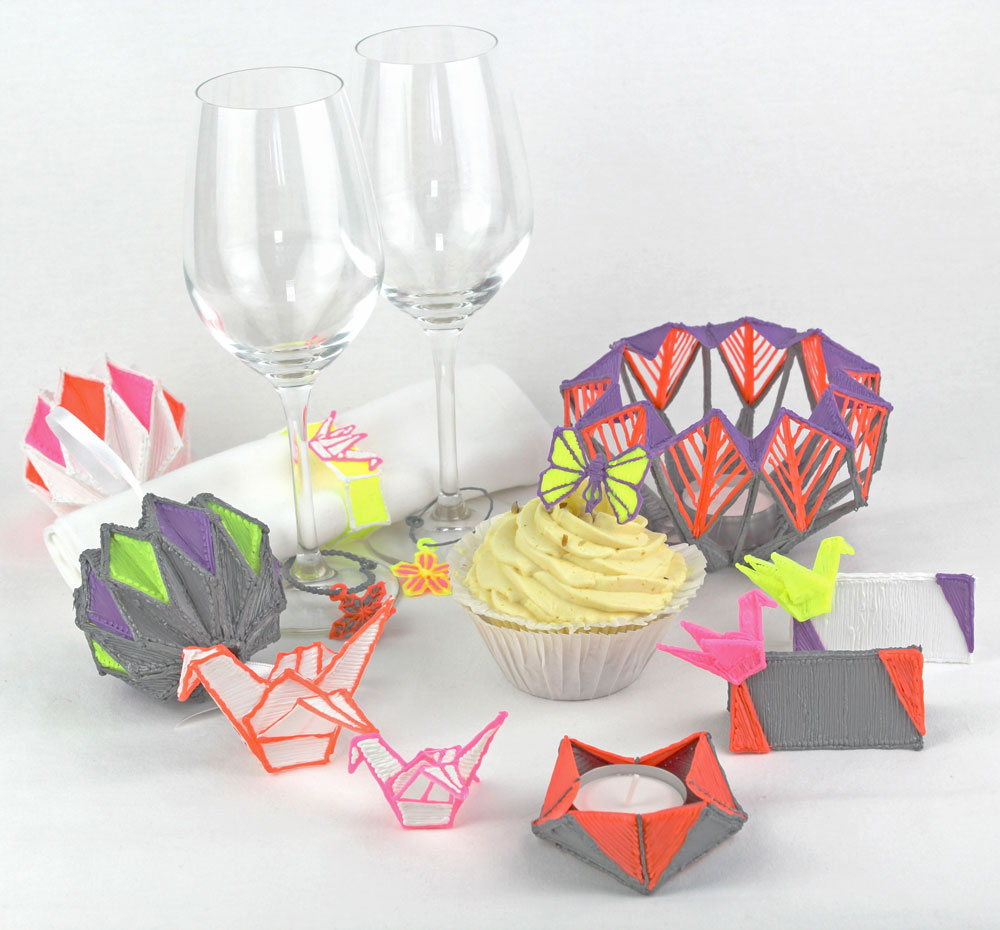
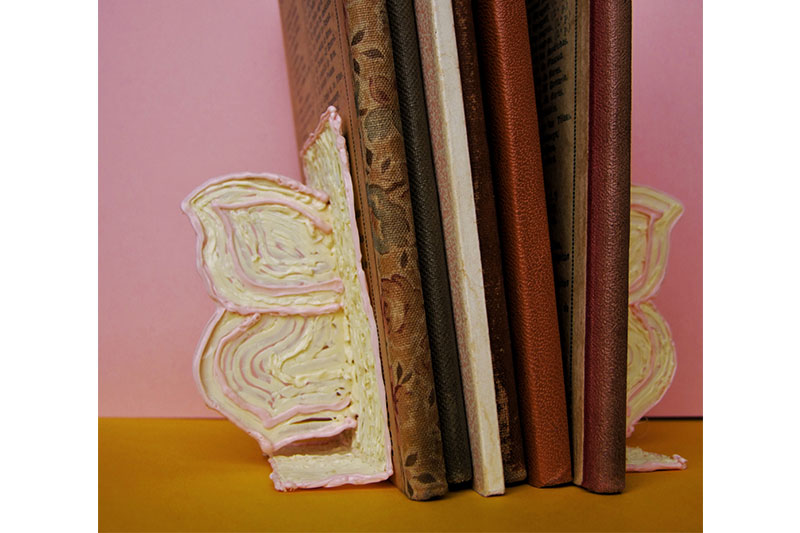
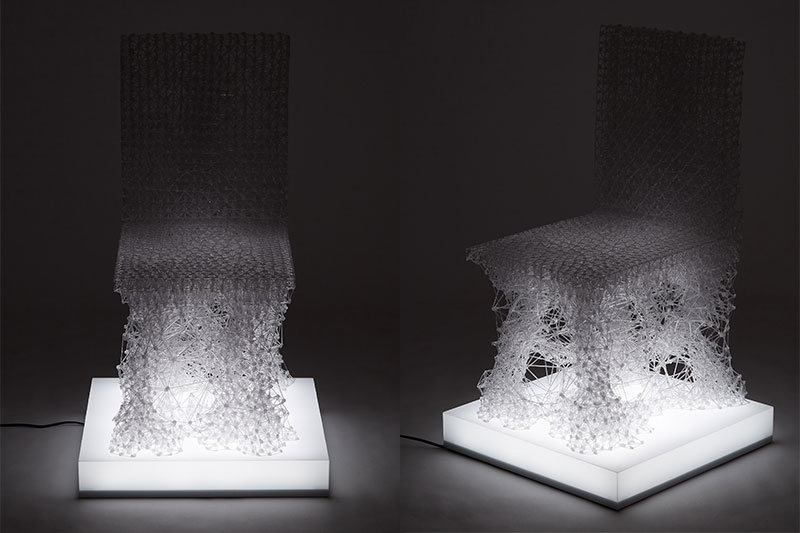
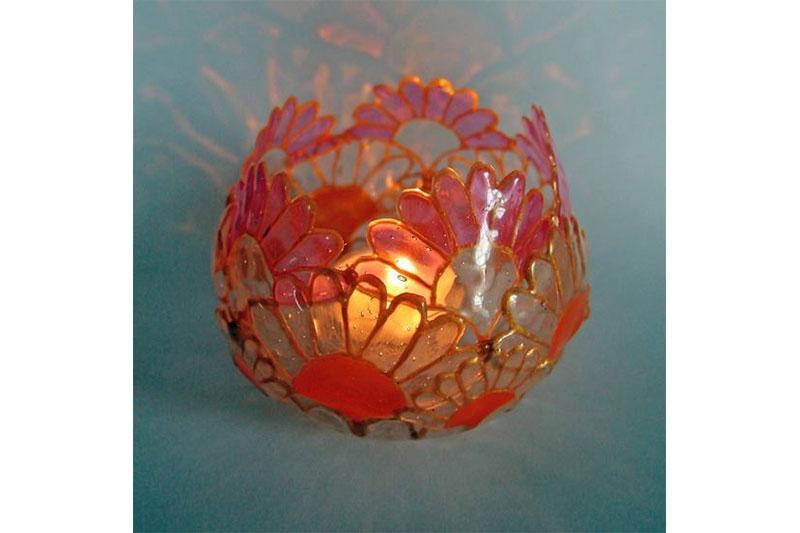
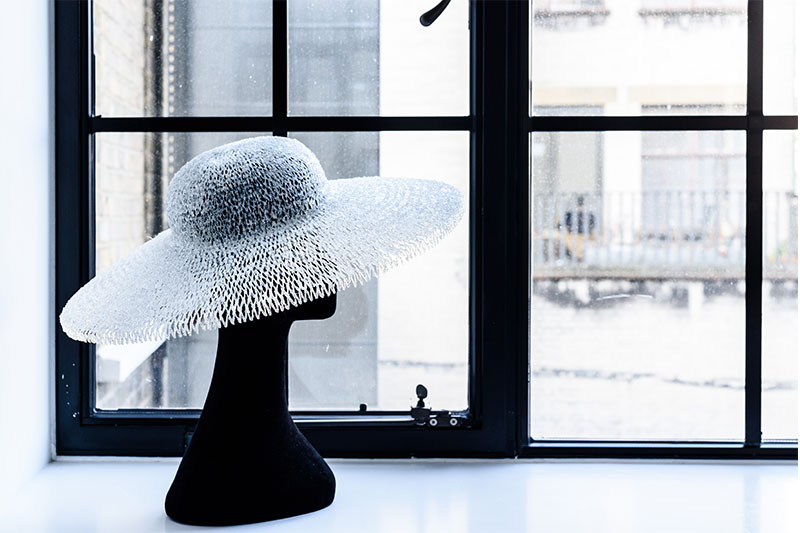
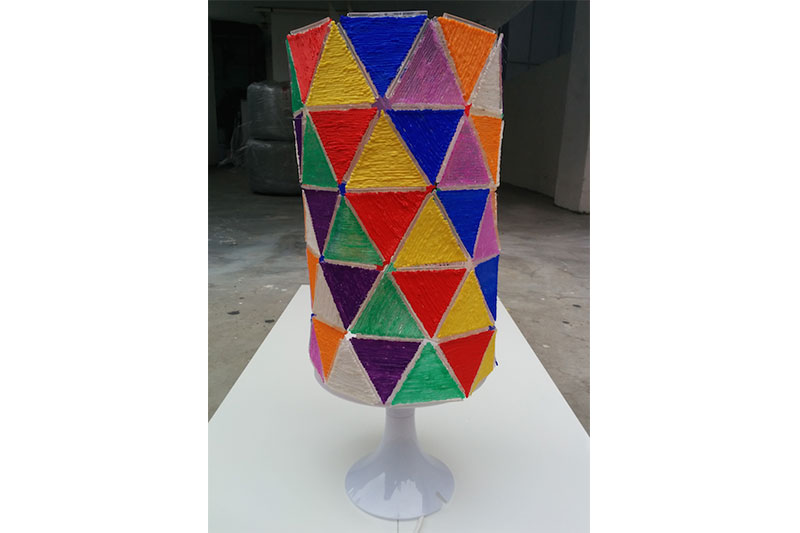
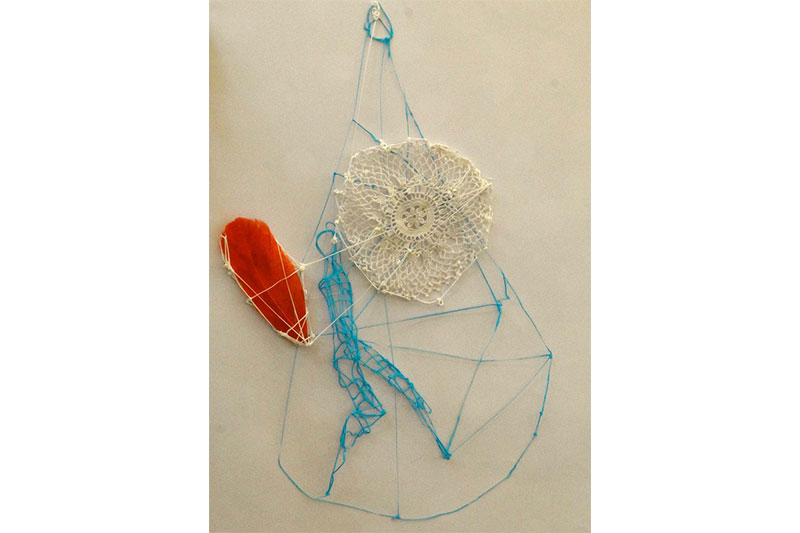
4. The ultimate project to add that ambiance you never knew you needed!

Your friends will be completely envious of your dorm with the beautiful DIY version of this lotus light! Just add an LED candle in the middle to add a laid-back vibe to your room.
You can view the video tutorial here and download a free stencil for this project here.
Cost of materials: $14.99 (1 75-strand Collection of PLA or ABS)
Retail price: $83.71 each
Saved: $68.72 or 82%
To create curved lotus petals, simply trace and Doodle over the stencil using a mason jar.
Preferred filaments: PLA
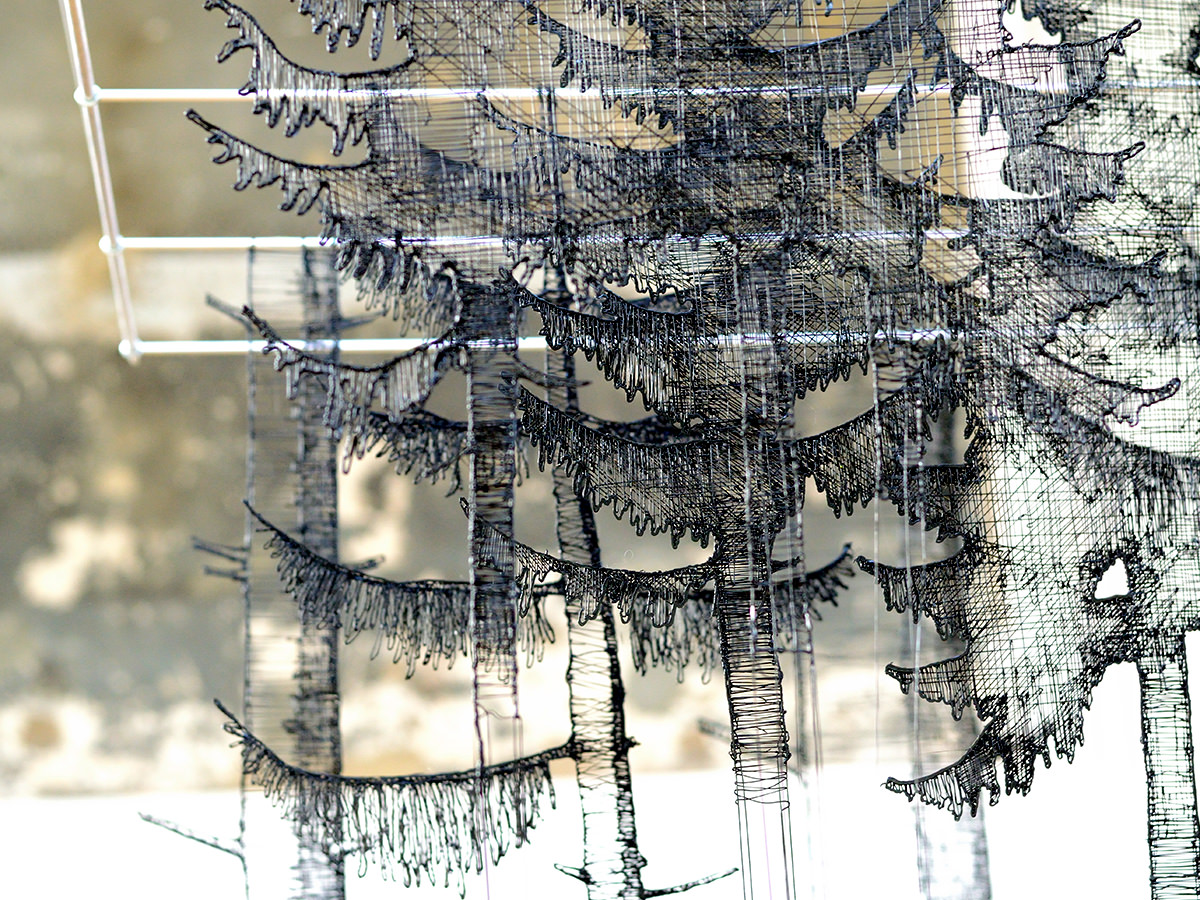
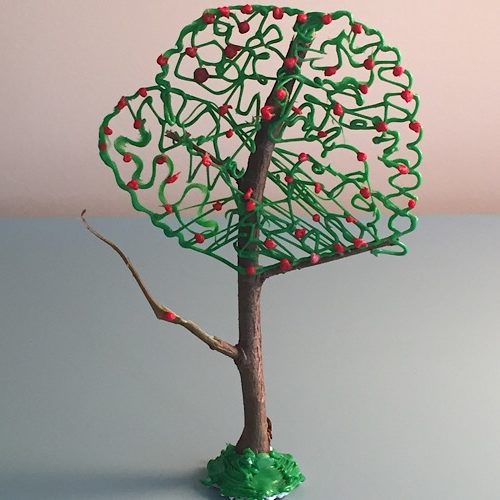
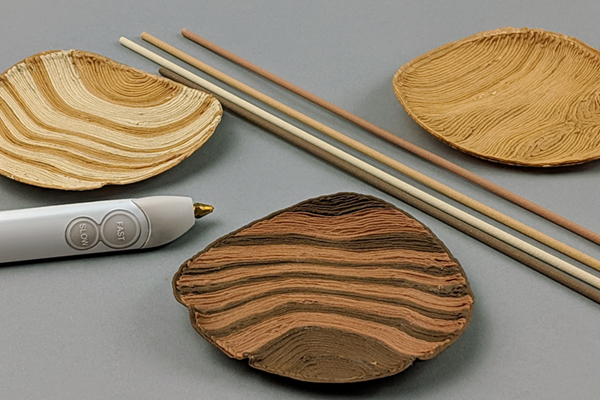
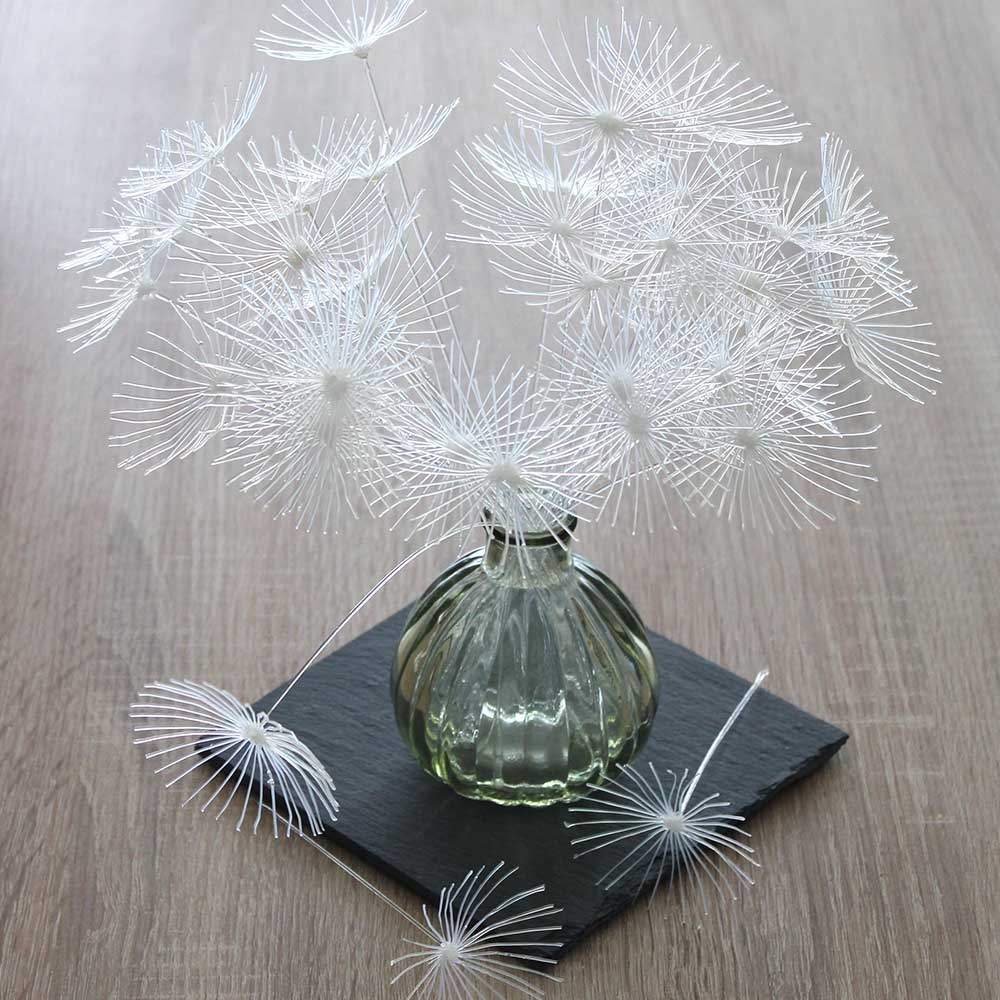
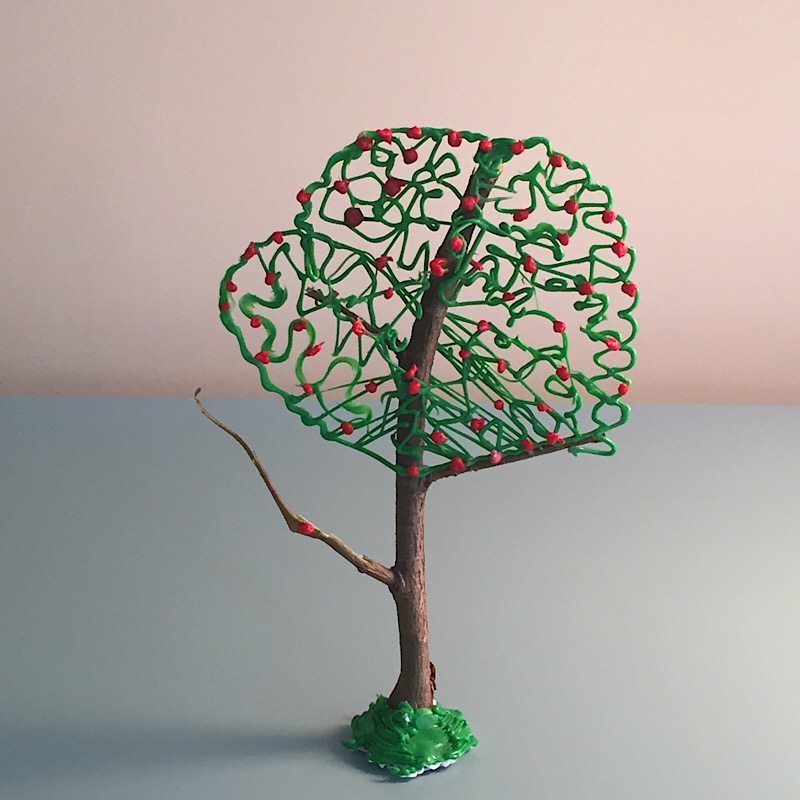
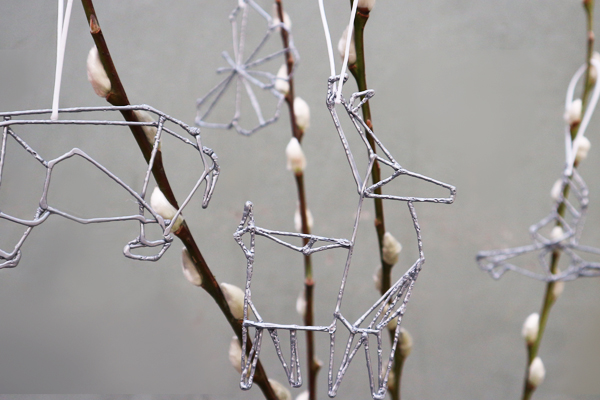
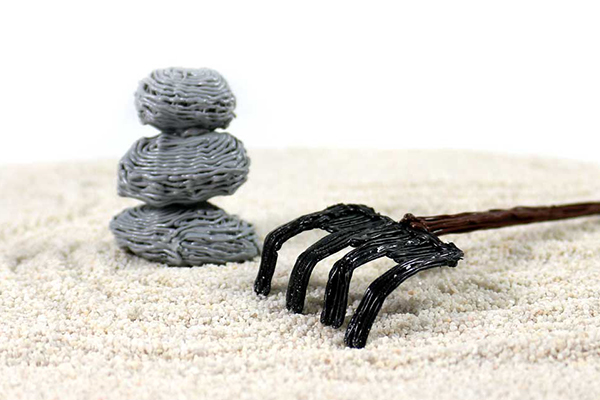
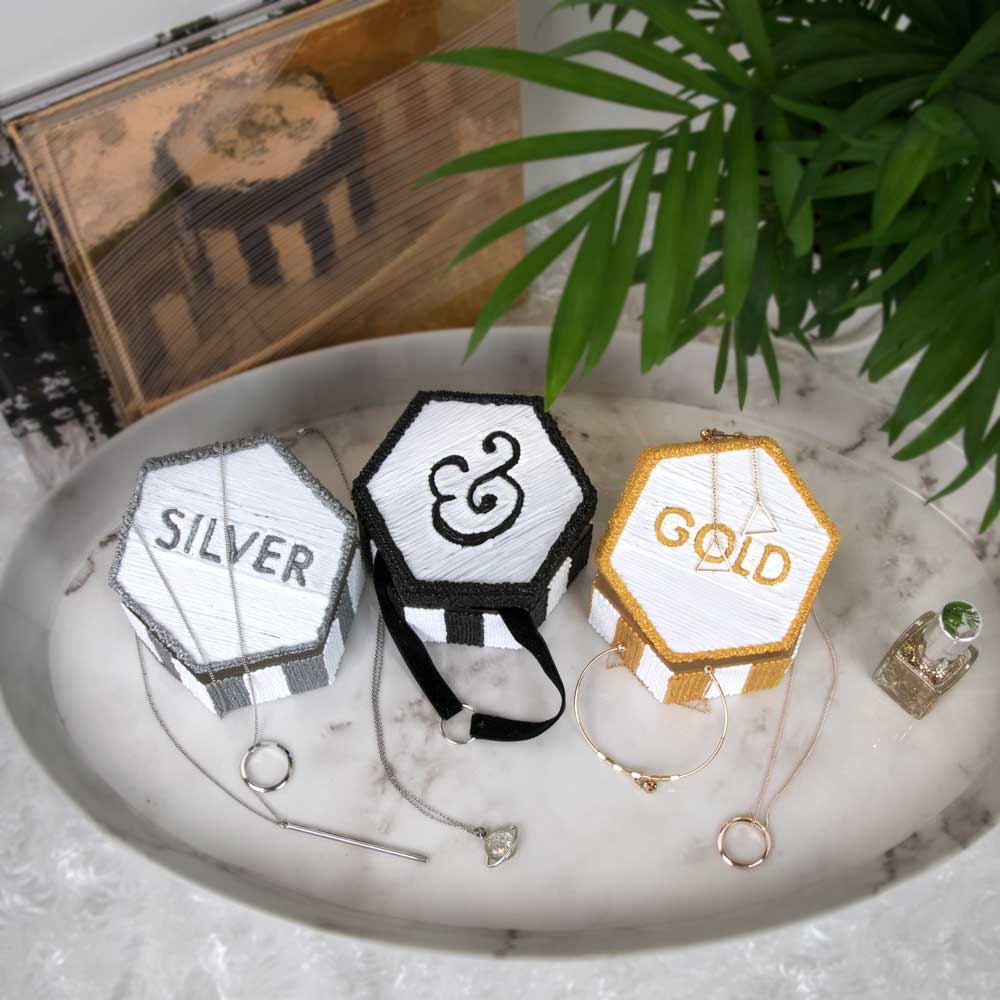
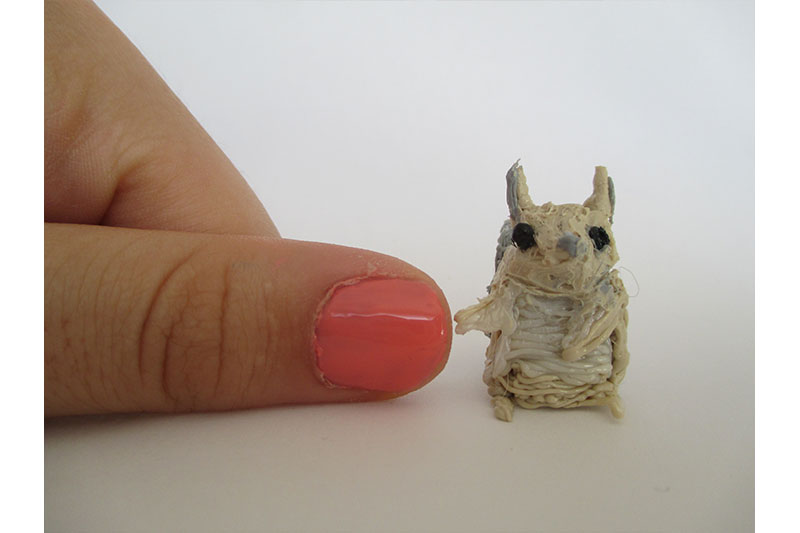
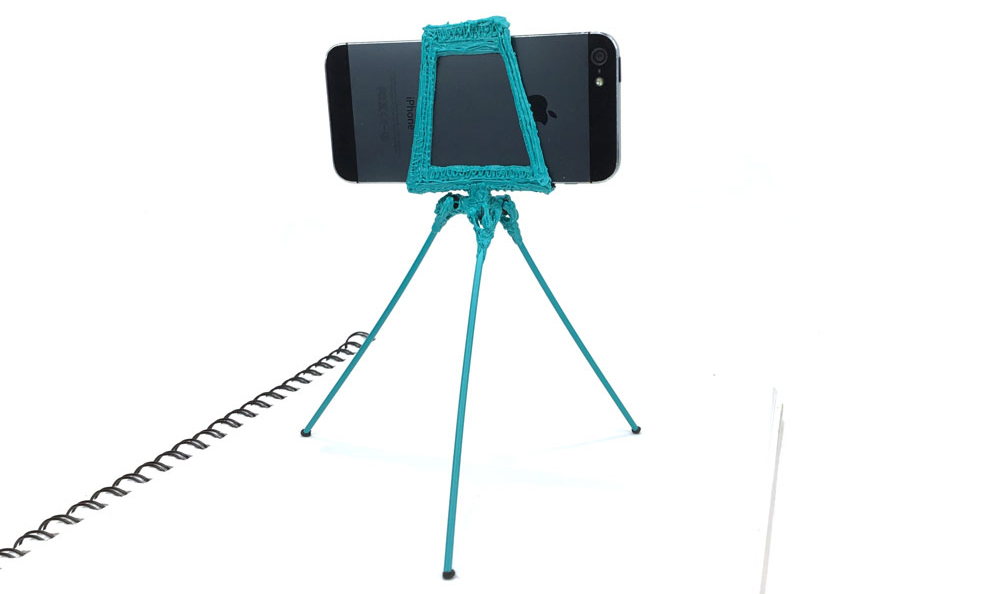
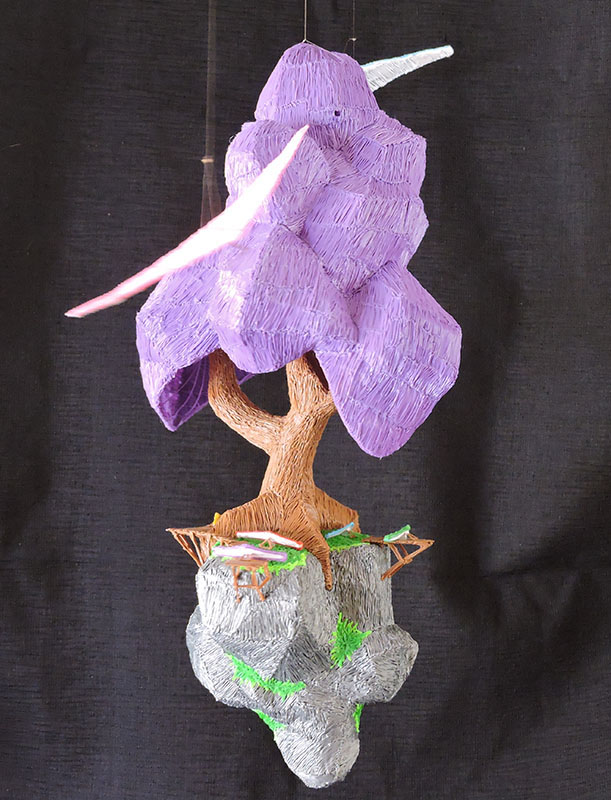
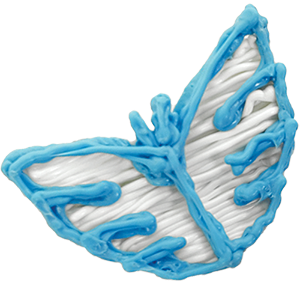
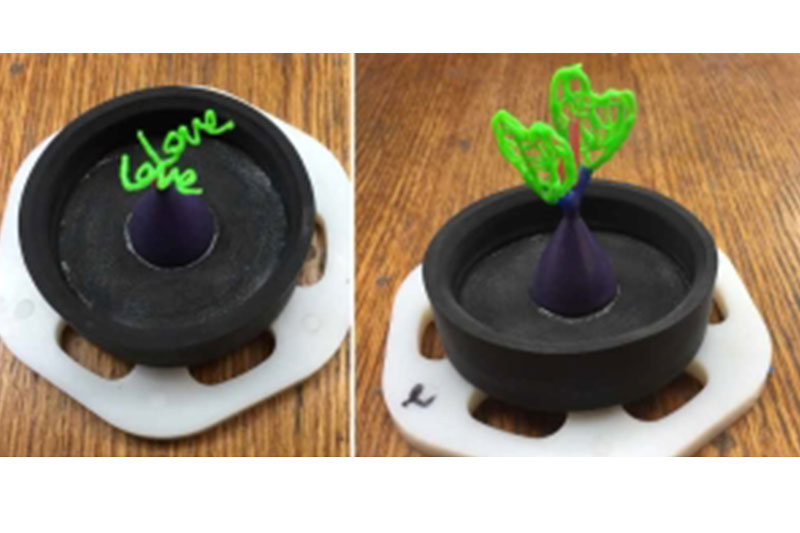
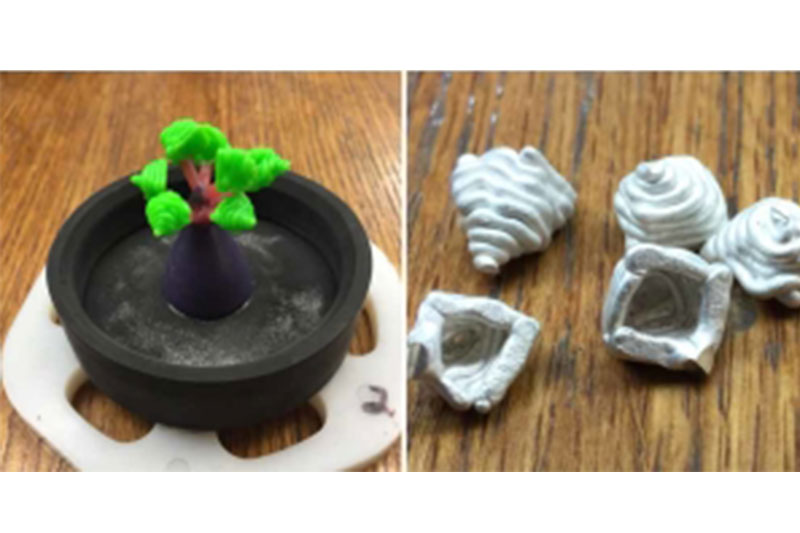
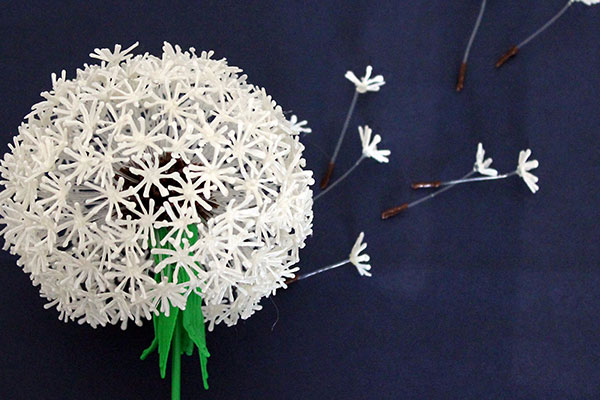
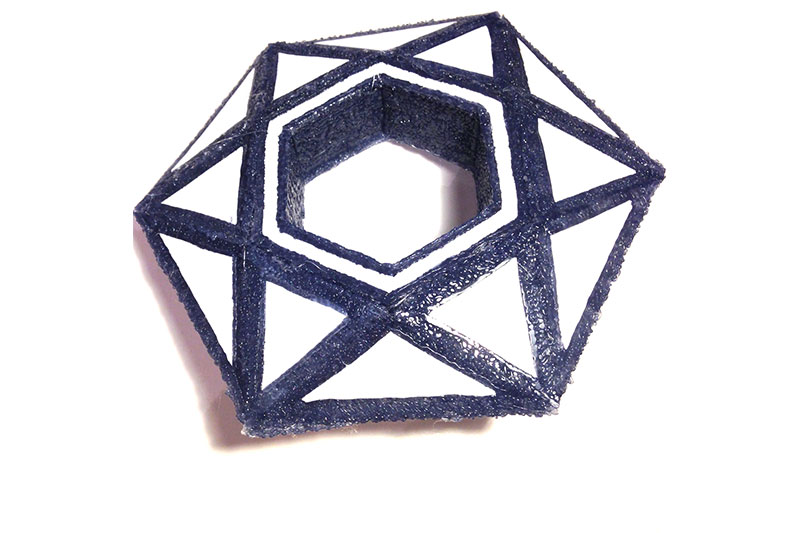
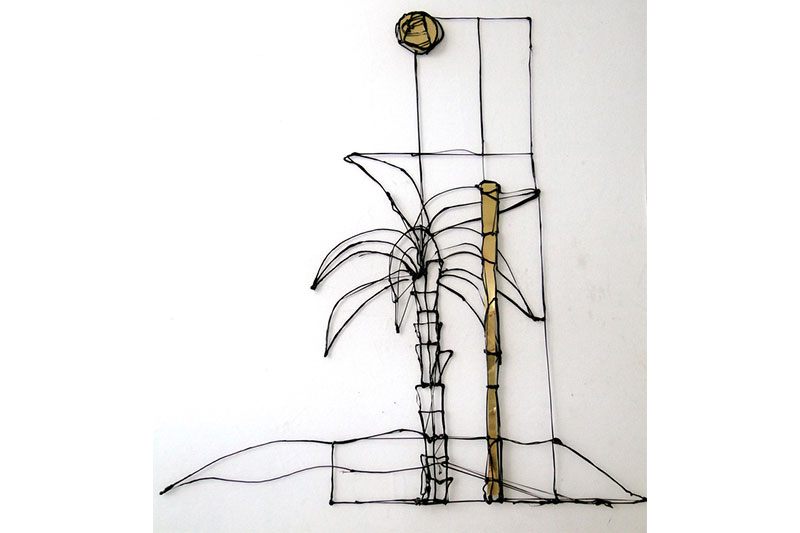
5. Never lose your keys & keep your jewelry organized

This jewelry tree is very simple to make, and it checks the boxes of being functional and decorative.
You can view the video tutorial here and download a free stencil for this project here.
Cost of materials: $9.99 (1 25-strand pack of WOOD filament)
Retail price: $20.98 each
Saved: $10.99 or 52%
Use the holes in the tree stencil to put your earrings!
If you want to Doodle a tree with a more circular base, simply use a bottle cap and trace around it until you get your desired tree height!
Preferred filaments: WOOD
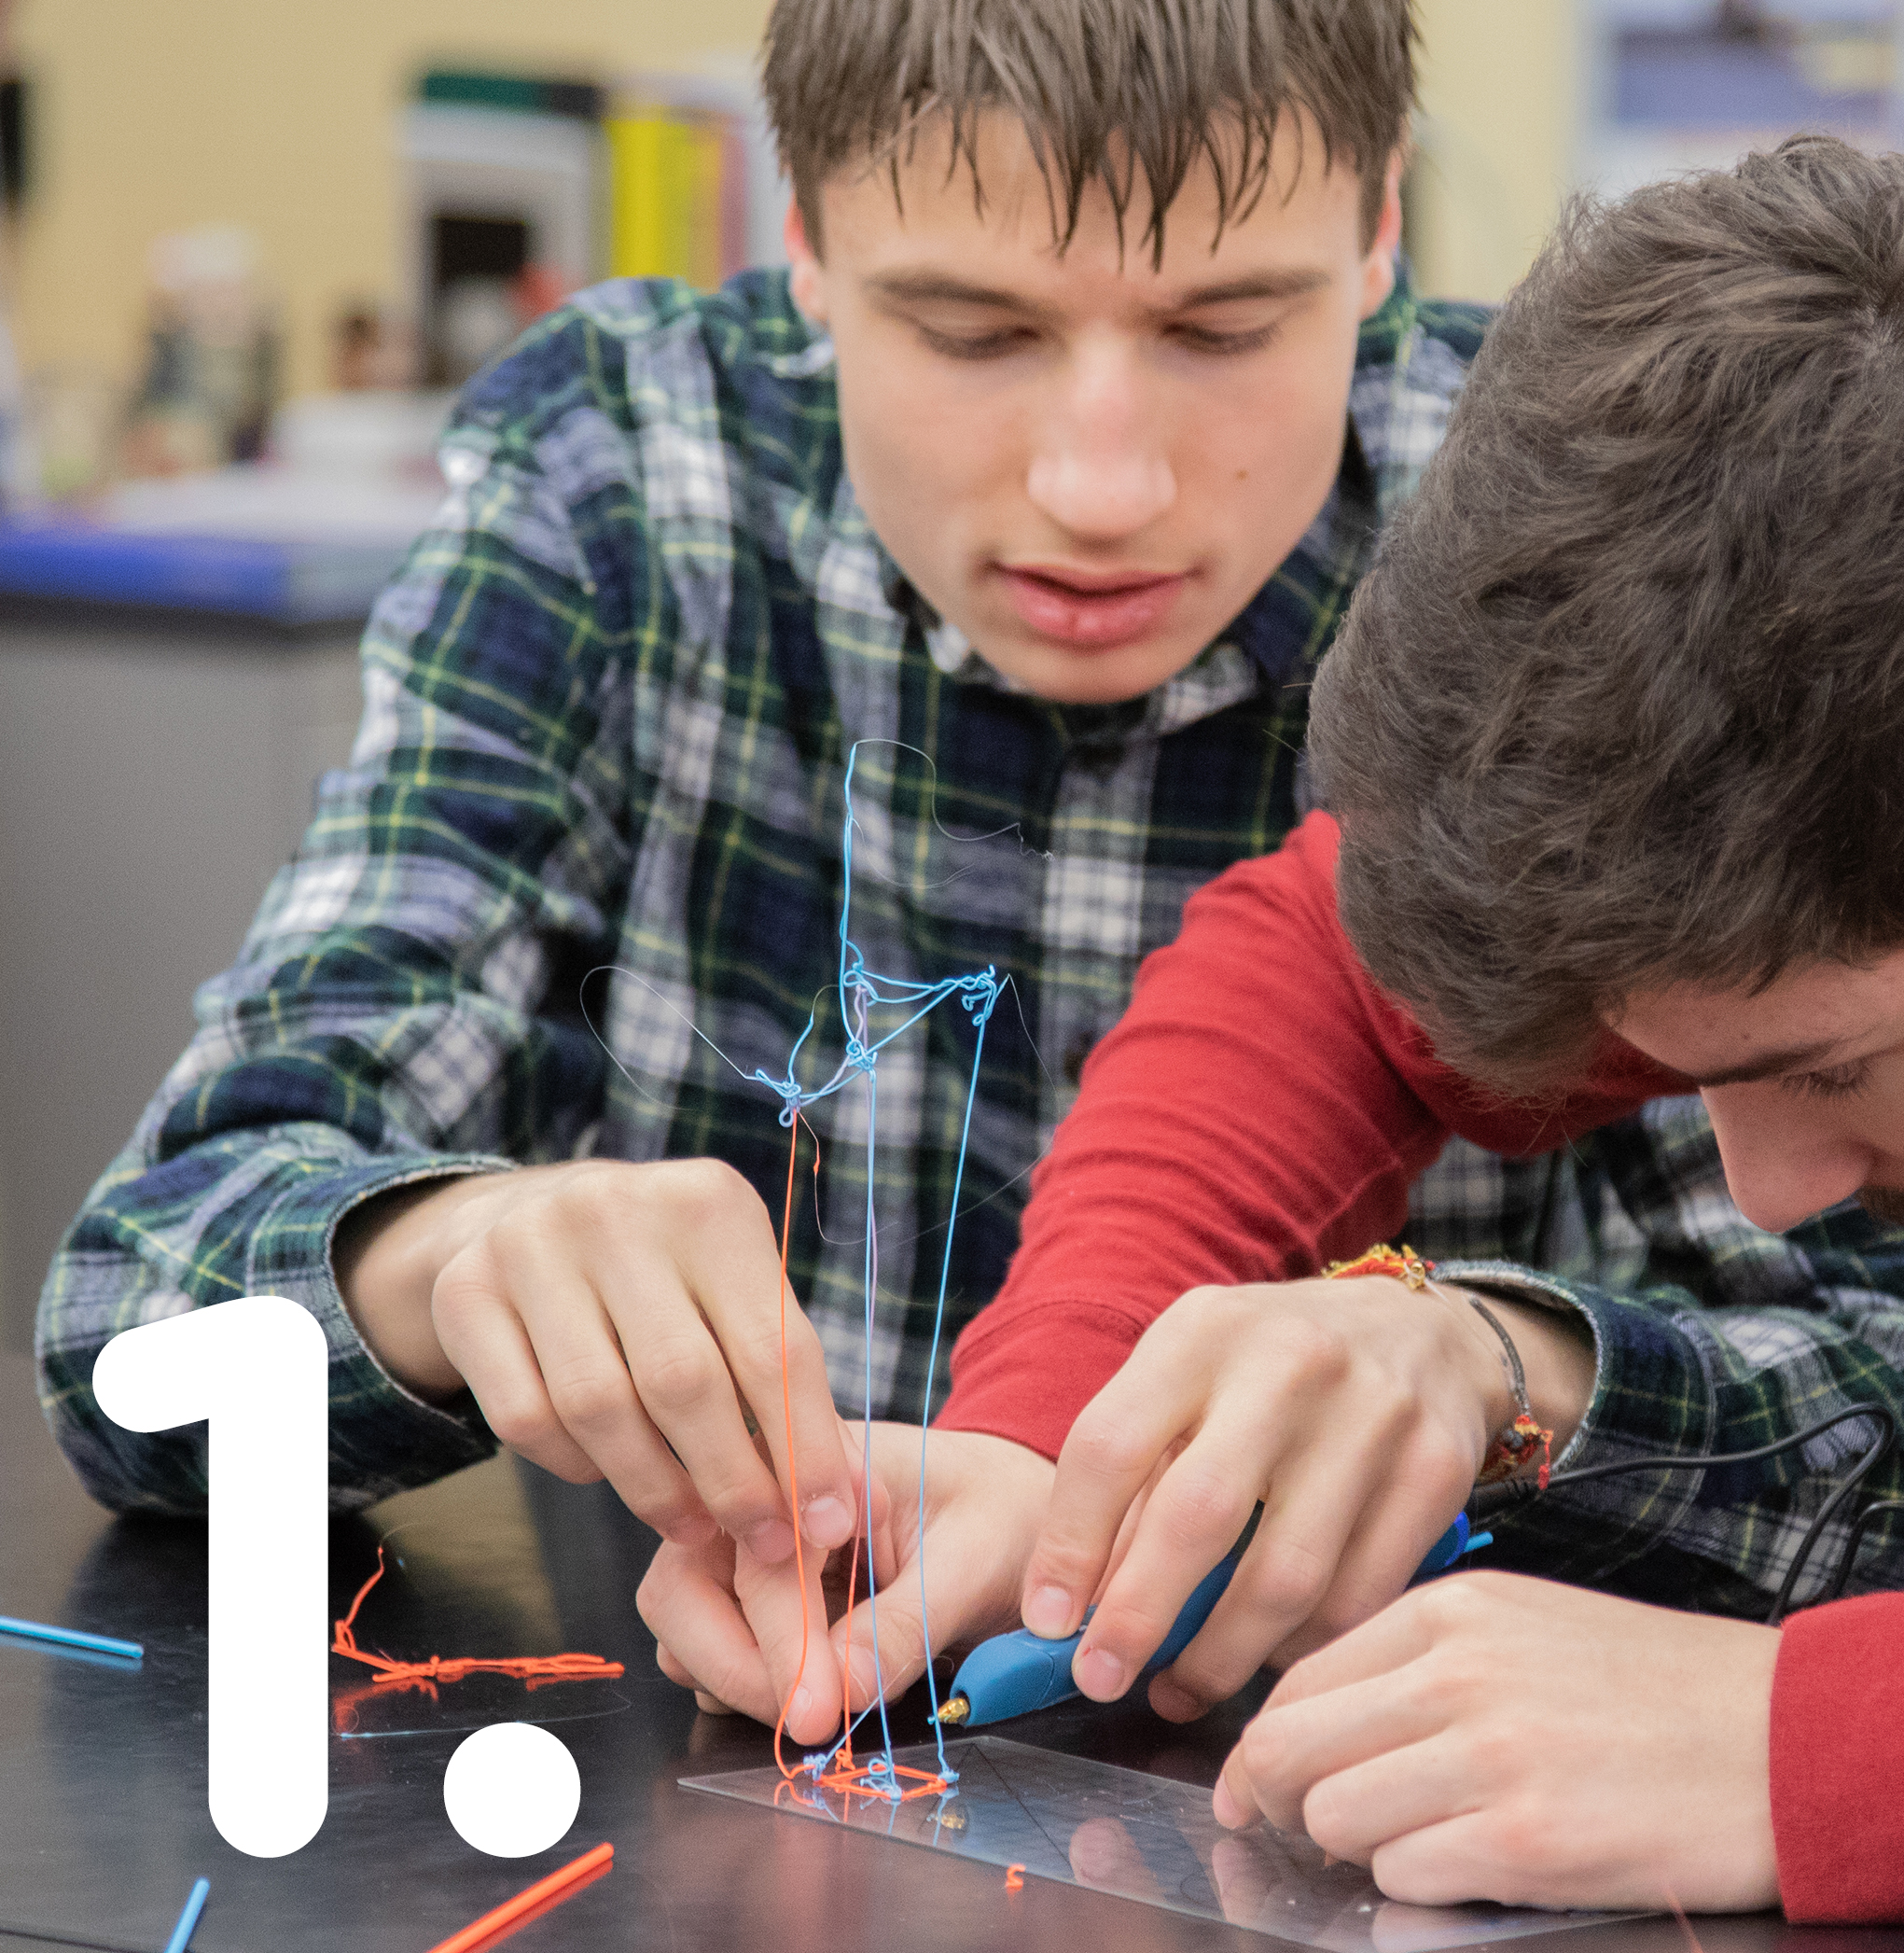
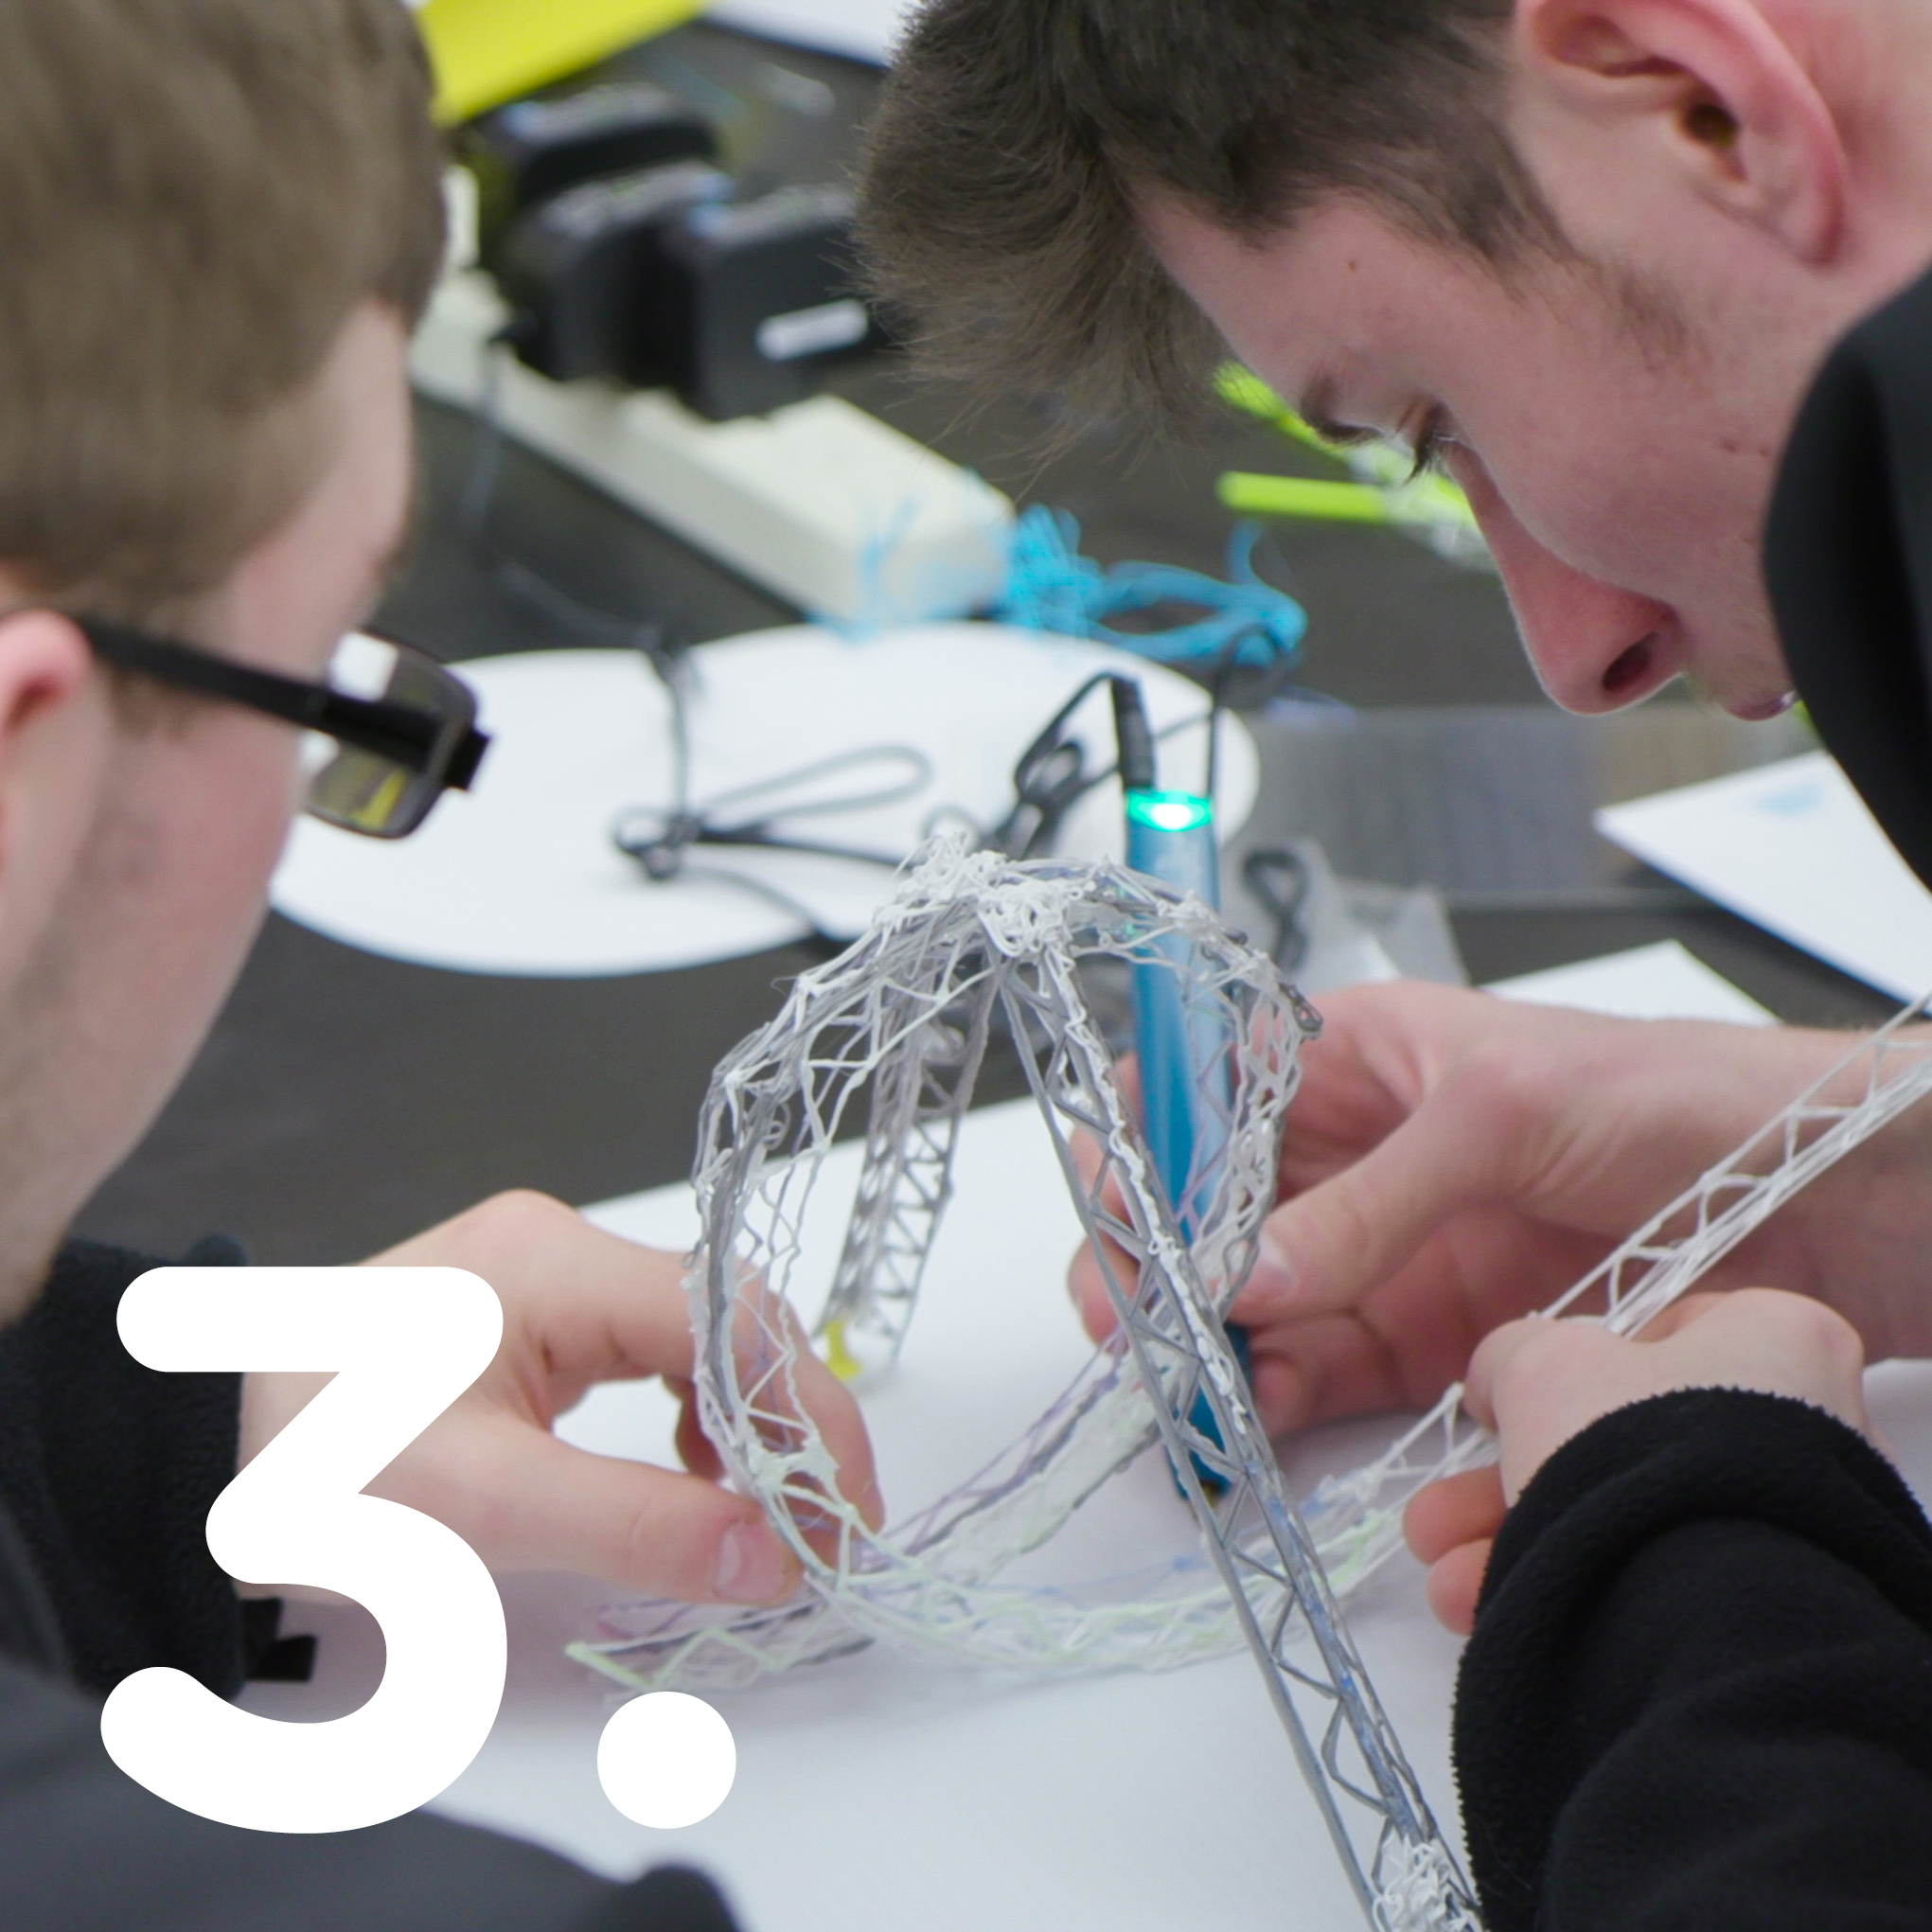
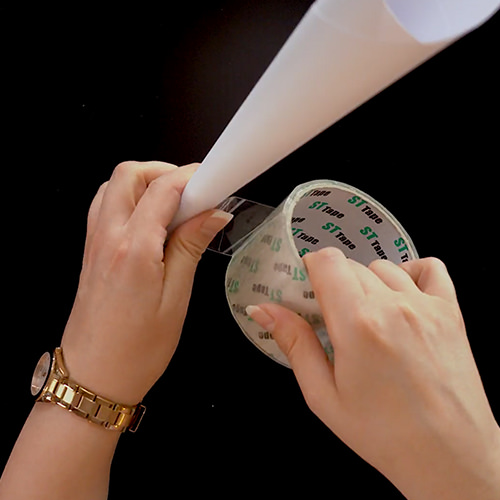
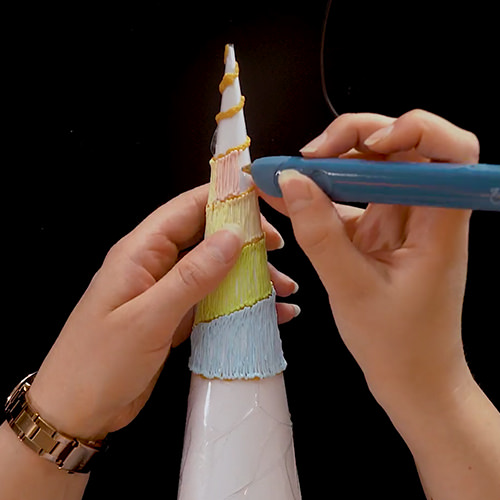
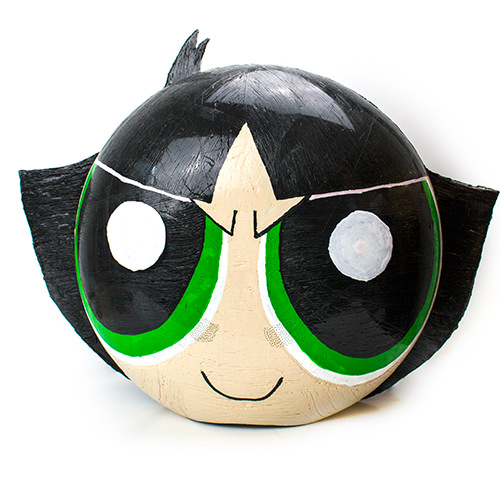
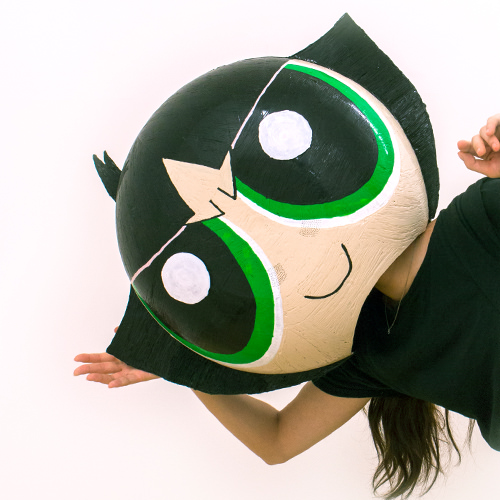
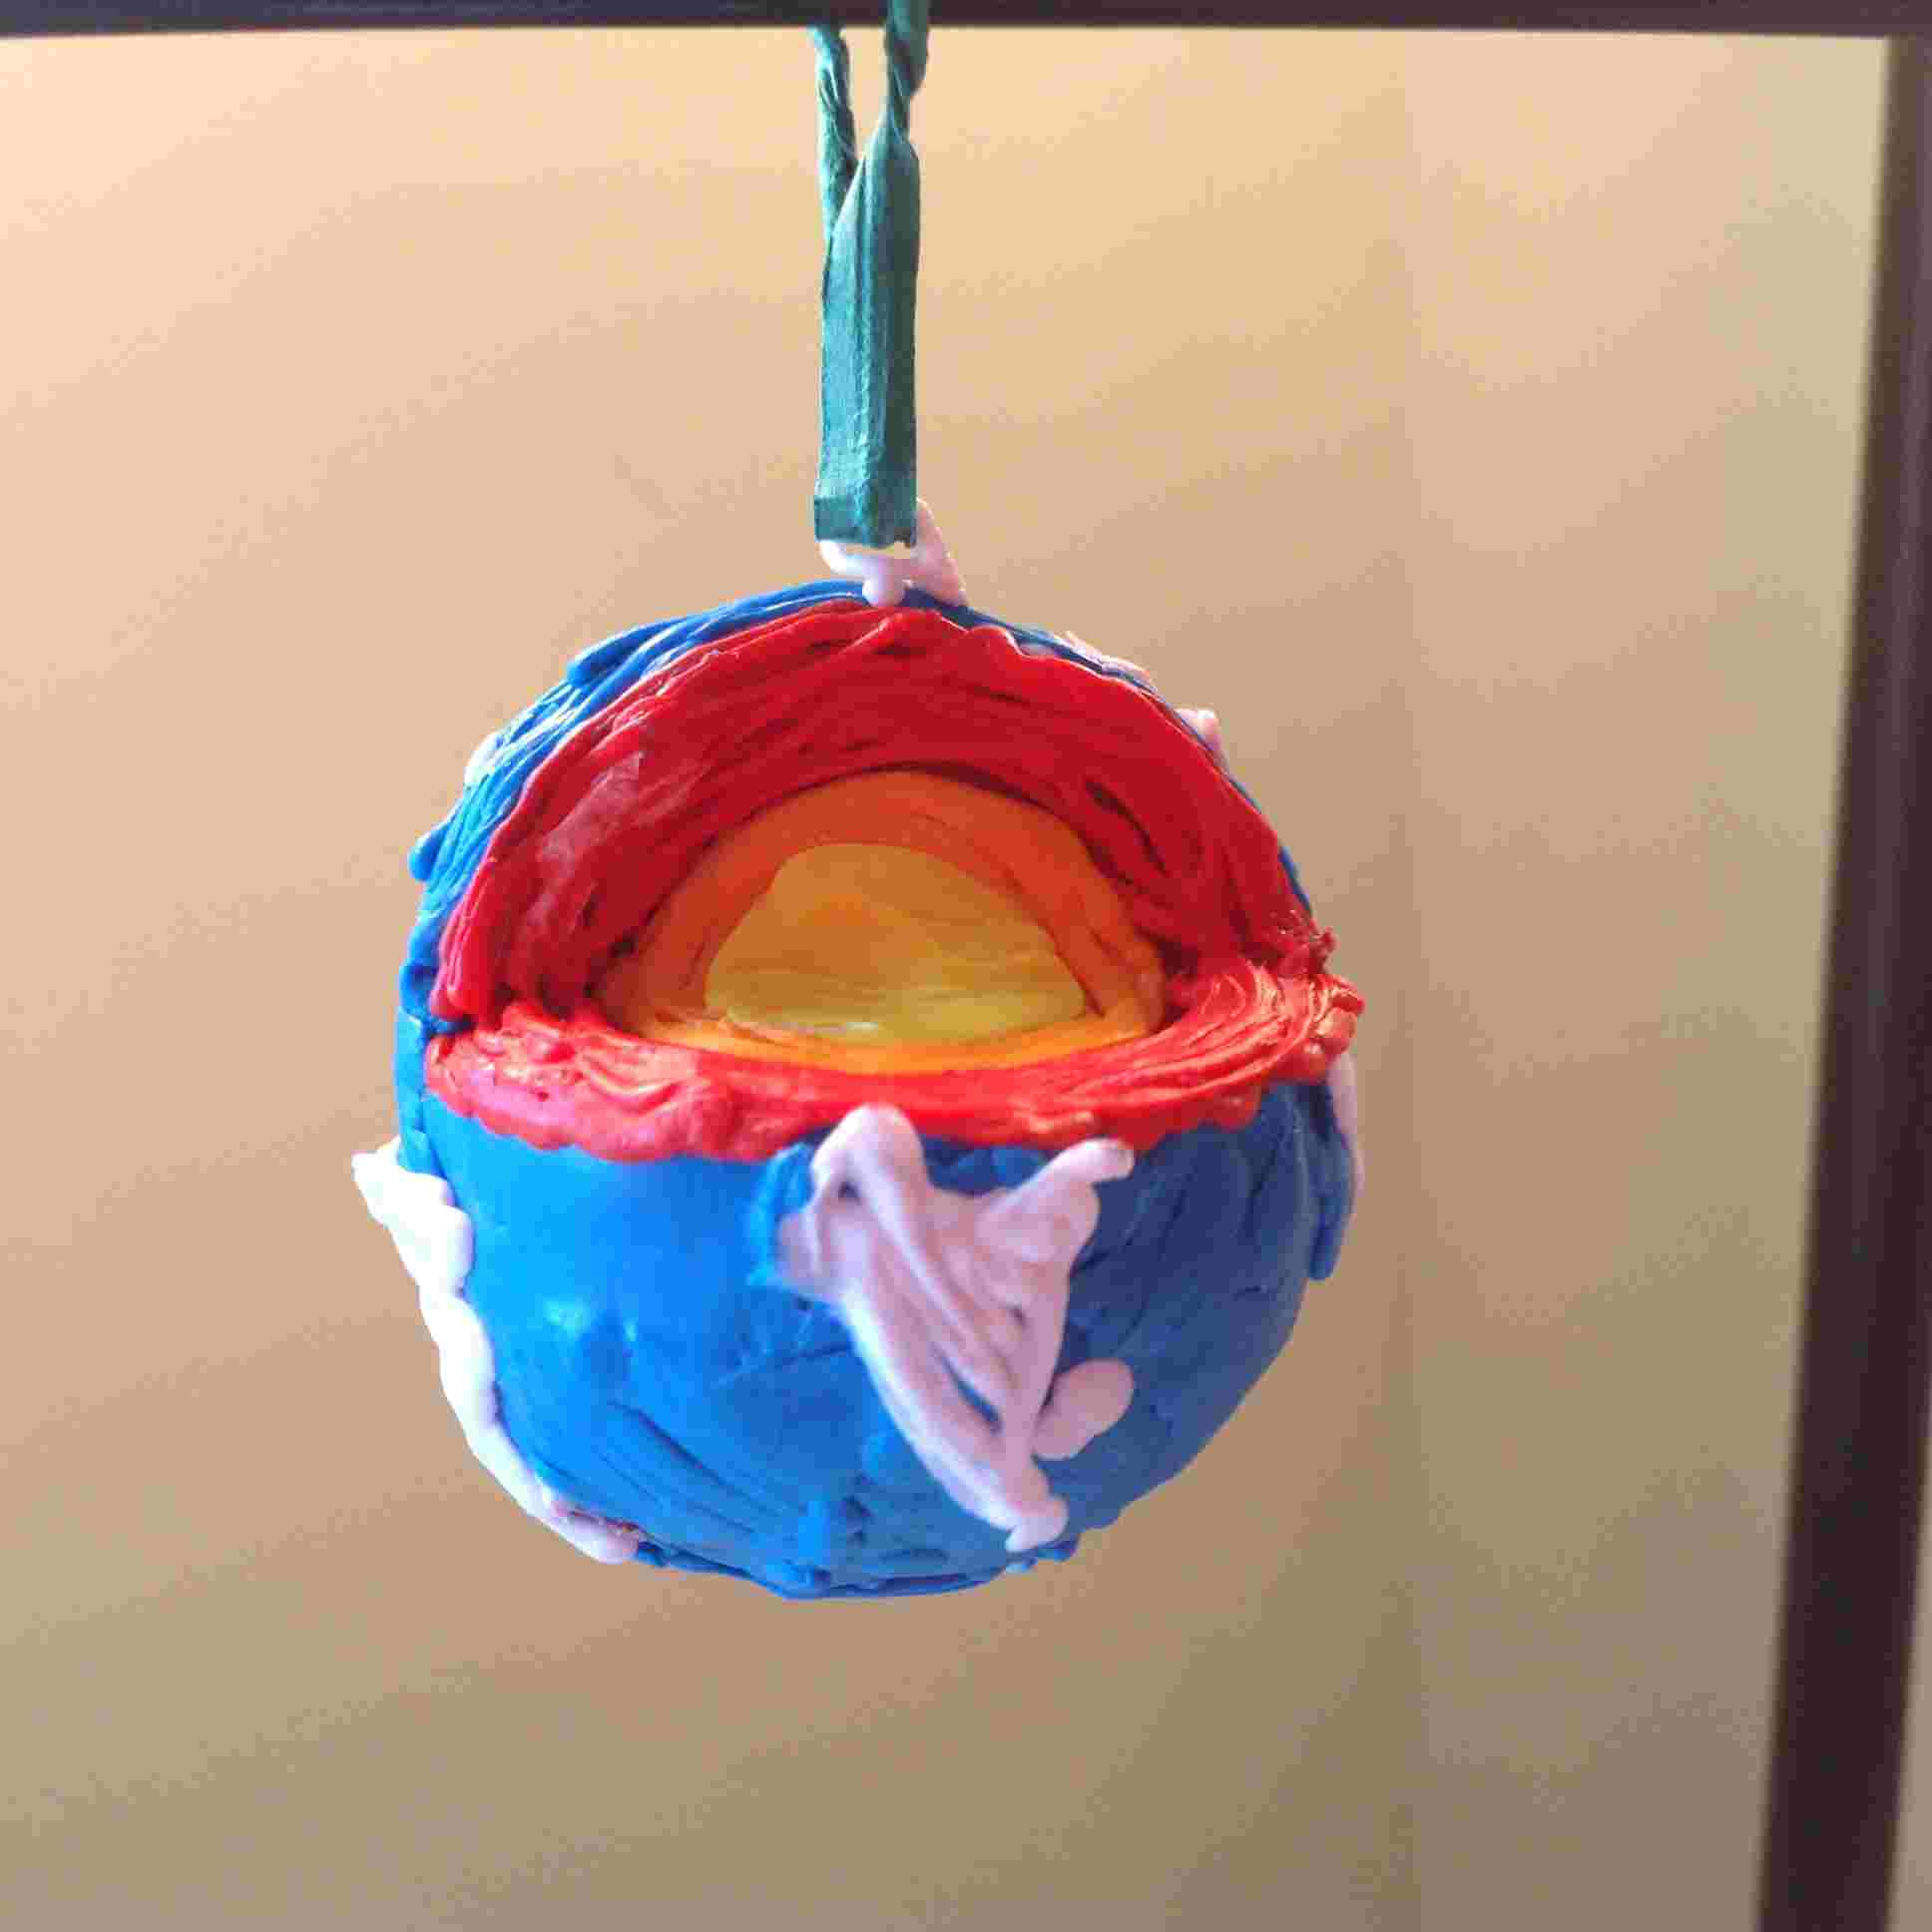
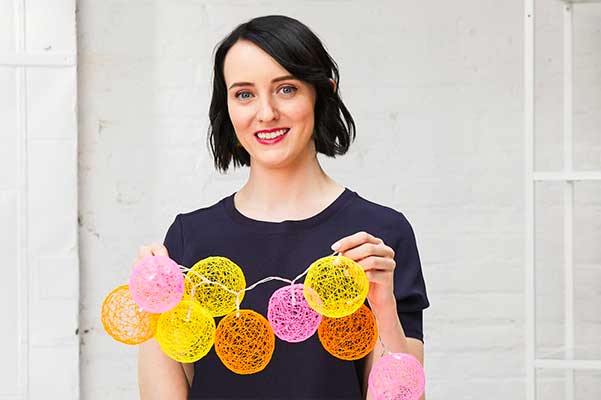
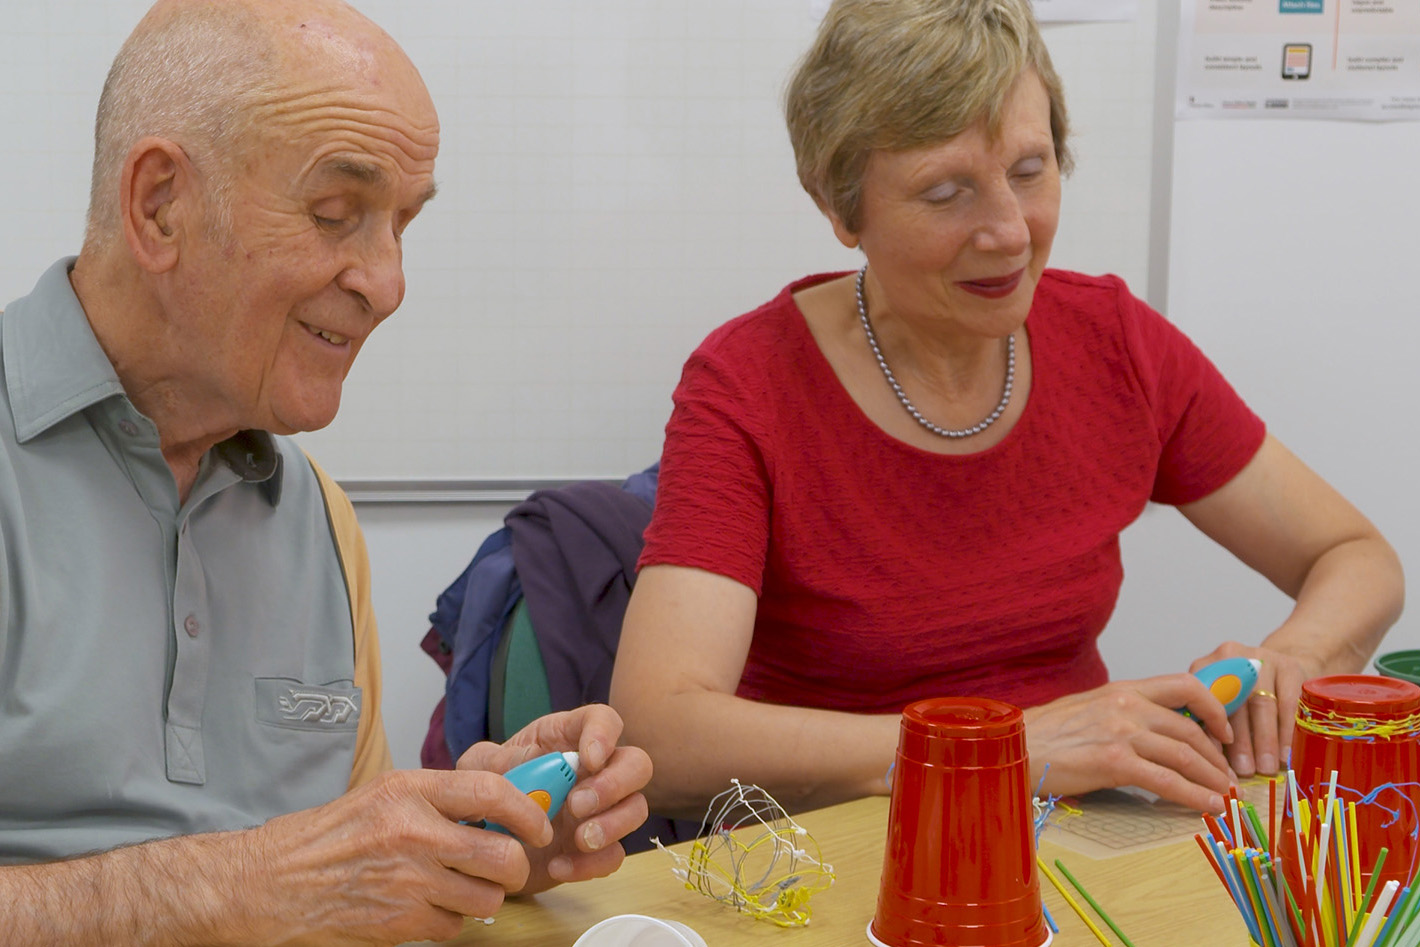
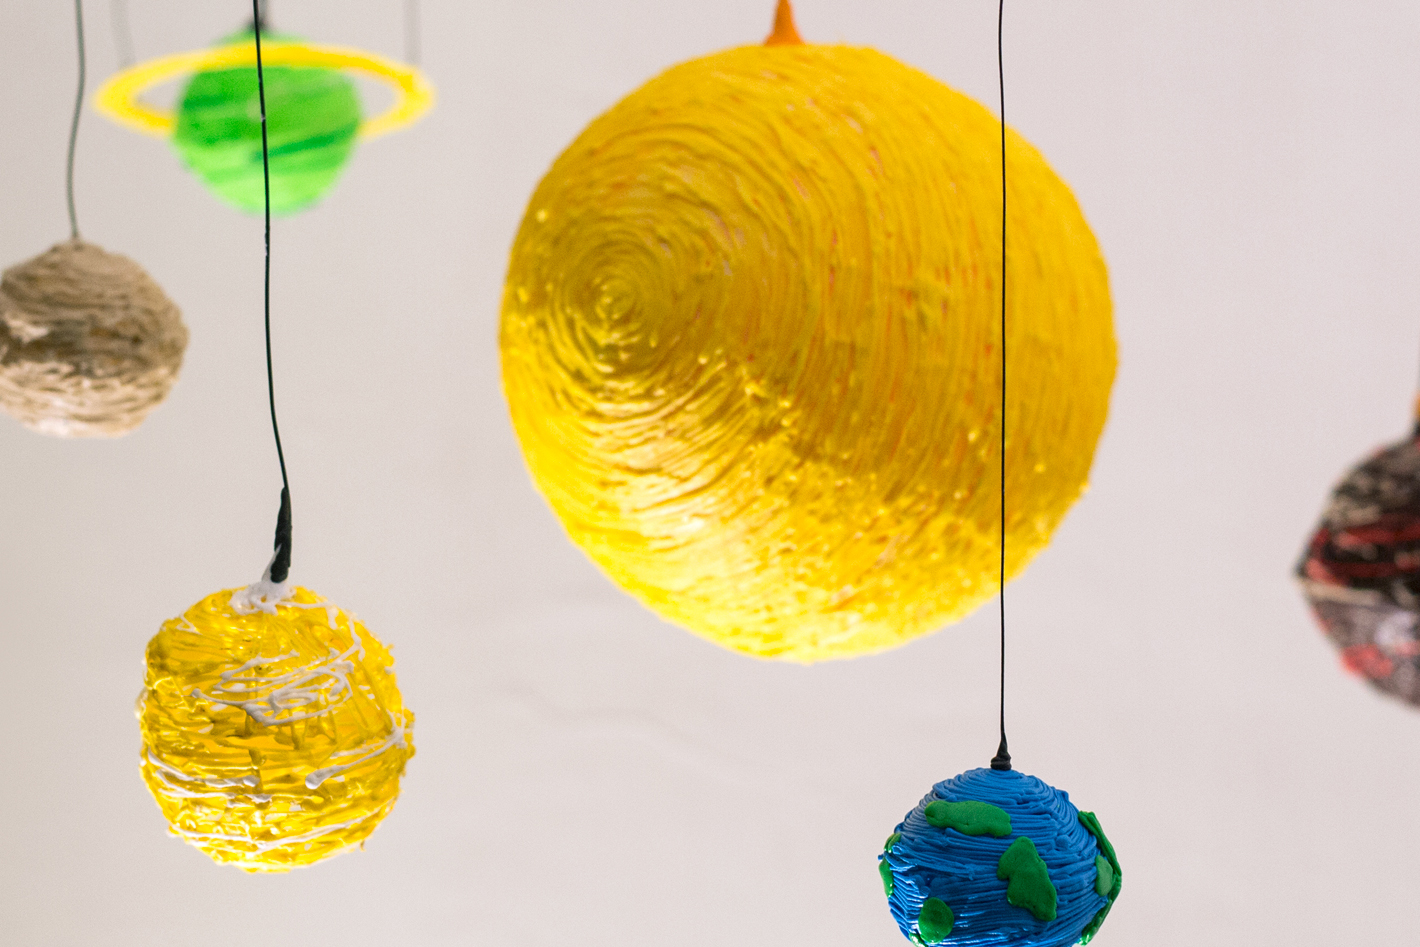
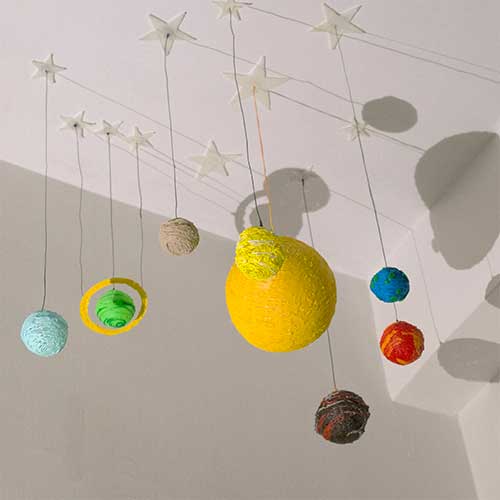
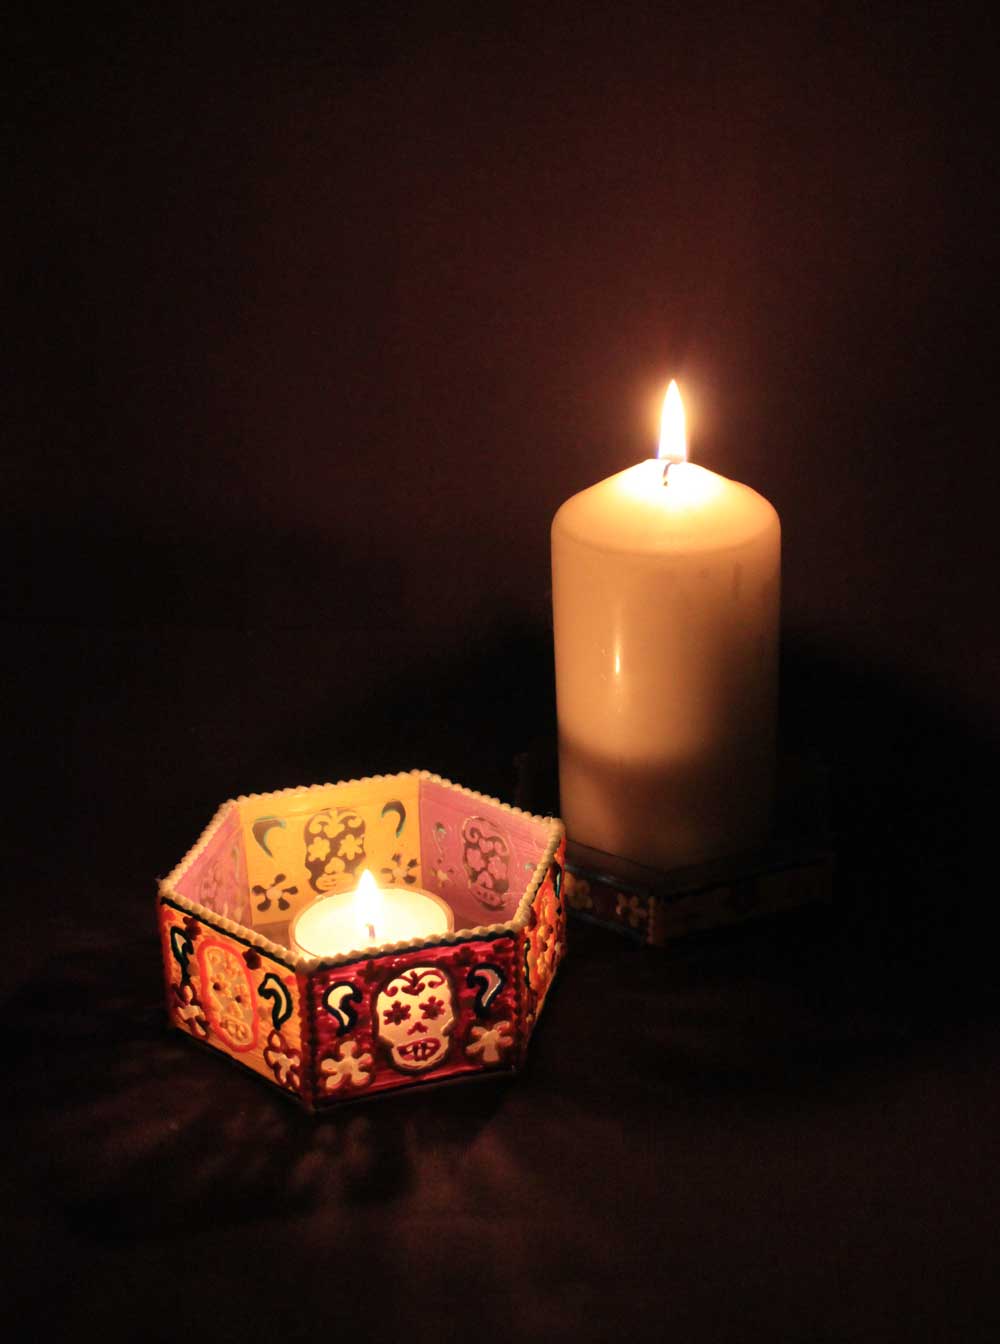
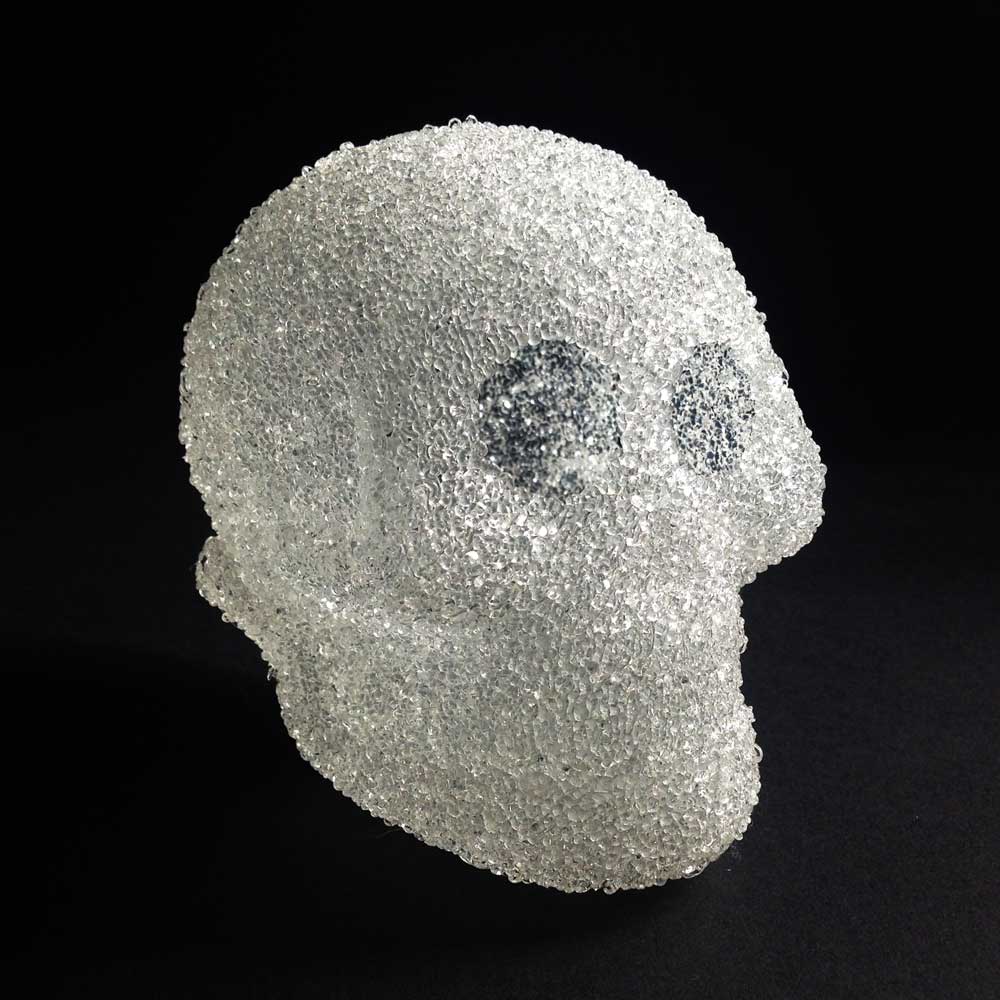
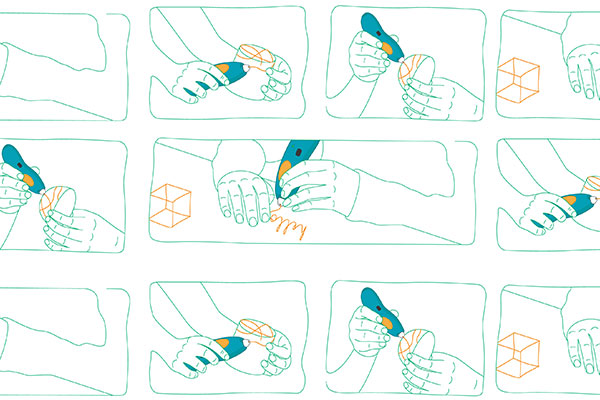
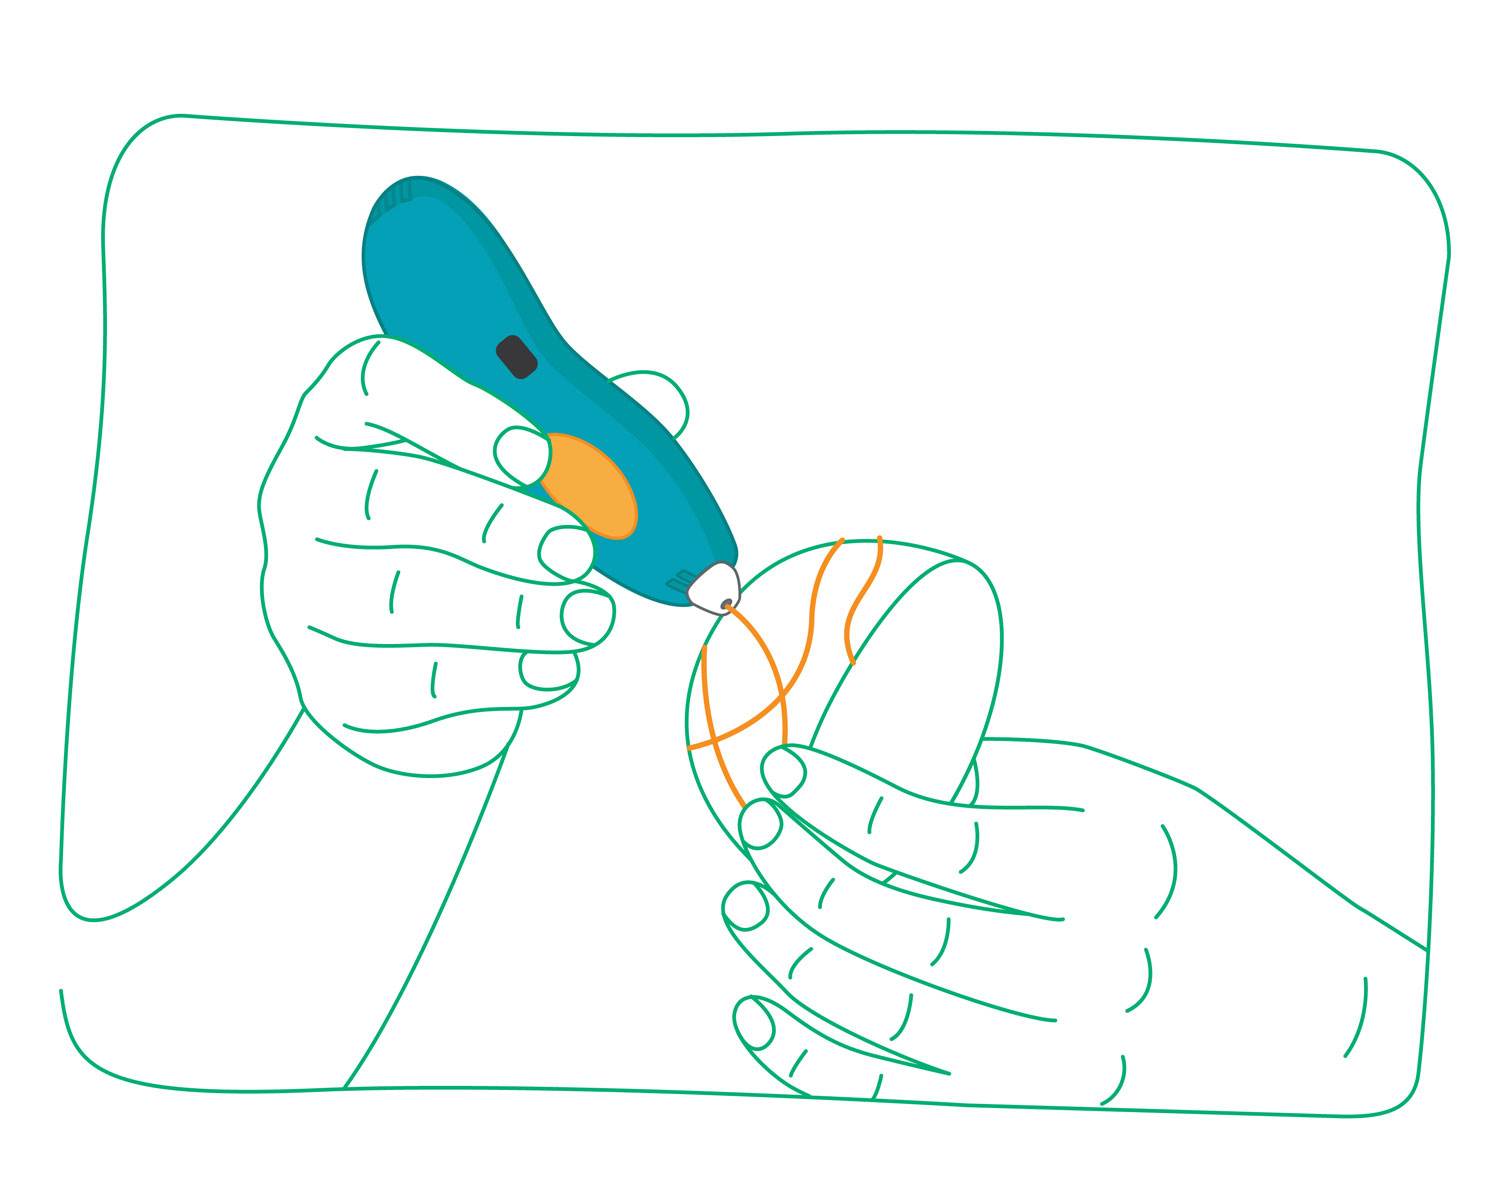
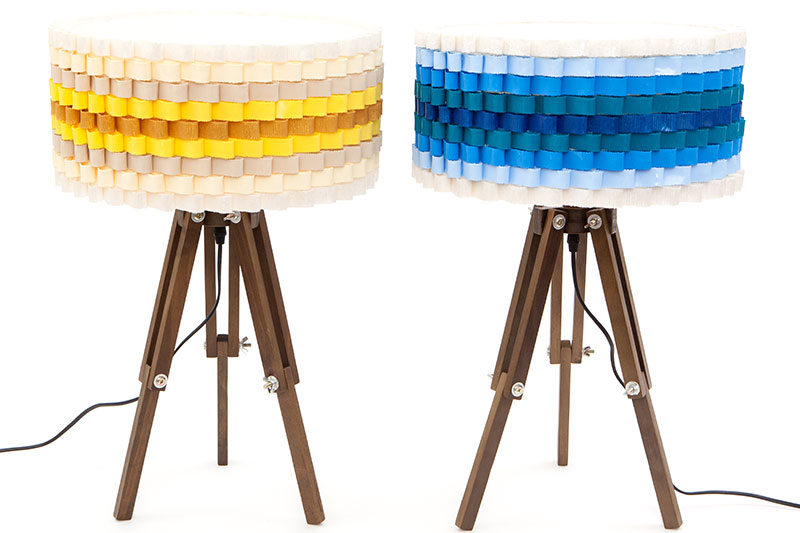
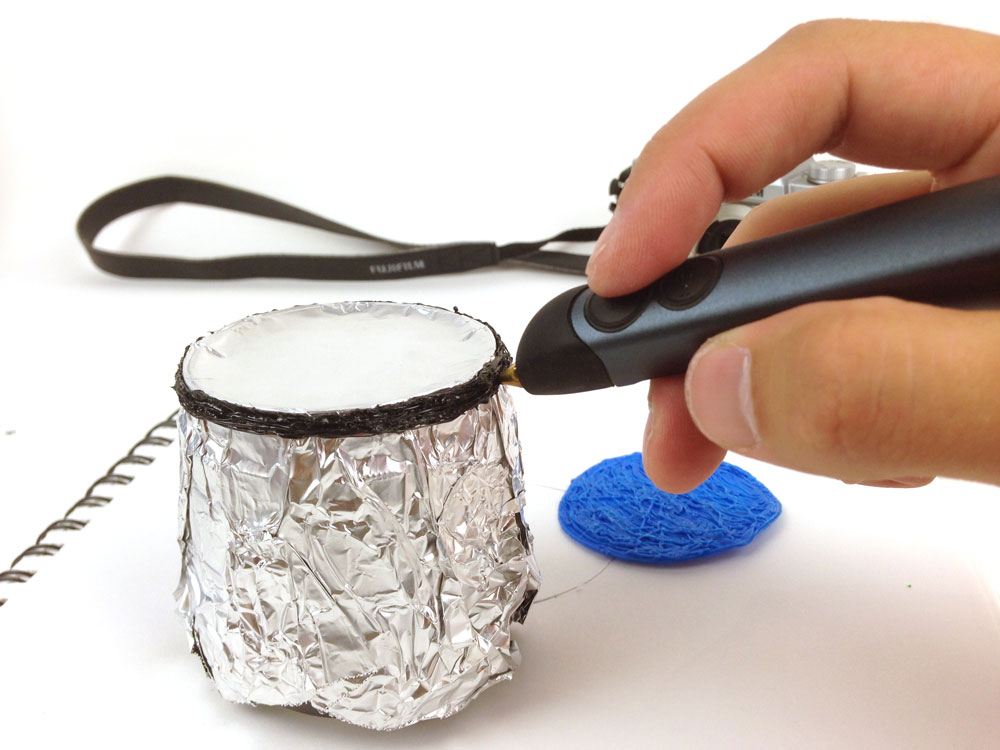
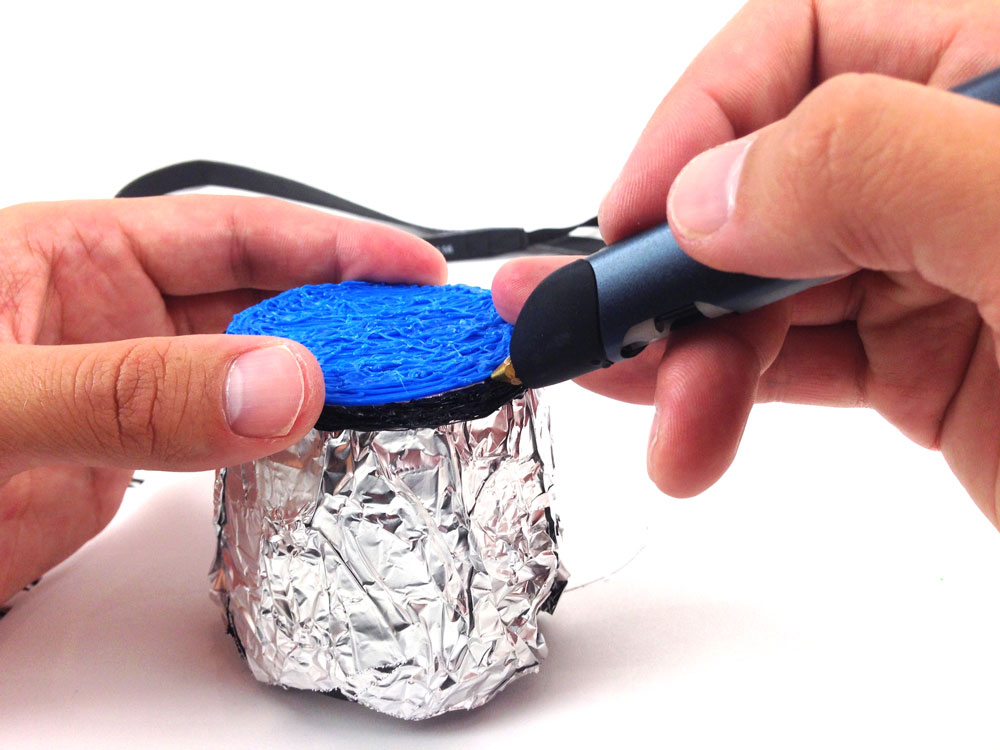
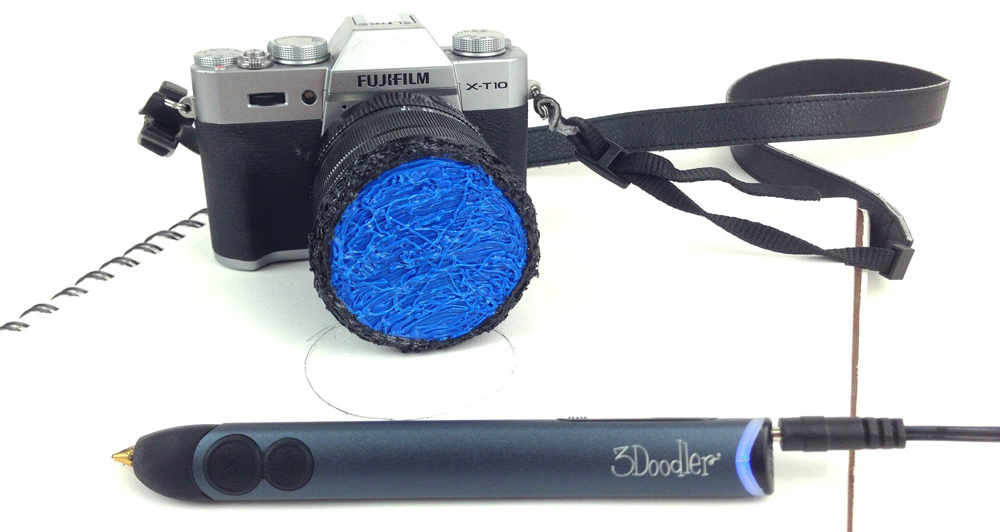
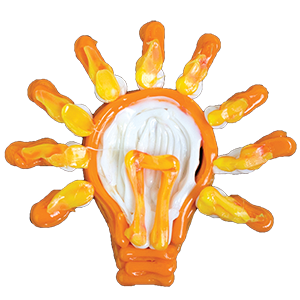
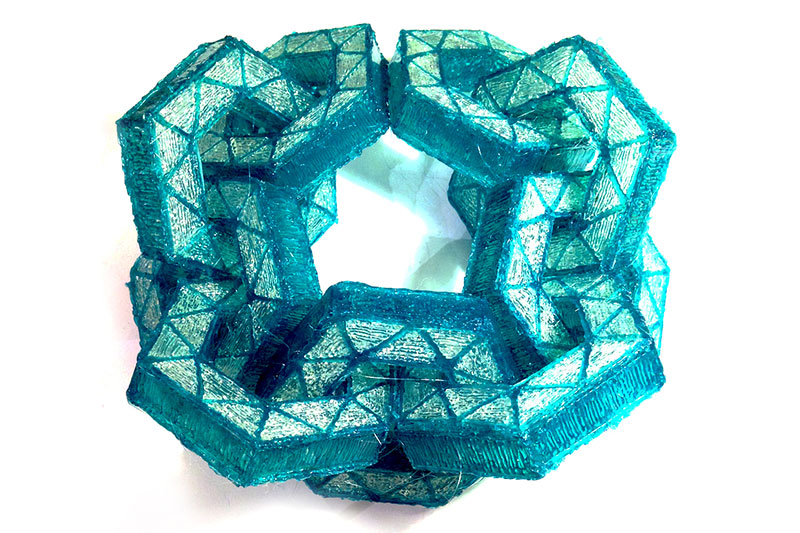
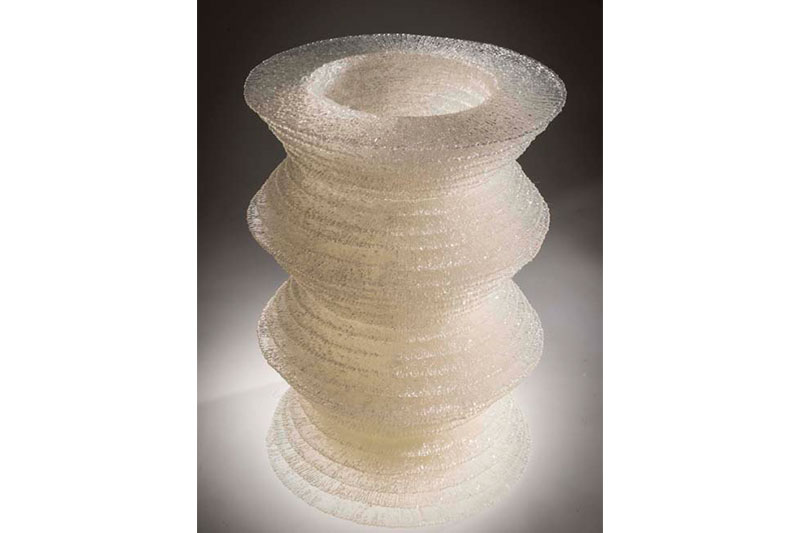
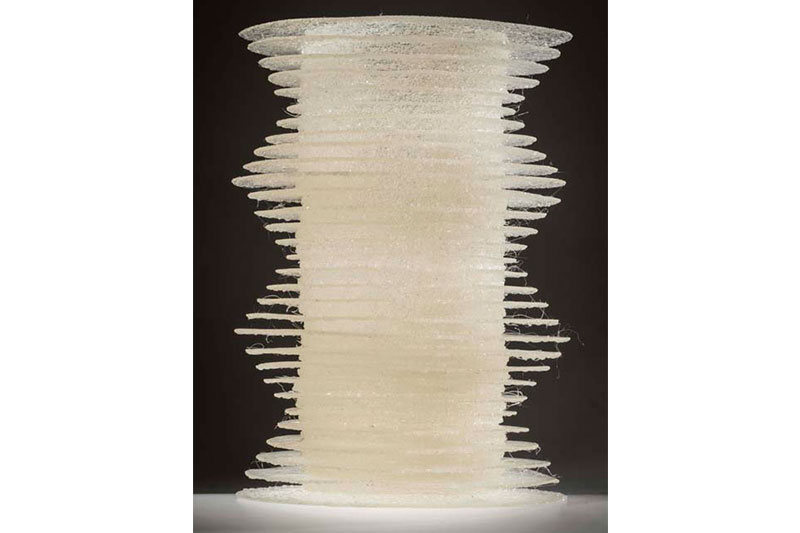
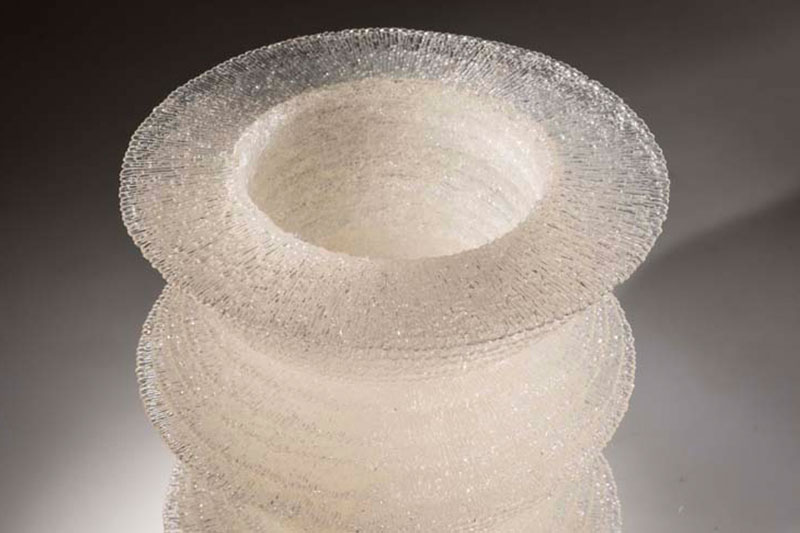
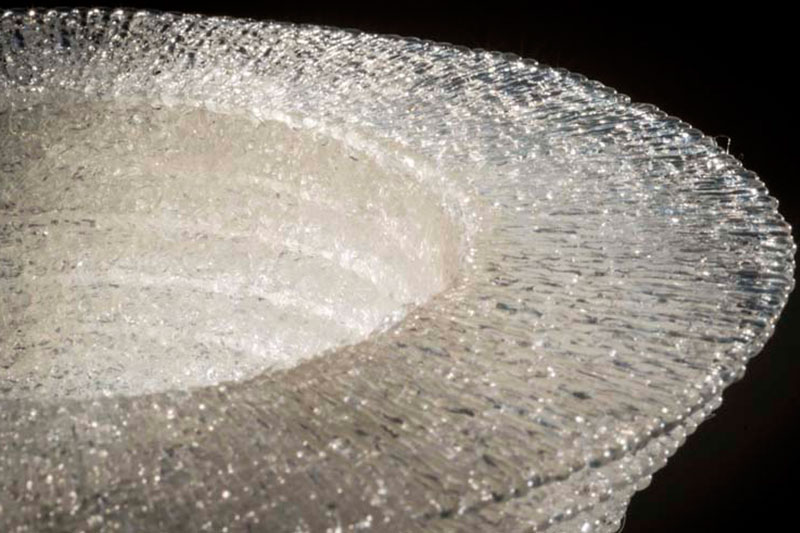
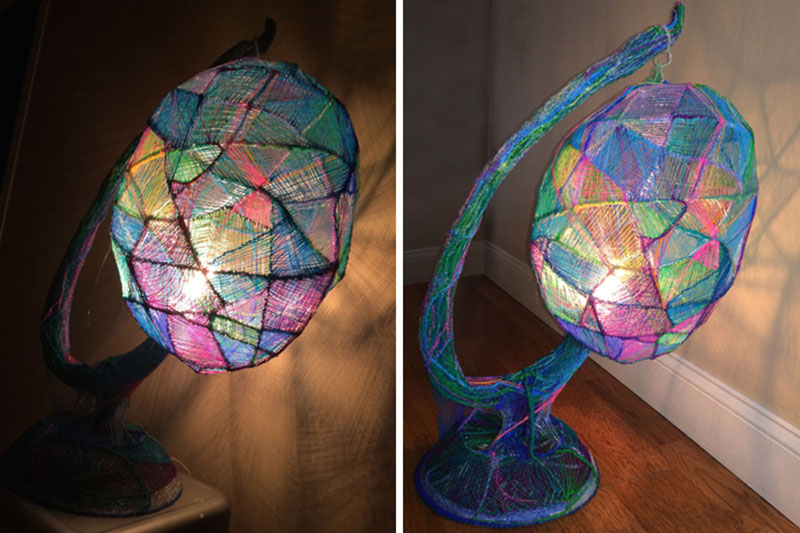
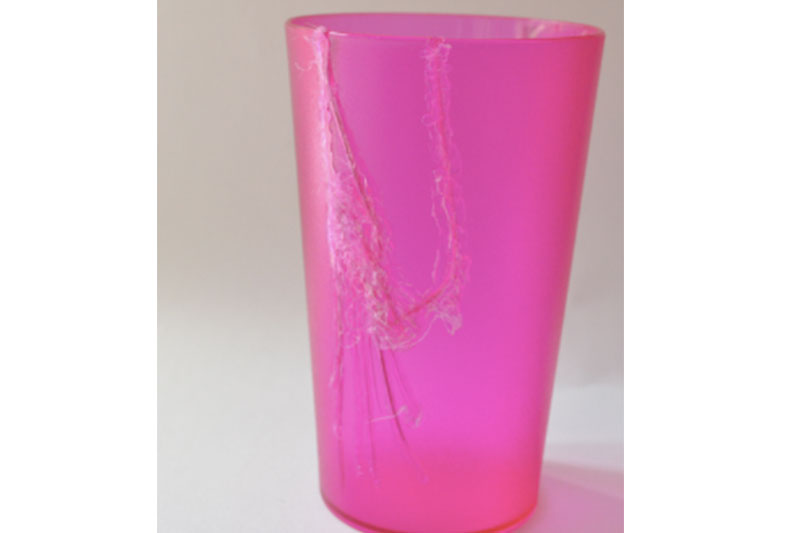
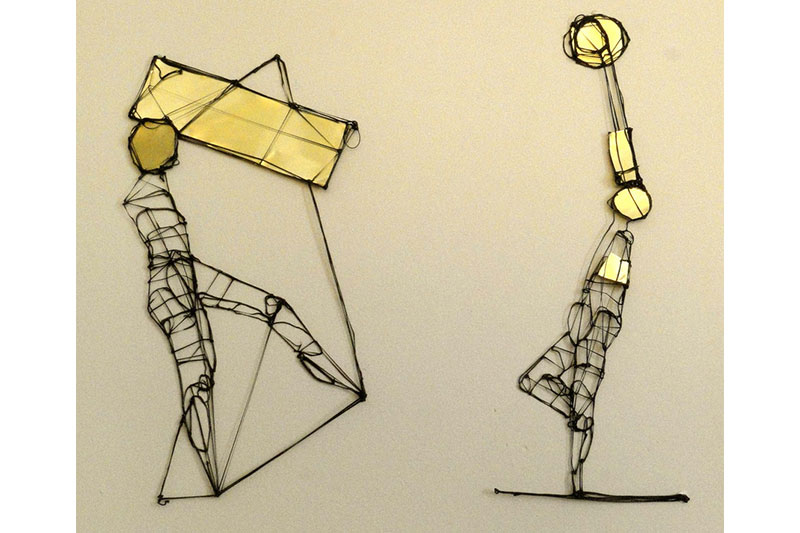
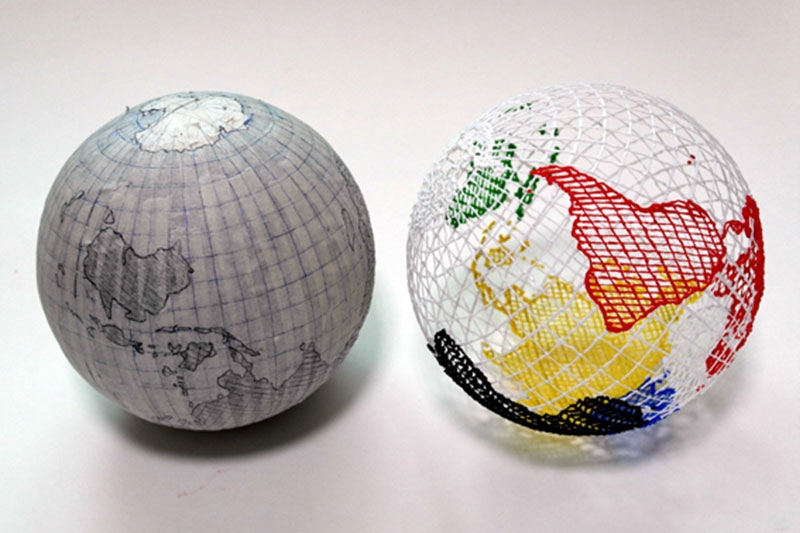
6. A project inspired for the Doodler who appreciates minimalistic vibes!

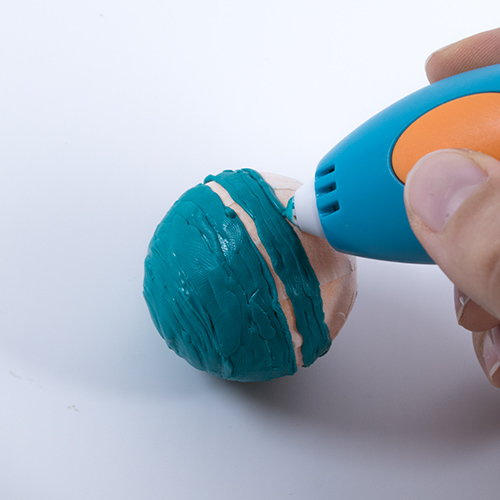
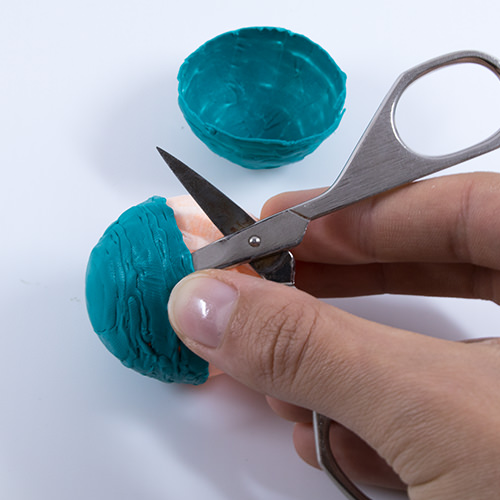
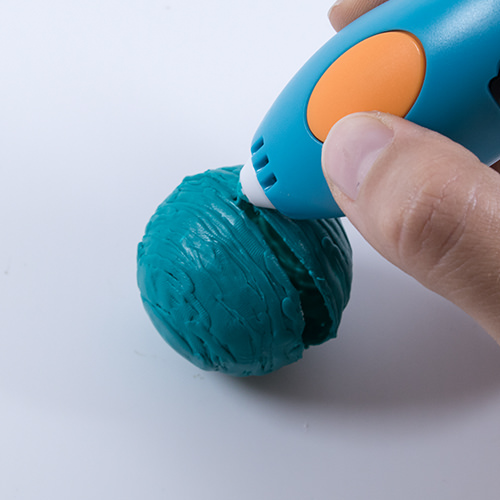
If you want an item in your dorm that pulls everything else together and adds style to your space, this orb light project is perfect for you! Grab a friend and you can finish the entire project in no time.
You can view the video tutorial here.
Cost of materials: $14.99 (1 75-strand Collection of PLA or ABS)
Normal price: $39.99
Saved: $25 or 63%
If you don’t want to use the method shown here, you can Doodle on two halves of a tennis ball, and then fuse them together to make one whole sphere.
Preferred filaments: PLA
Overall, we saved a total of $154 (or 73%) on these 6 items!
Finding creative ways to save money is always something to be proud of! We hope you had fun getting inspiration from things you find in stores or online, and then trying to recreate them on your own at home. With 3Doodler don’t have to sacrifice substance and style for price, and each item you create is sure to be a conversation starter, just wait and see! We hope we’ve inspired you to be creative and try something new for your dorm room this year!


 April 1:
  April 8:
  April 15:
  April 22:
  April 29:
  May 6:
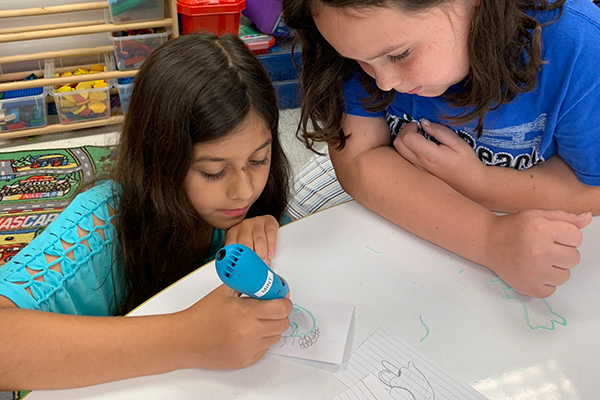


